Creative Angles to Try in Your Next Studio Shoot (and When They Actually Move the Needle)

As decision makers, you’re not commissioning “pictures”—you’re commissioning outcomes: higher recall, better click-throughs, more qualified leads, stronger brand affinity. Camera angle is one of the most efficient creative levers to achieve those outcomes without ballooning scope. Below is a field-tested playbook—angles we deploy in studio that reliably sharpen brand message, differentiate visuals, and multiply deliverables across channels.

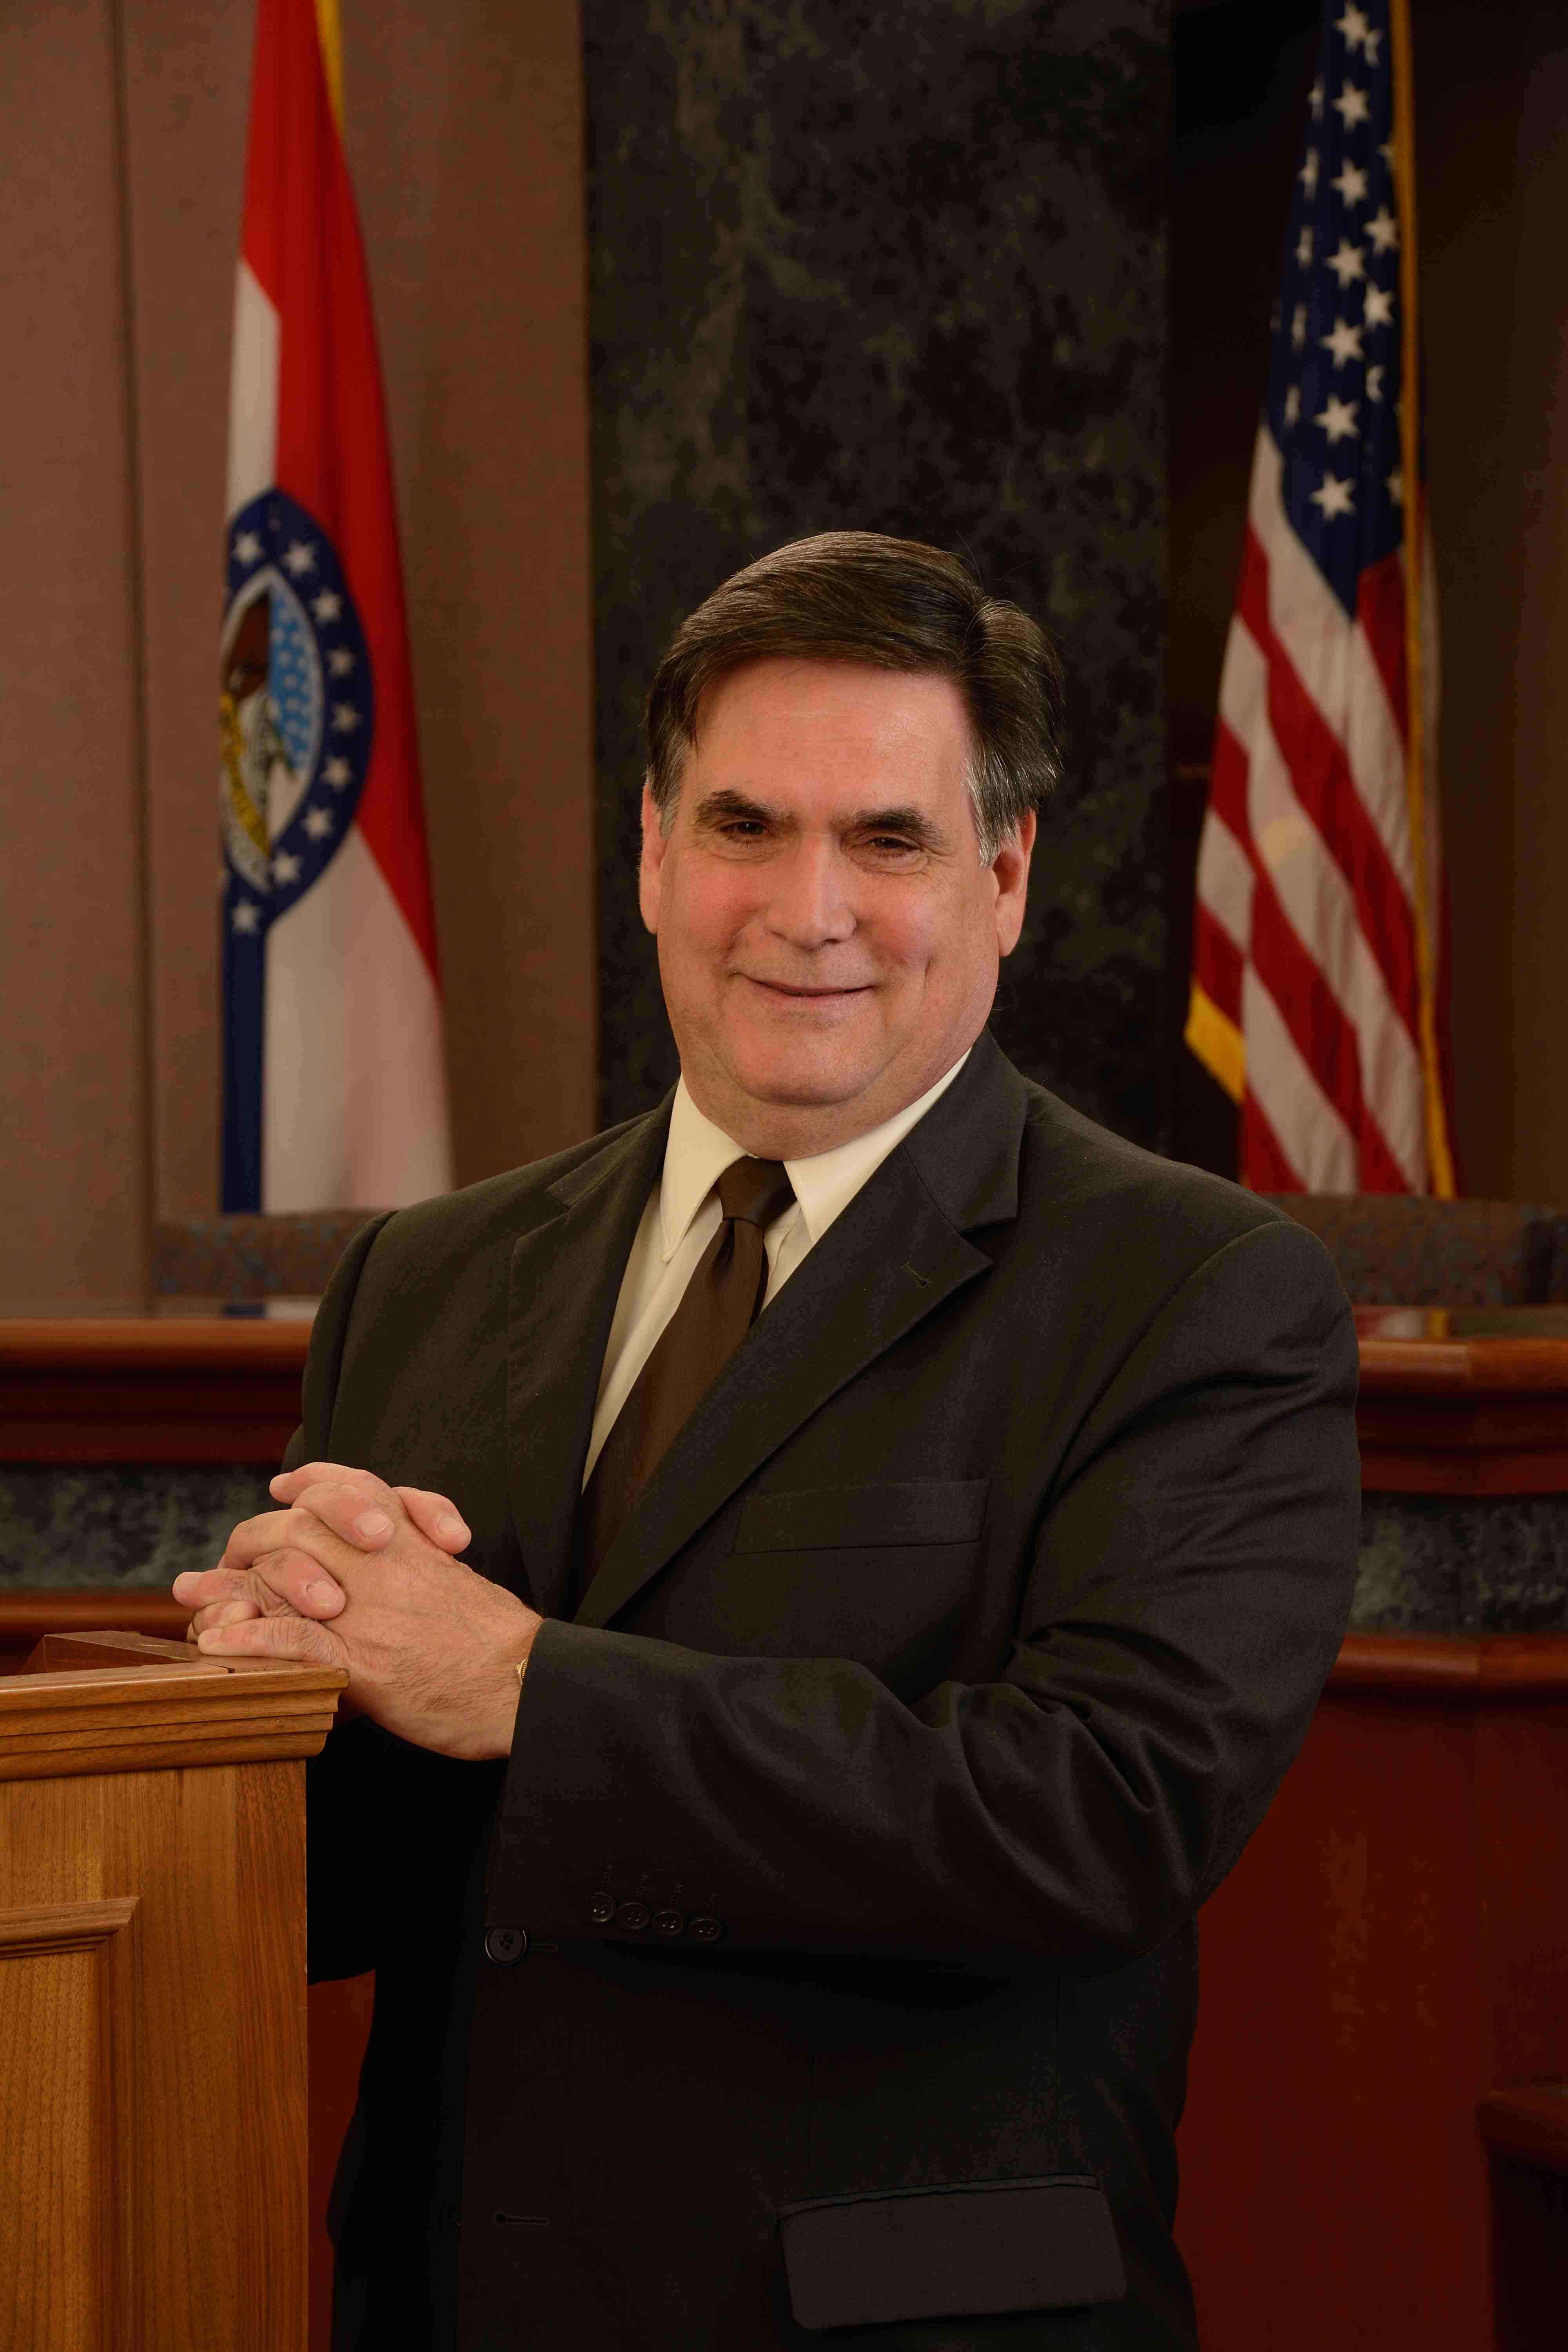
1) Hero Low Angle (Confidence & Authority)

What it does: Elevates subject stature; reads as leadership.
Best for: Executive portraits, product “flagship” moments, launch visuals.
Notes: Keep verticals straight to avoid distortion; add edge lights so chin and jawline define cleanly.

2) High Angle Semi-Overhead (Clarity & Control)

What it does: Reveals surfaces, interfaces, and systems.
Best for: Product demos, tabletop process, UX walk-throughs.
Notes: Pair with a 35–50mm for natural geometry; flag stray reflections to keep UI readable.

3) True Top-Down (Flat Lay) (Organization & Craft)

What it does: Turns components into a grid of meaning.
Best for: Kits, SKUs, unboxings, “what’s included” shots, how-to sequences.
Notes: Use a fixed rail or ceiling mount for repeatability; polarize to tame gloss.

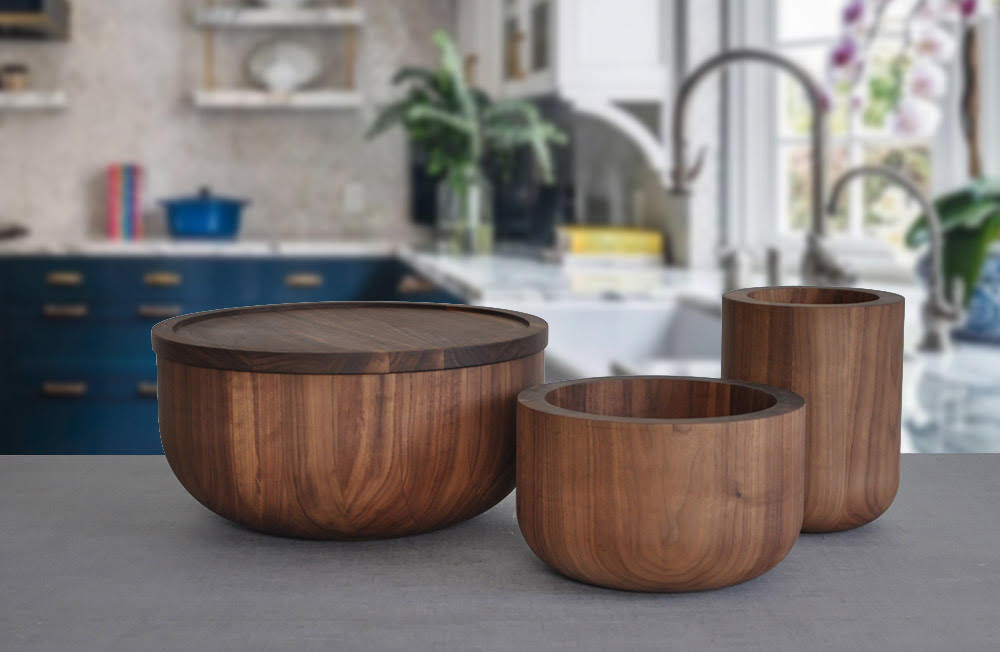
4) Compressed Long-Lens Angle (Premium & Precision)

What it does: Flattens space; emphasizes surfaces and finish.
Best for: Metals, glass, luxury goods, architectural details.
Notes: 135–200mm primes, small apertures for plane control; micro-flags to sculpt speculars.

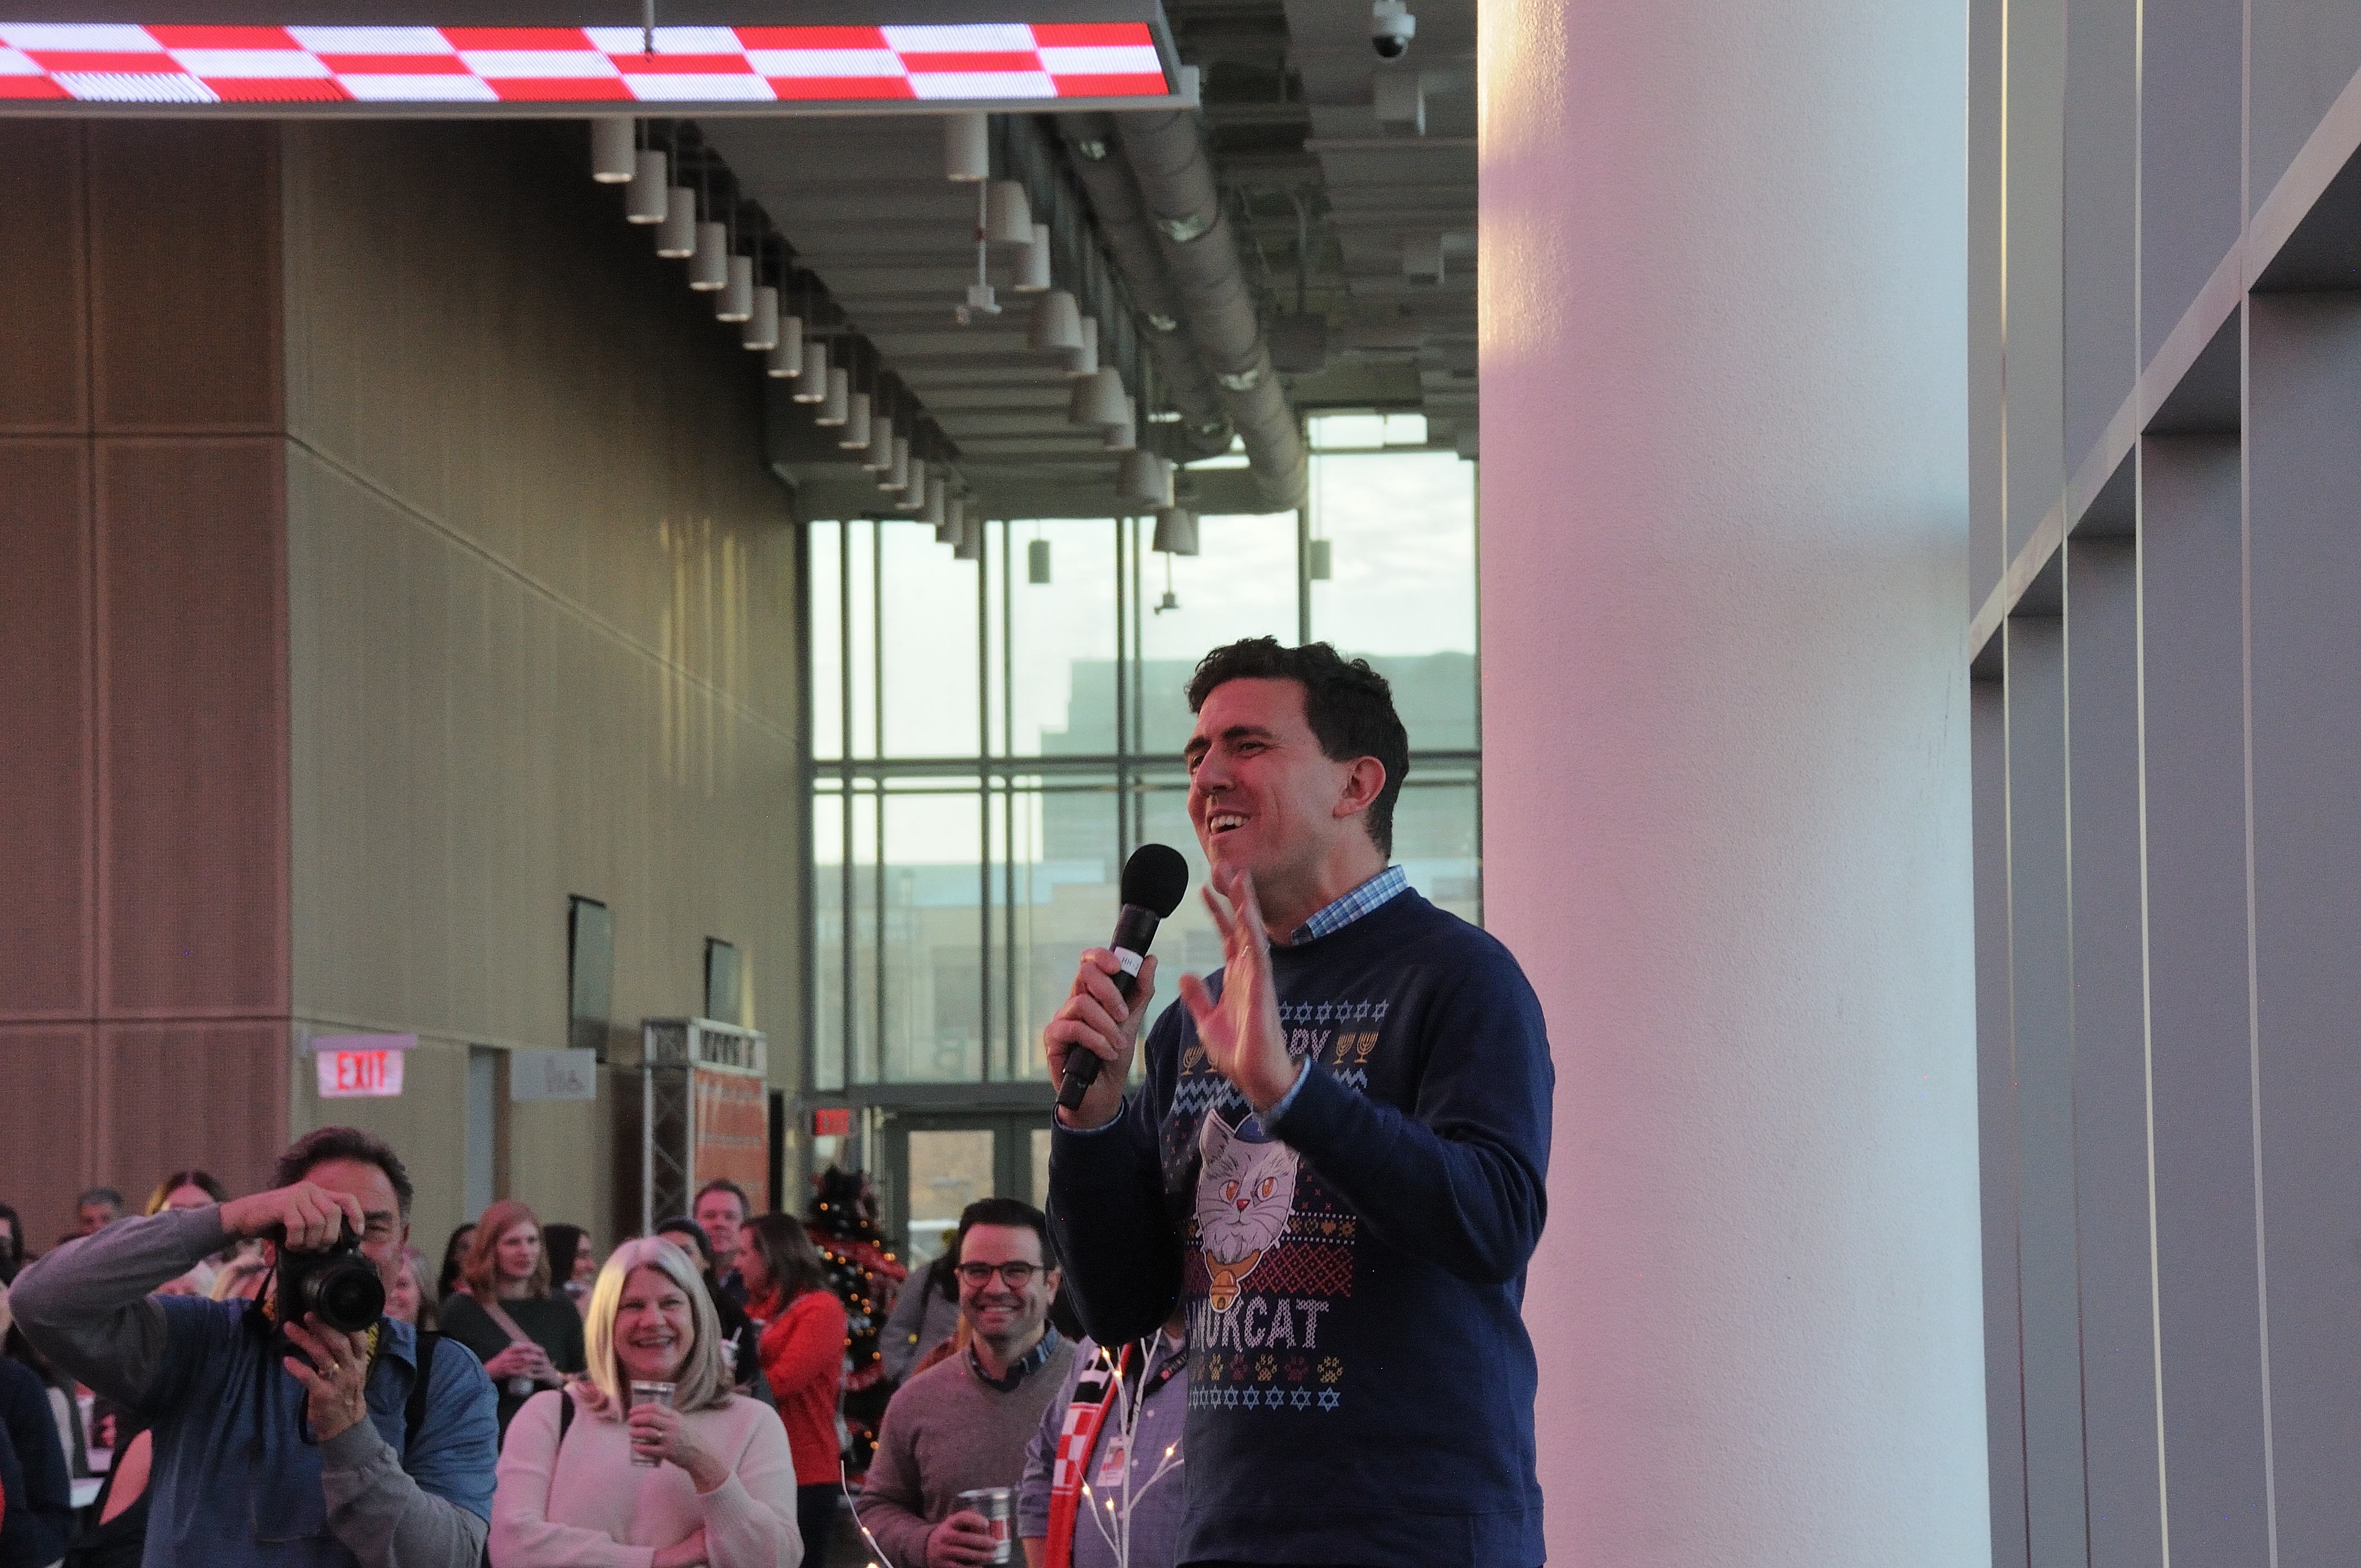
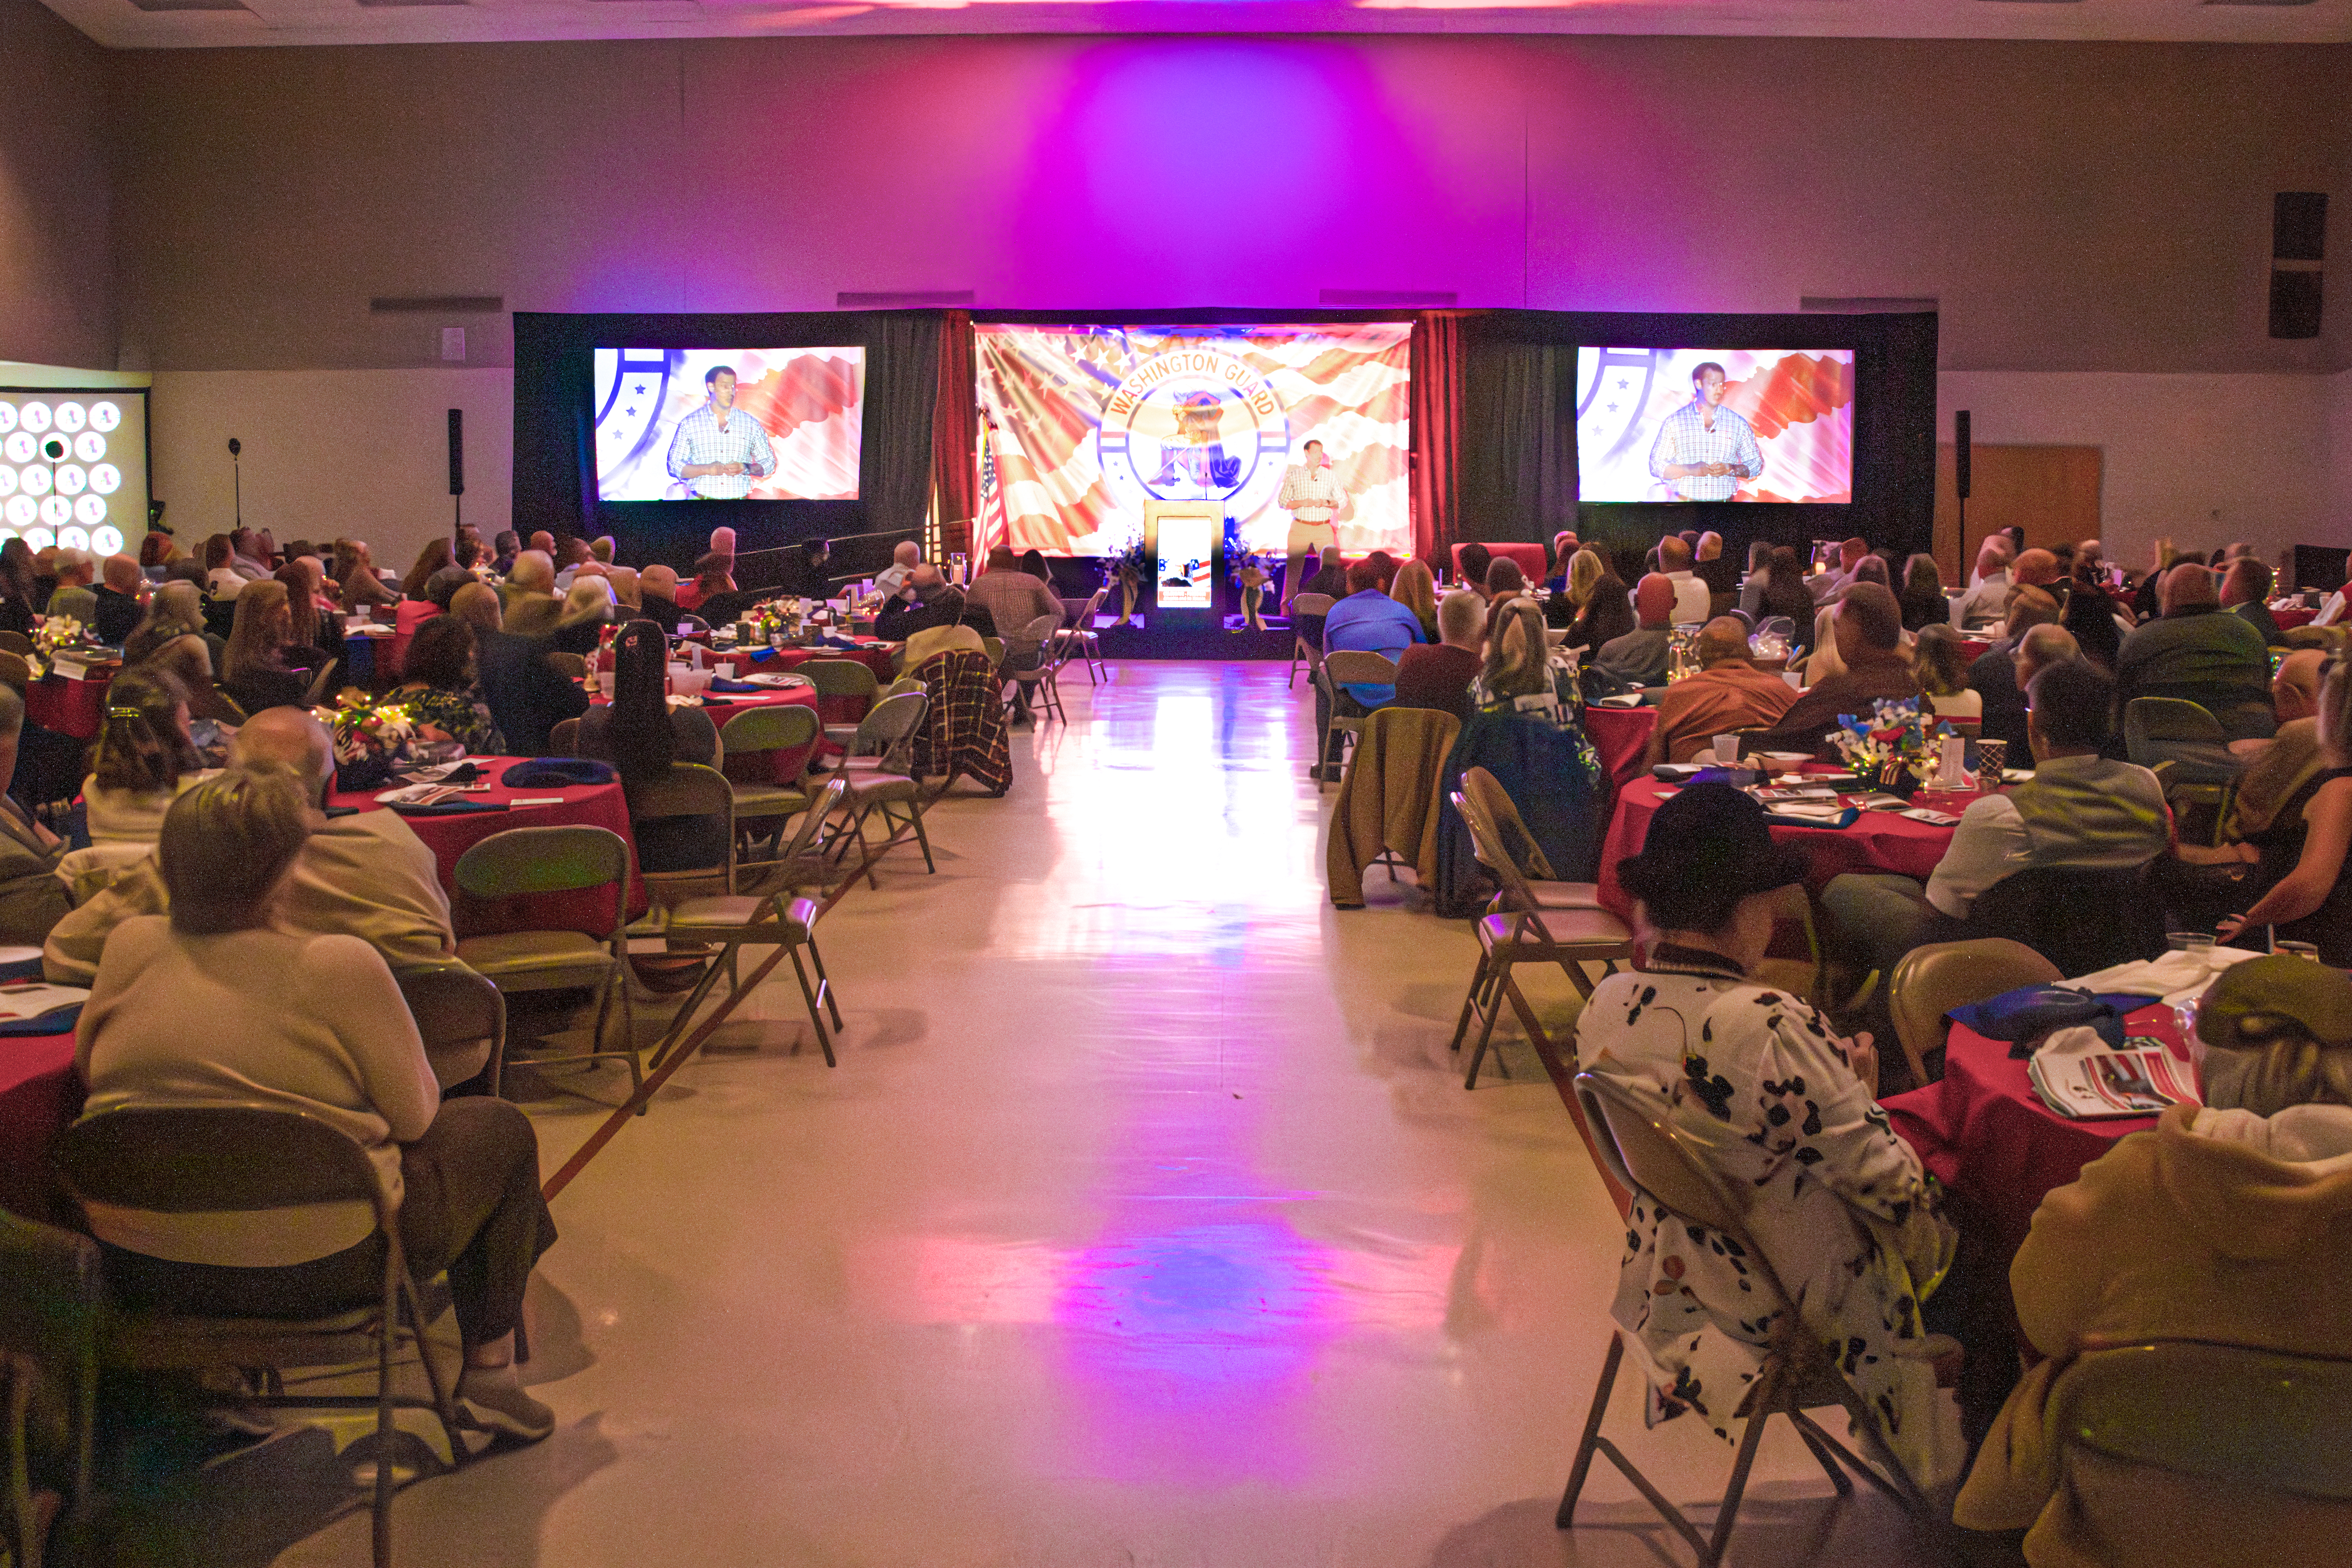
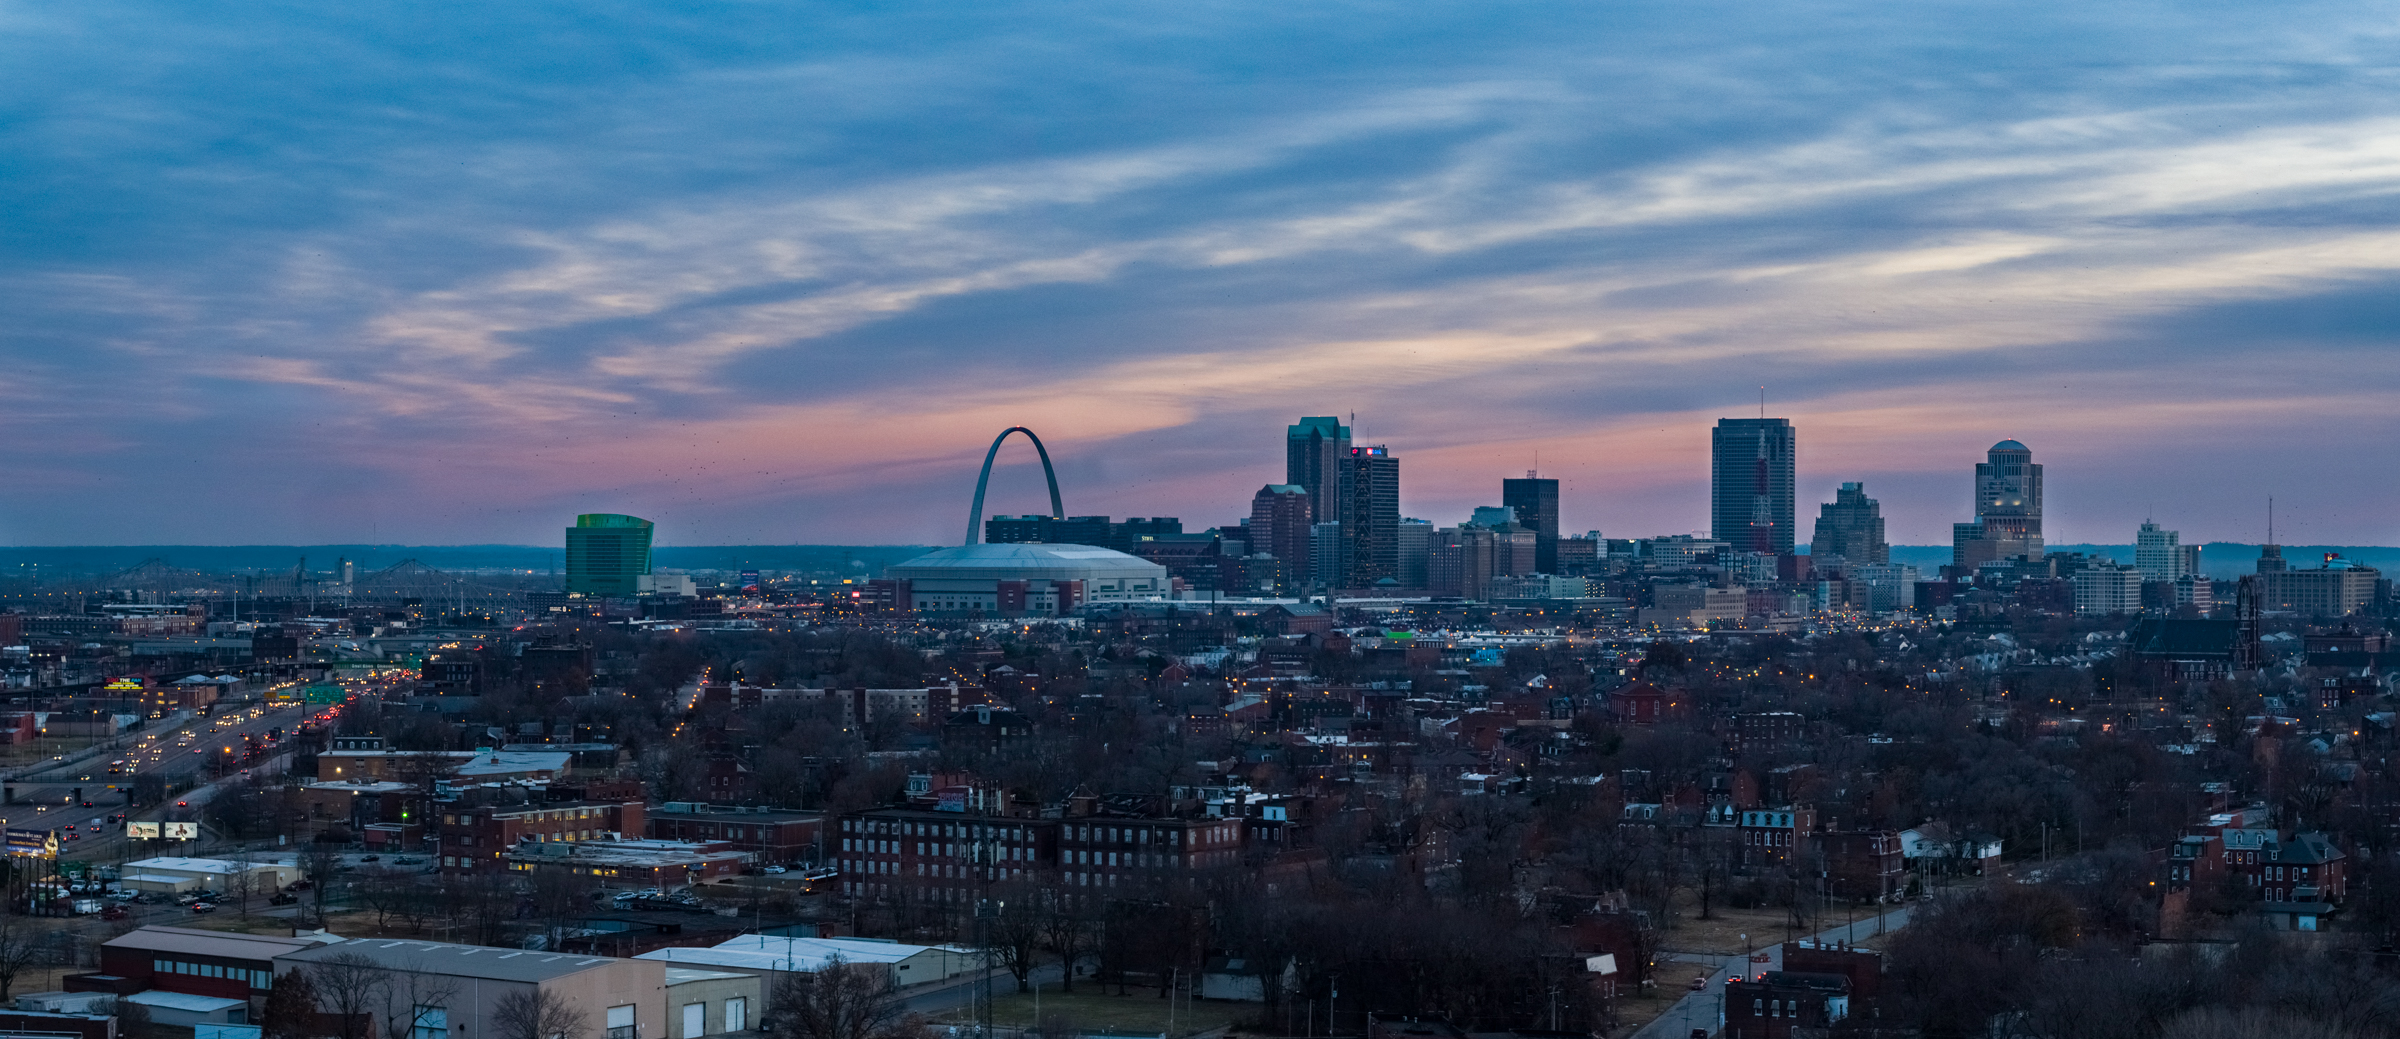
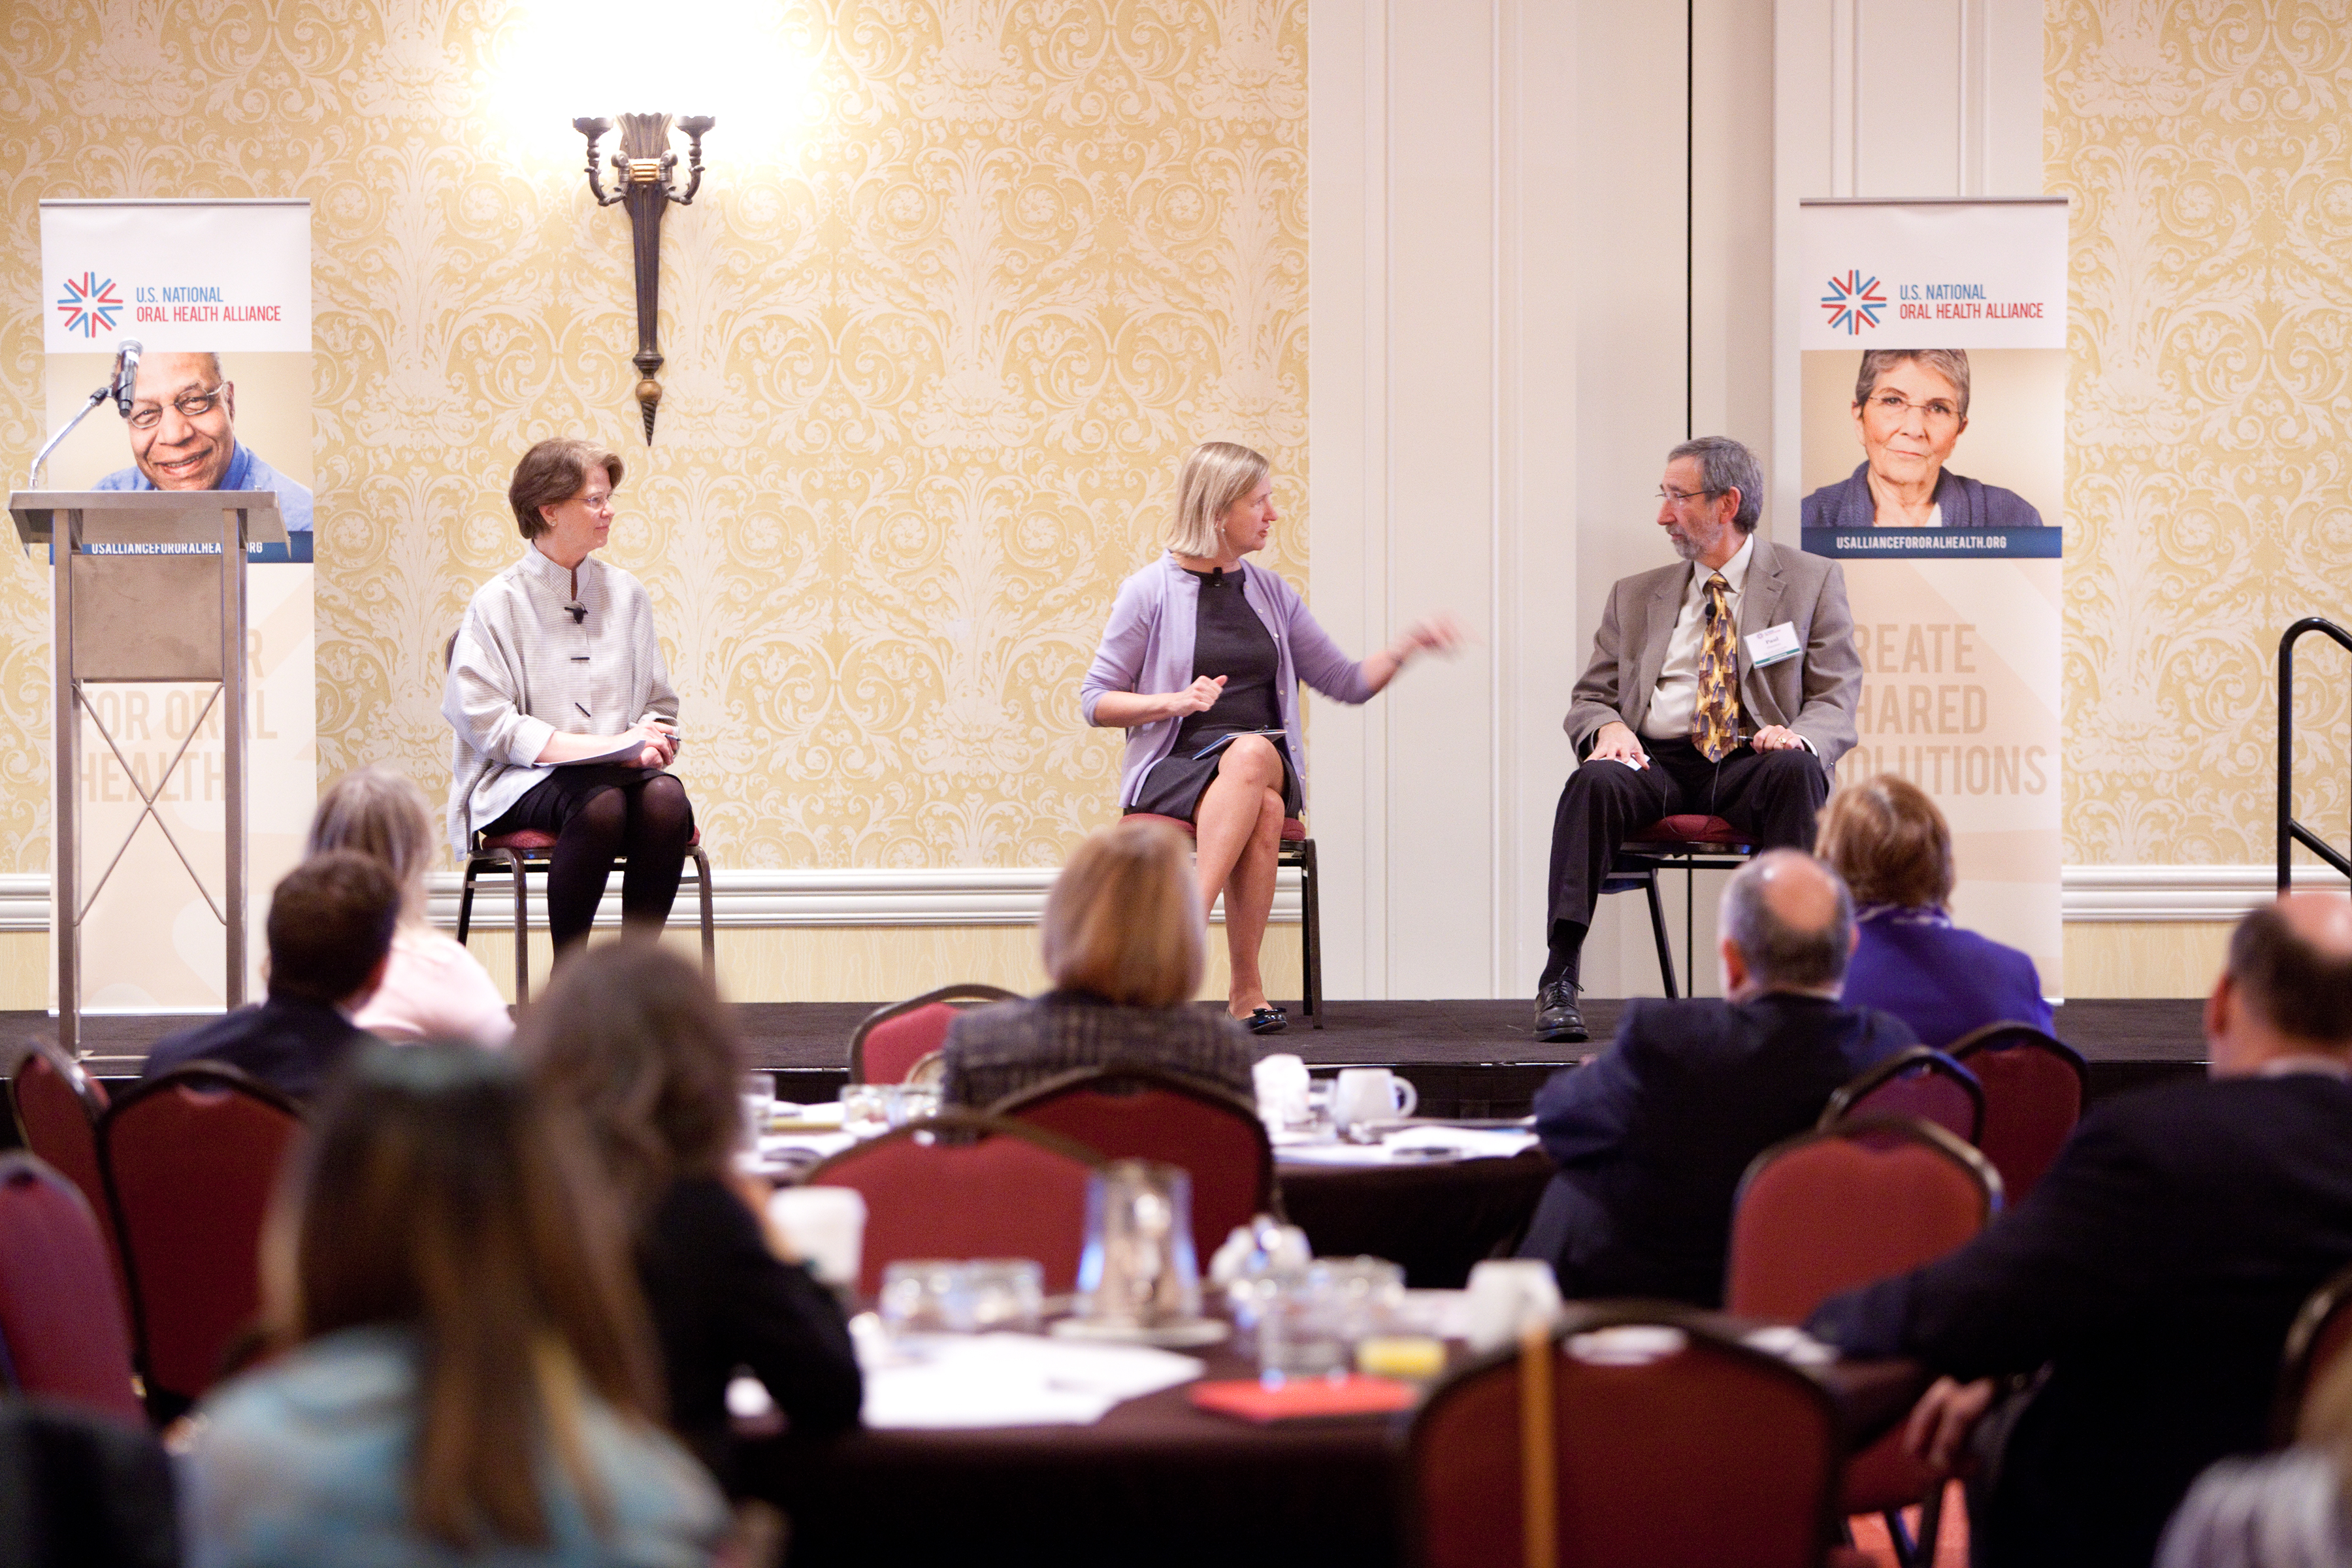
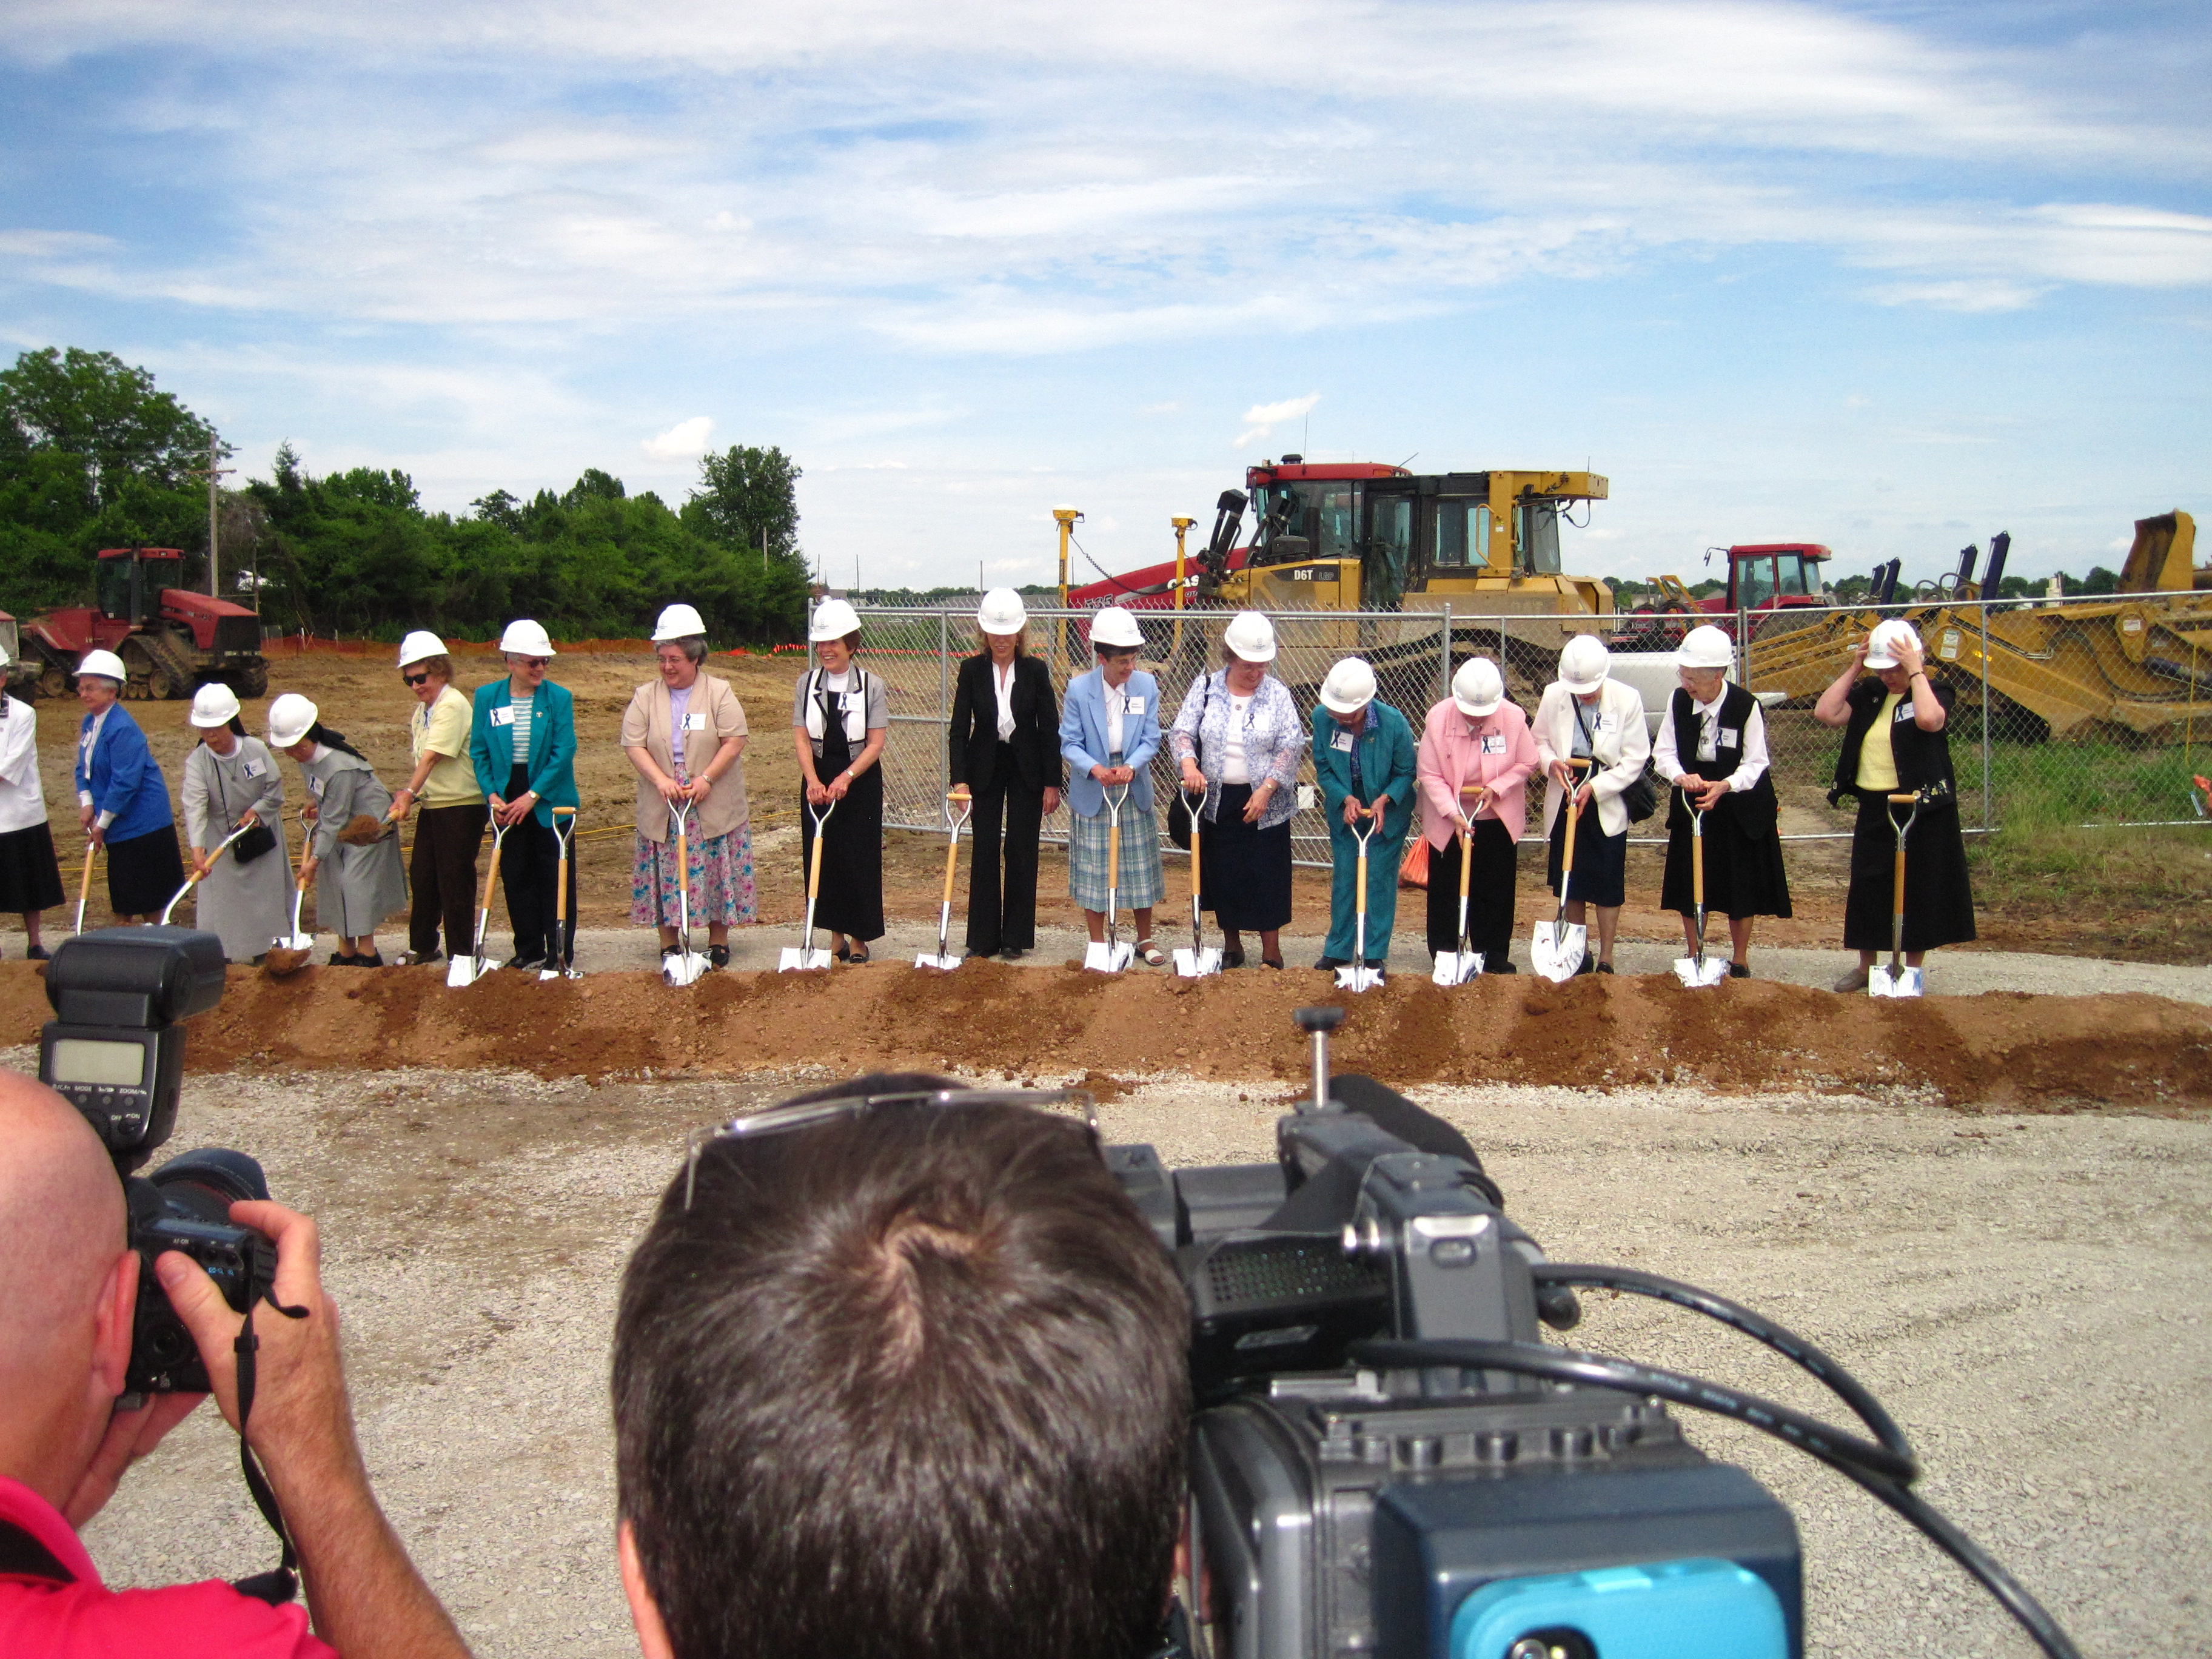
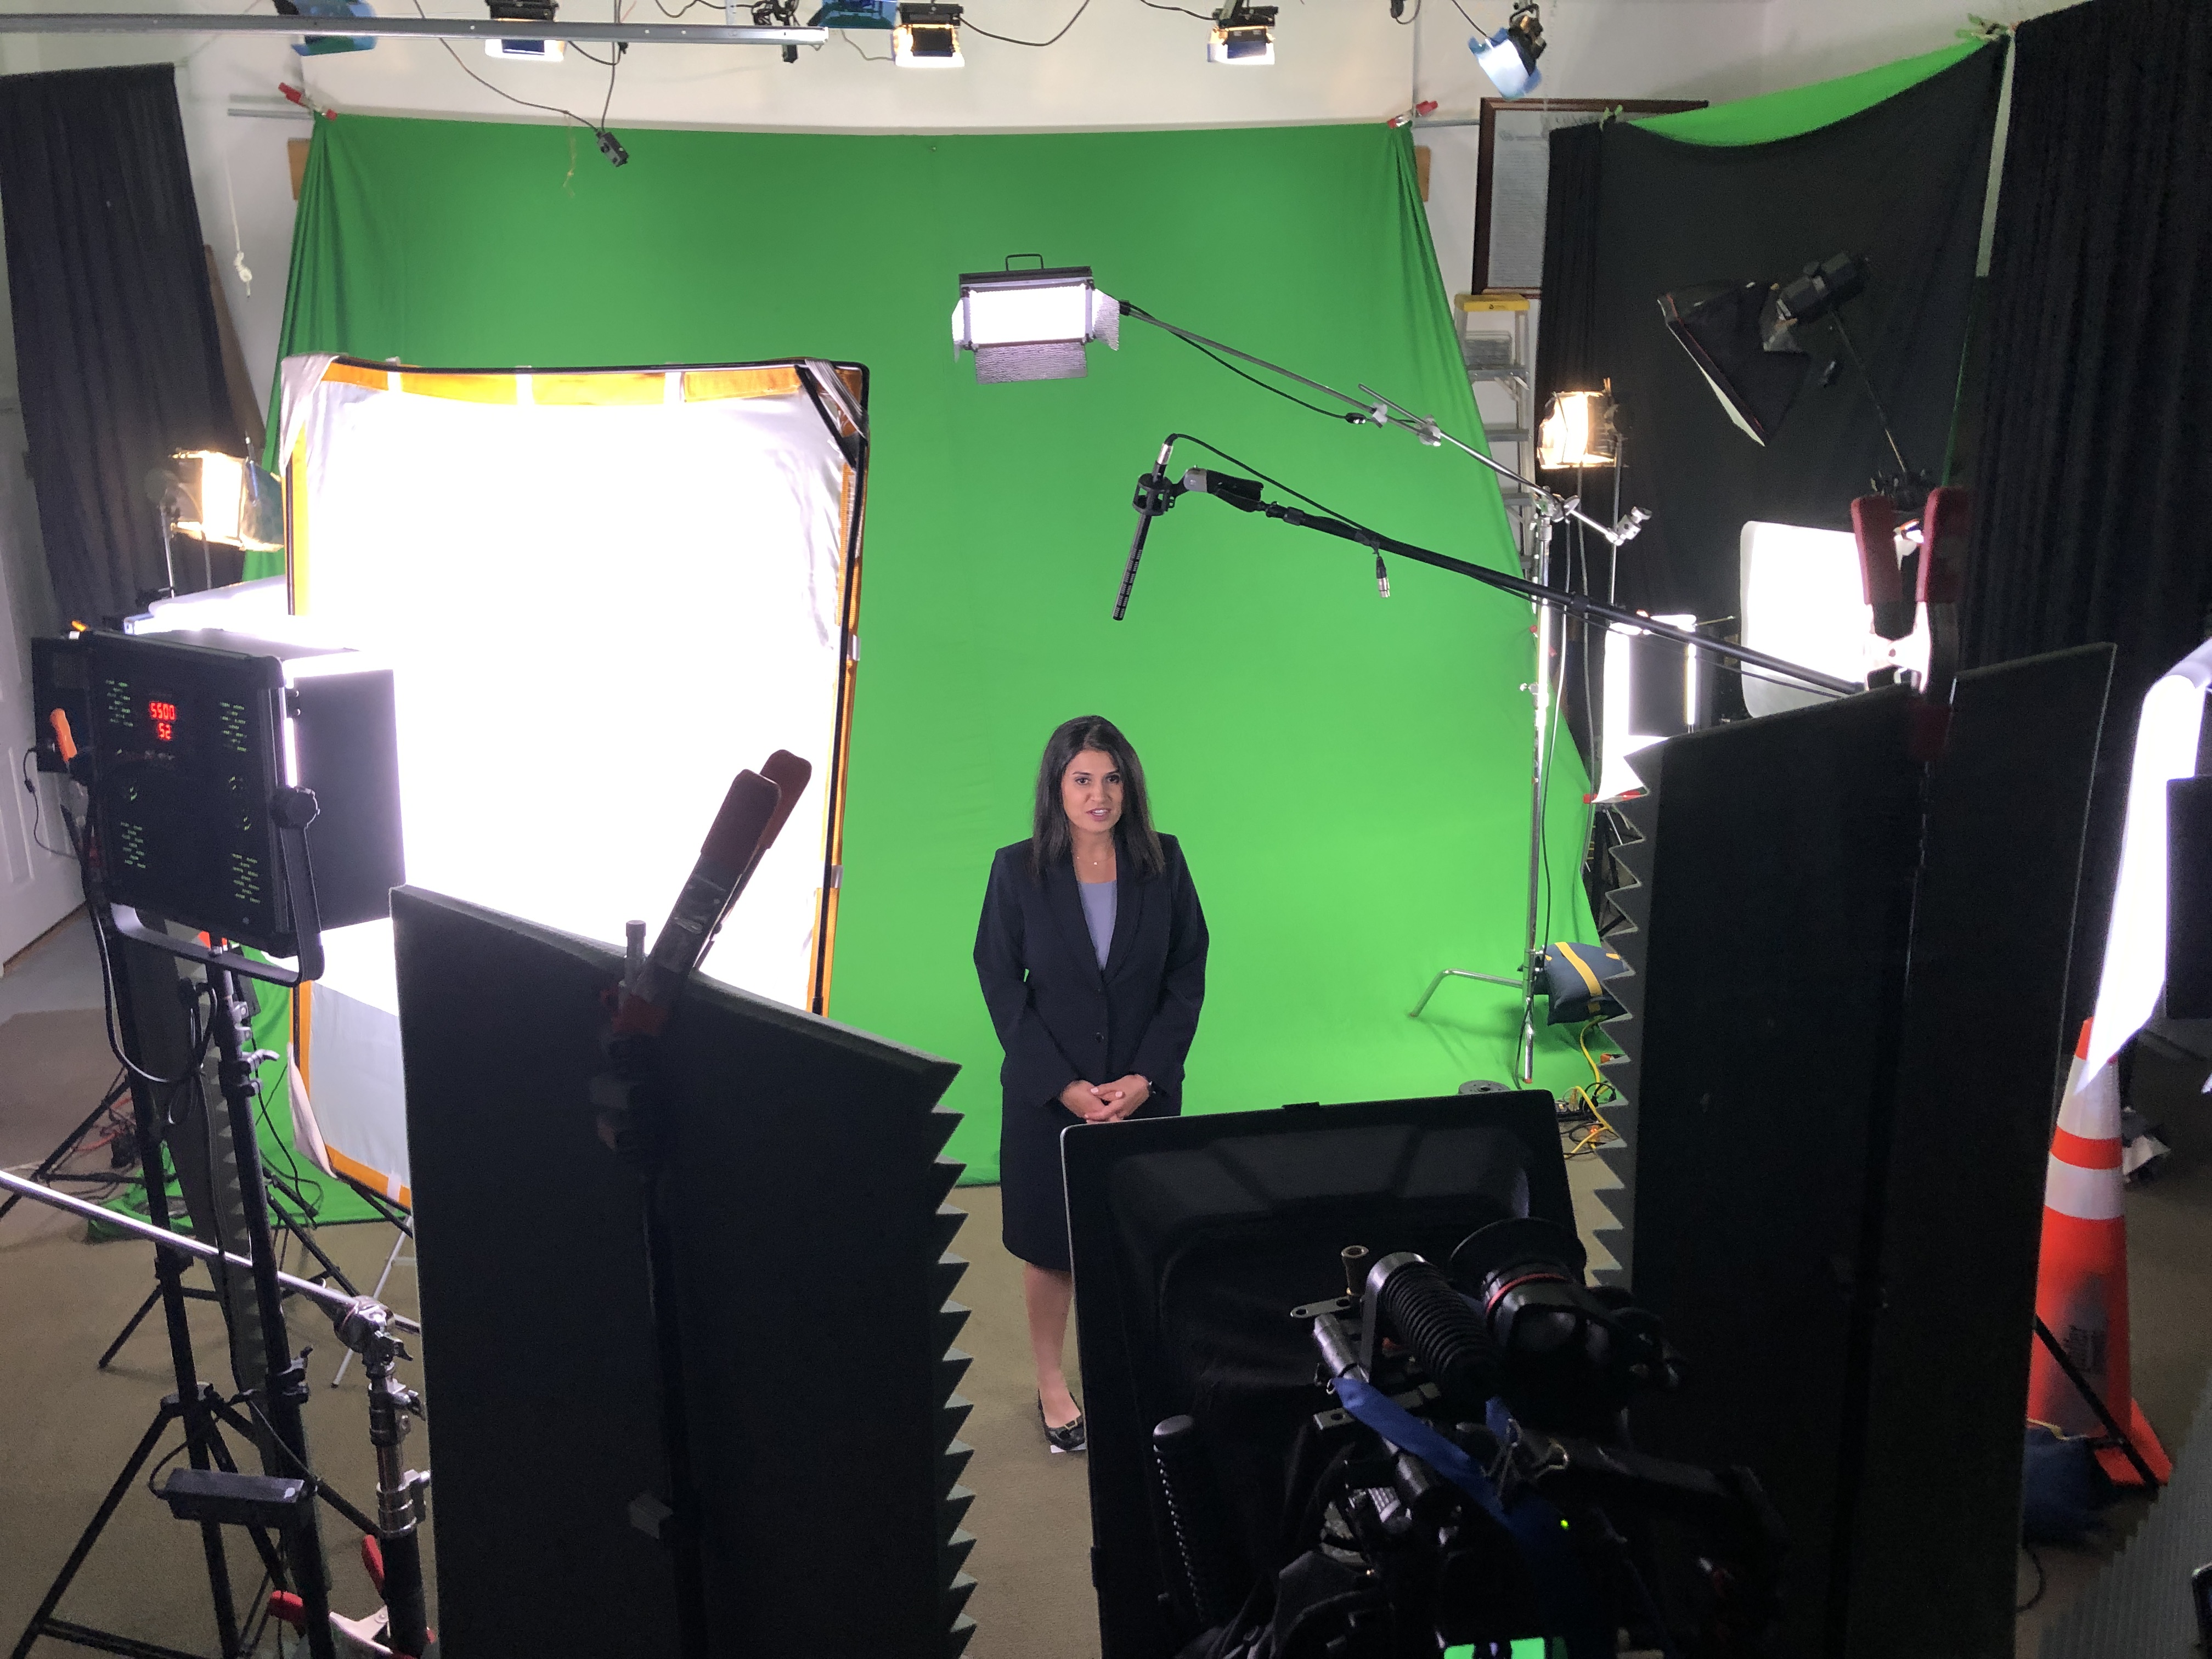
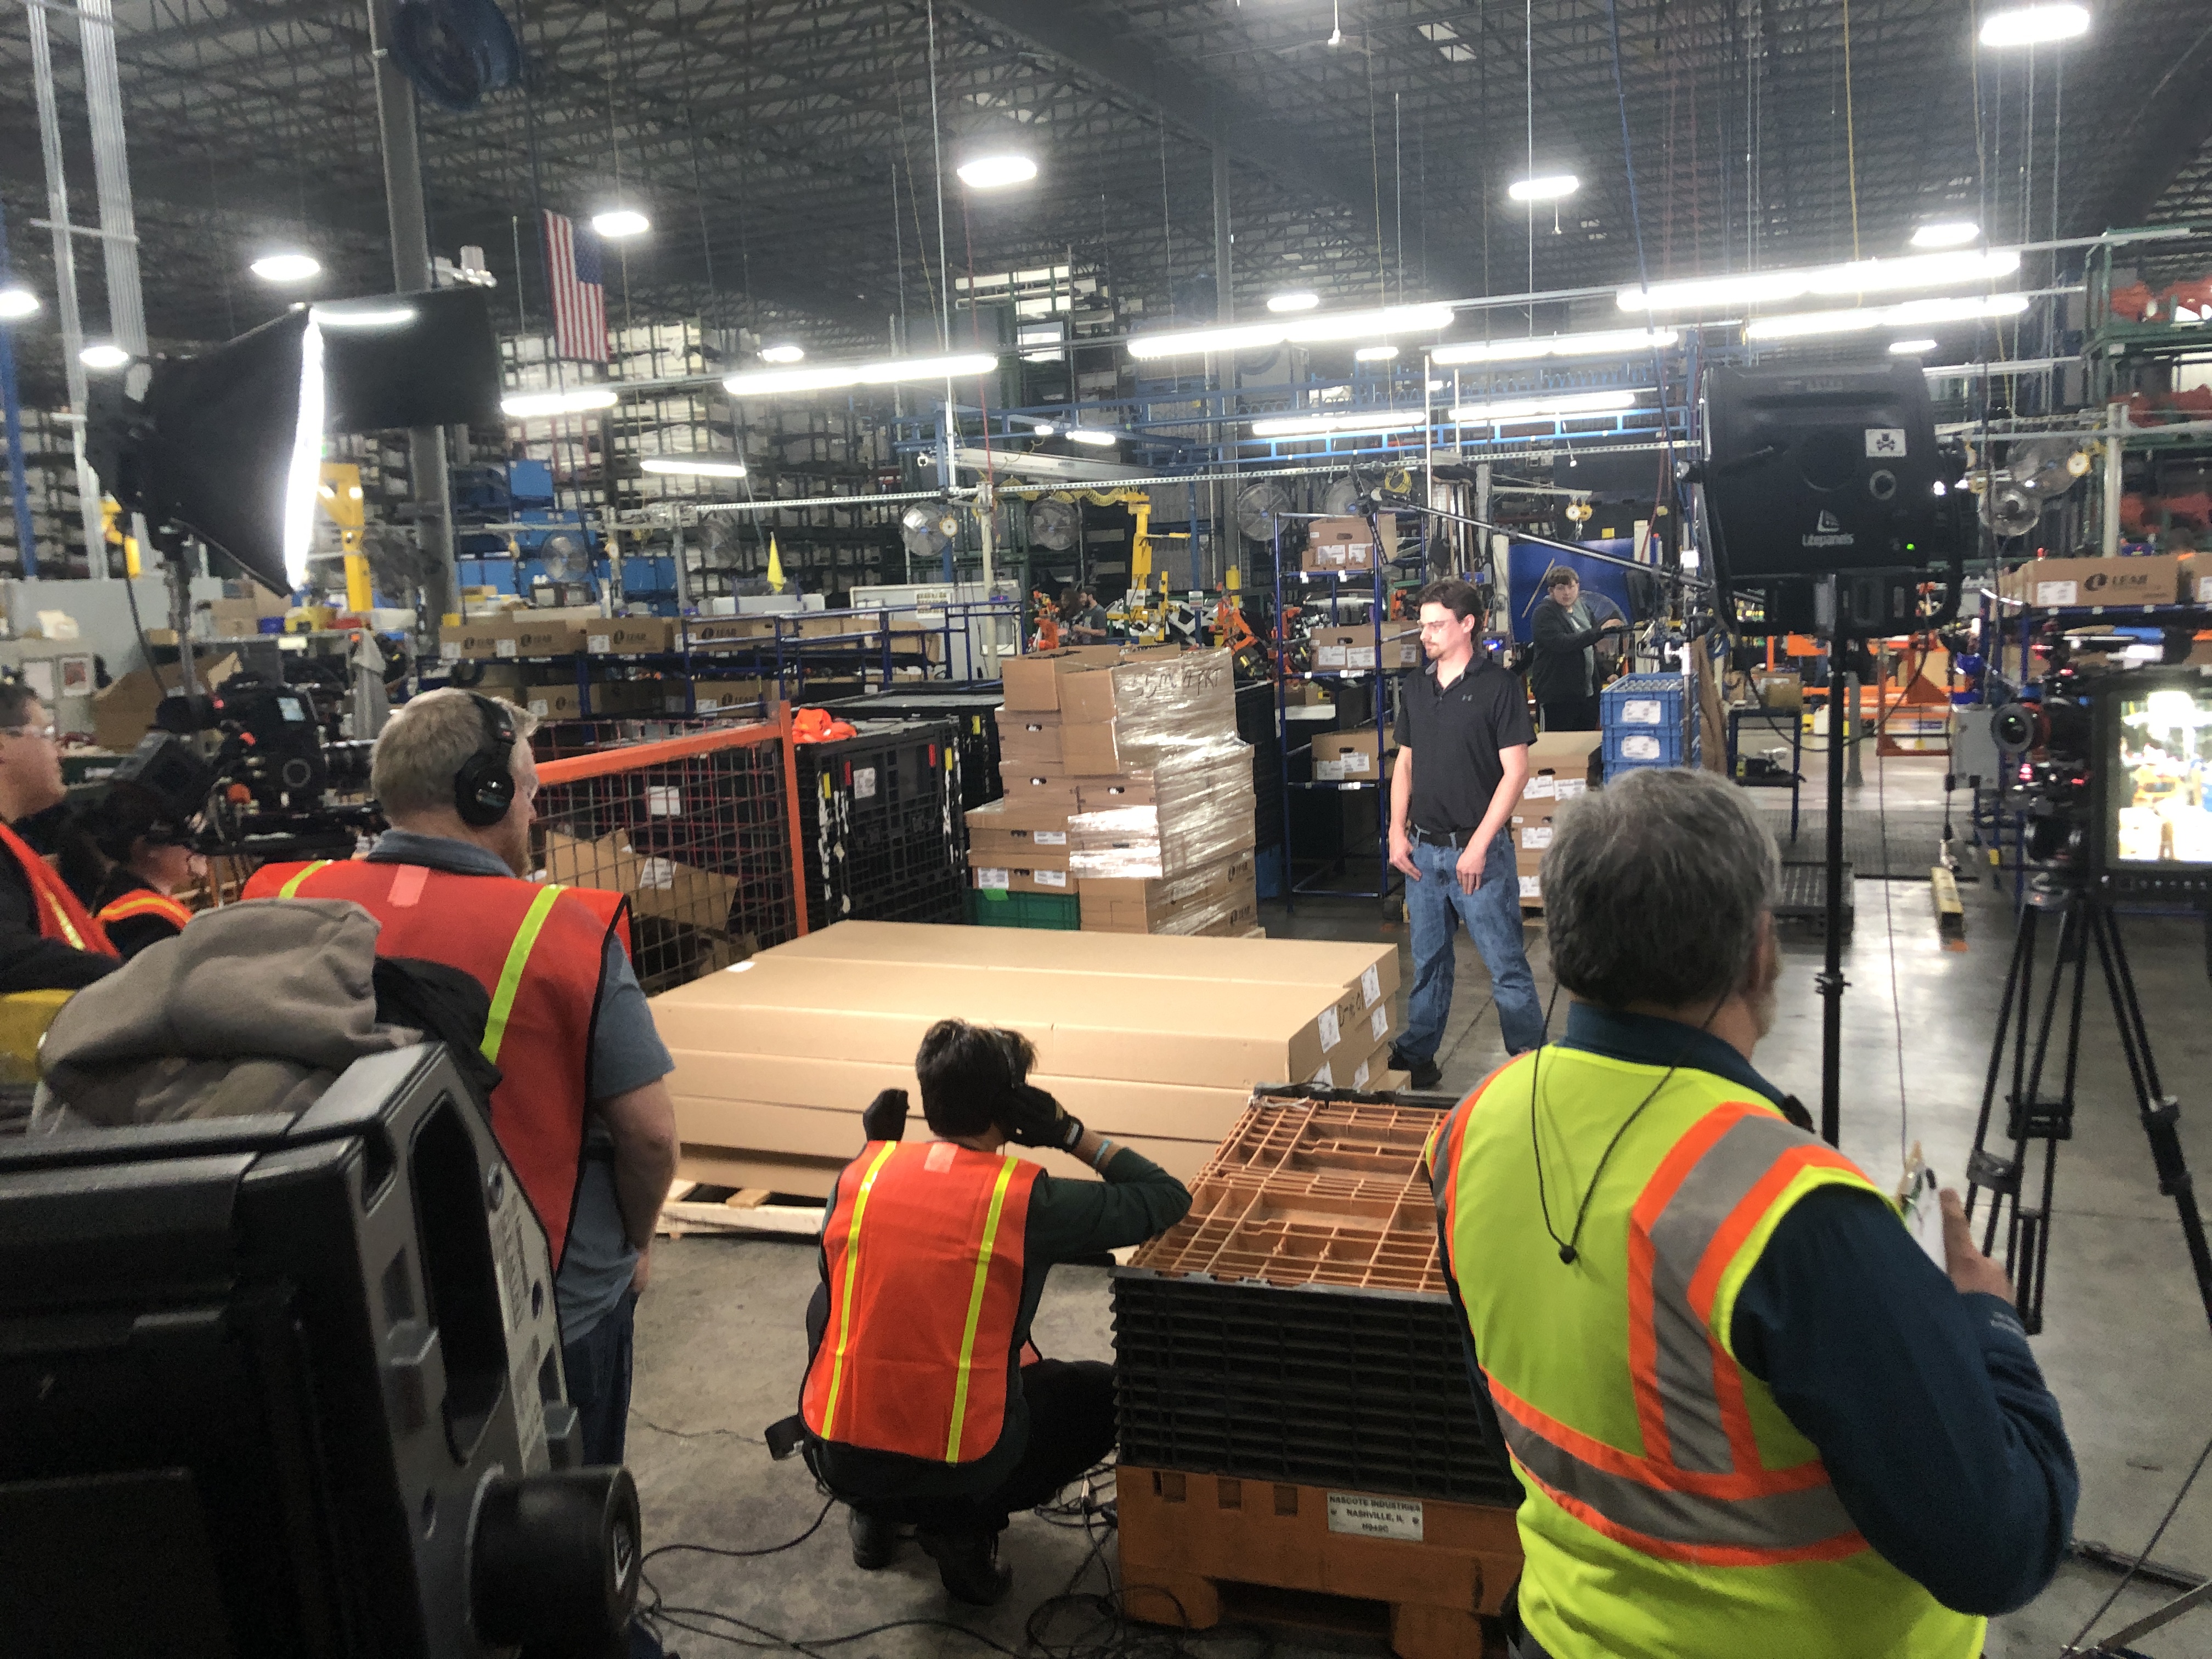
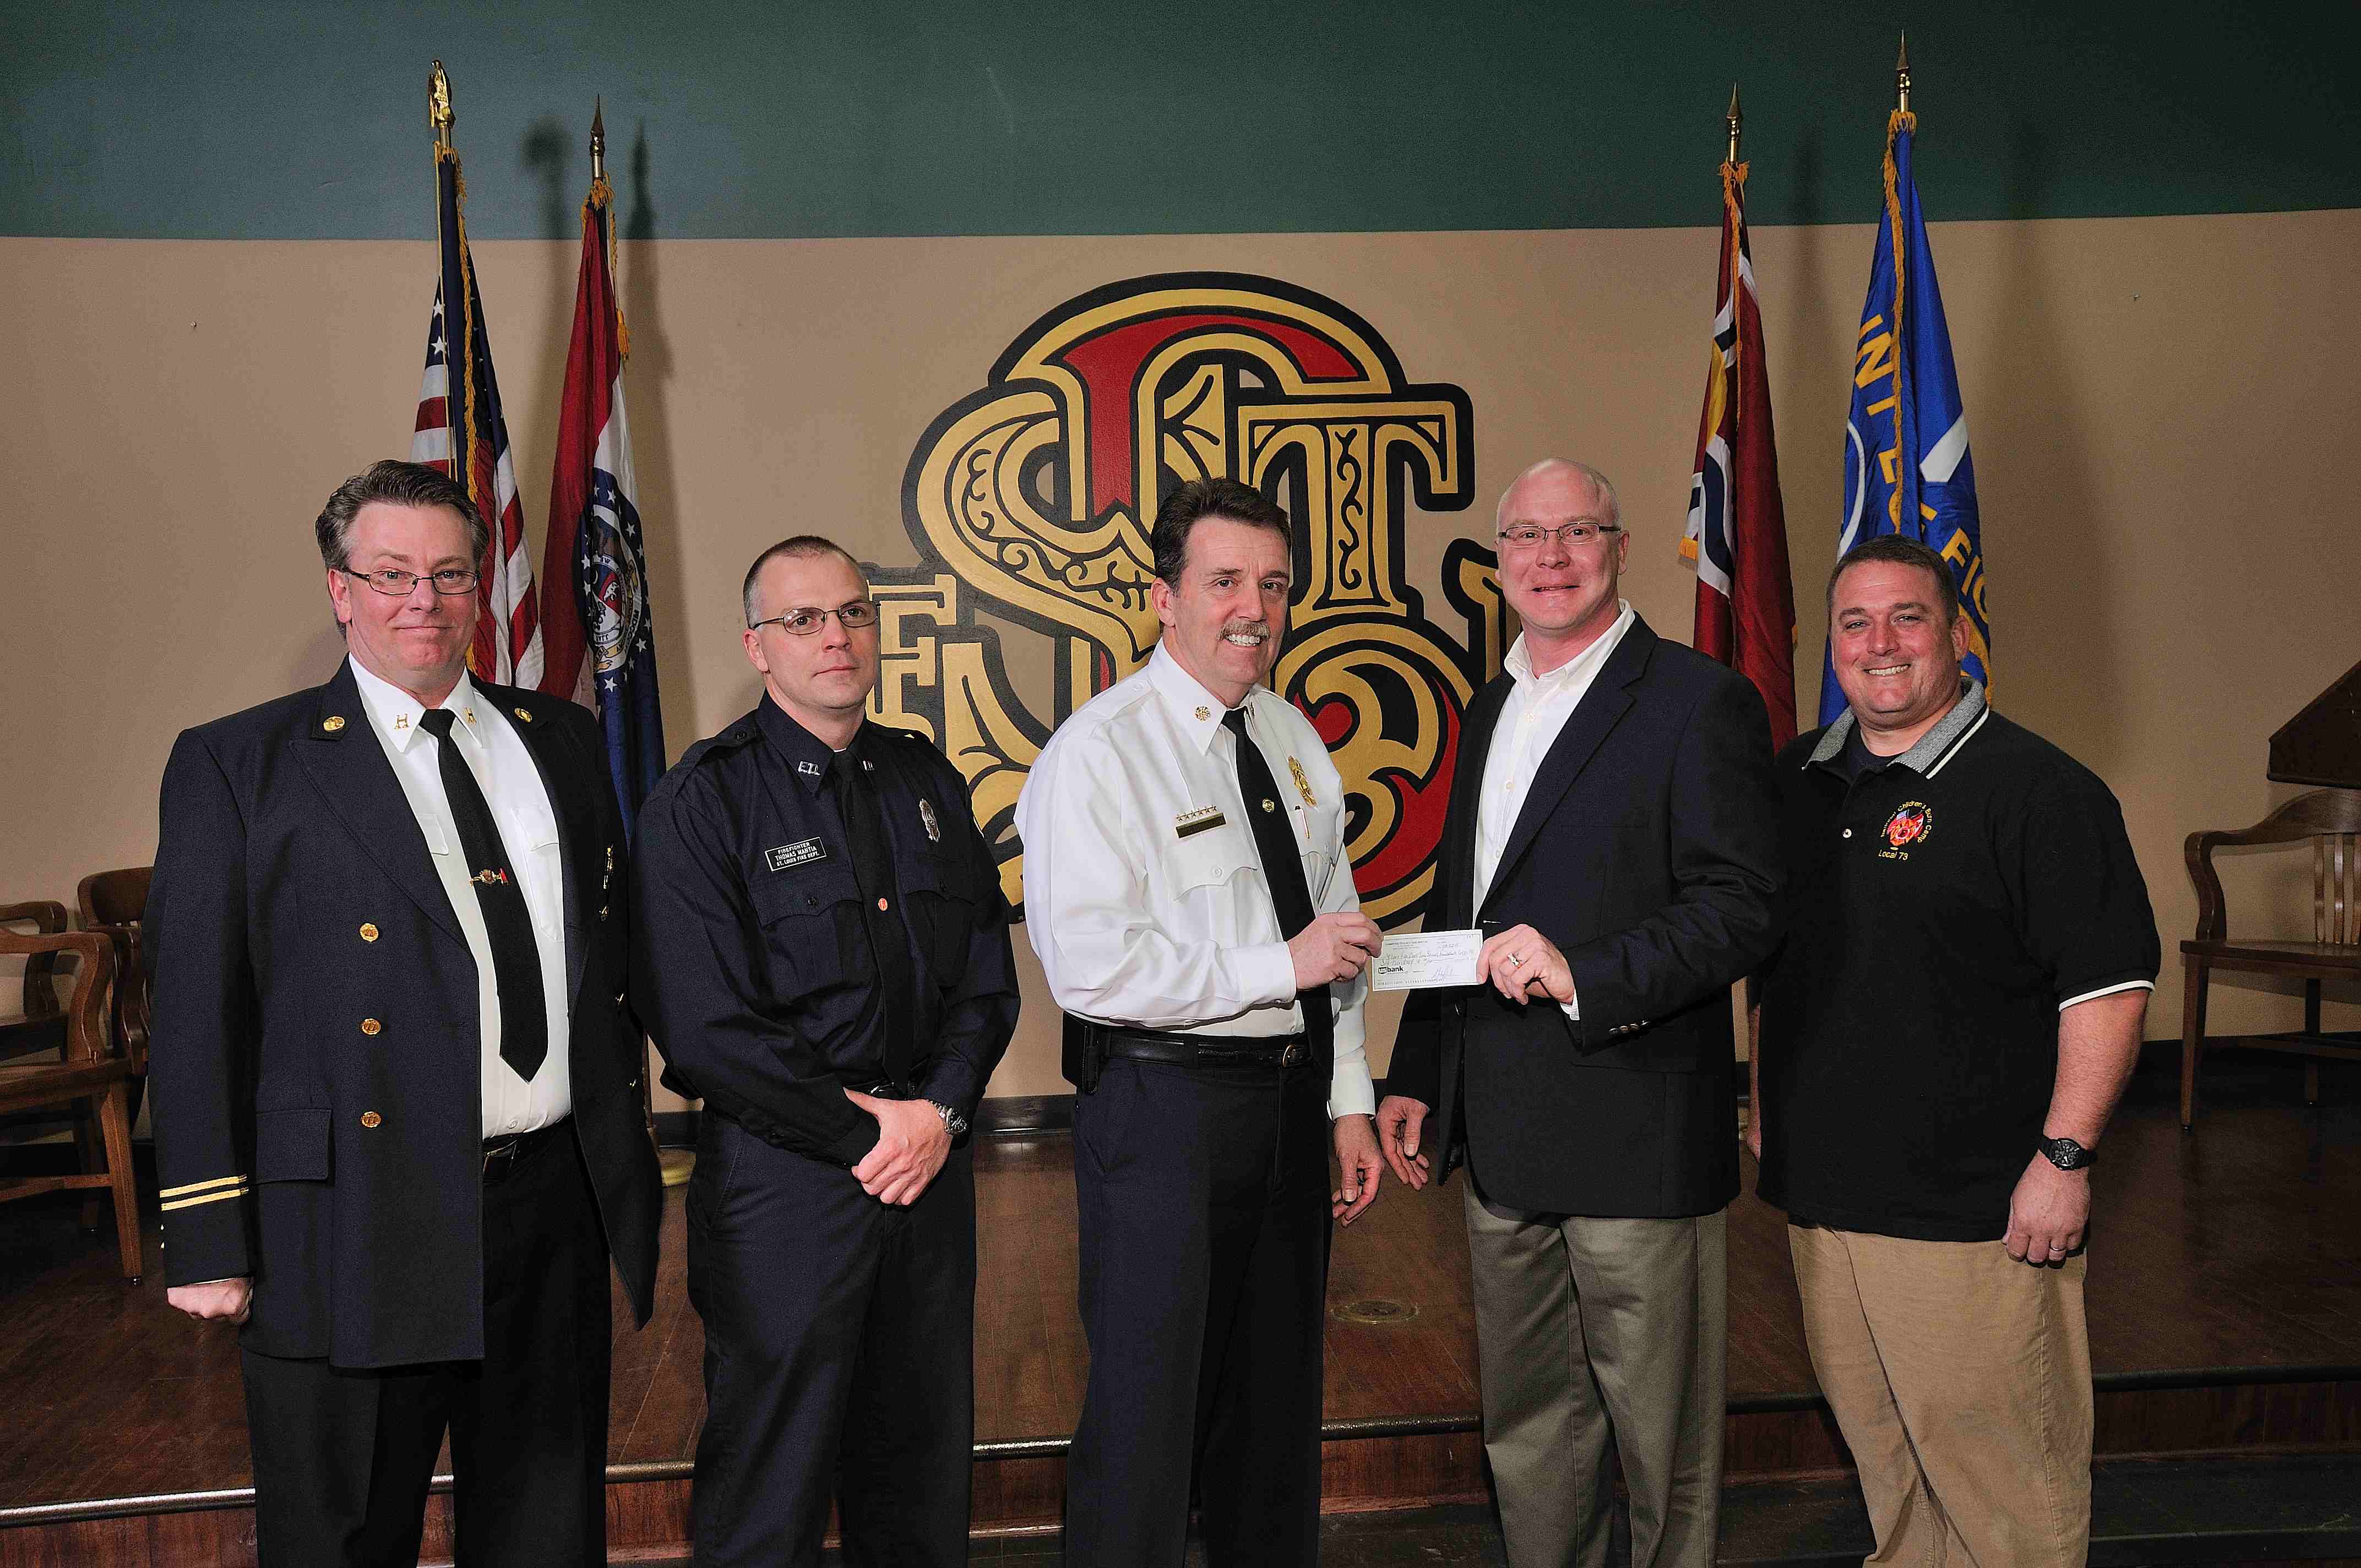
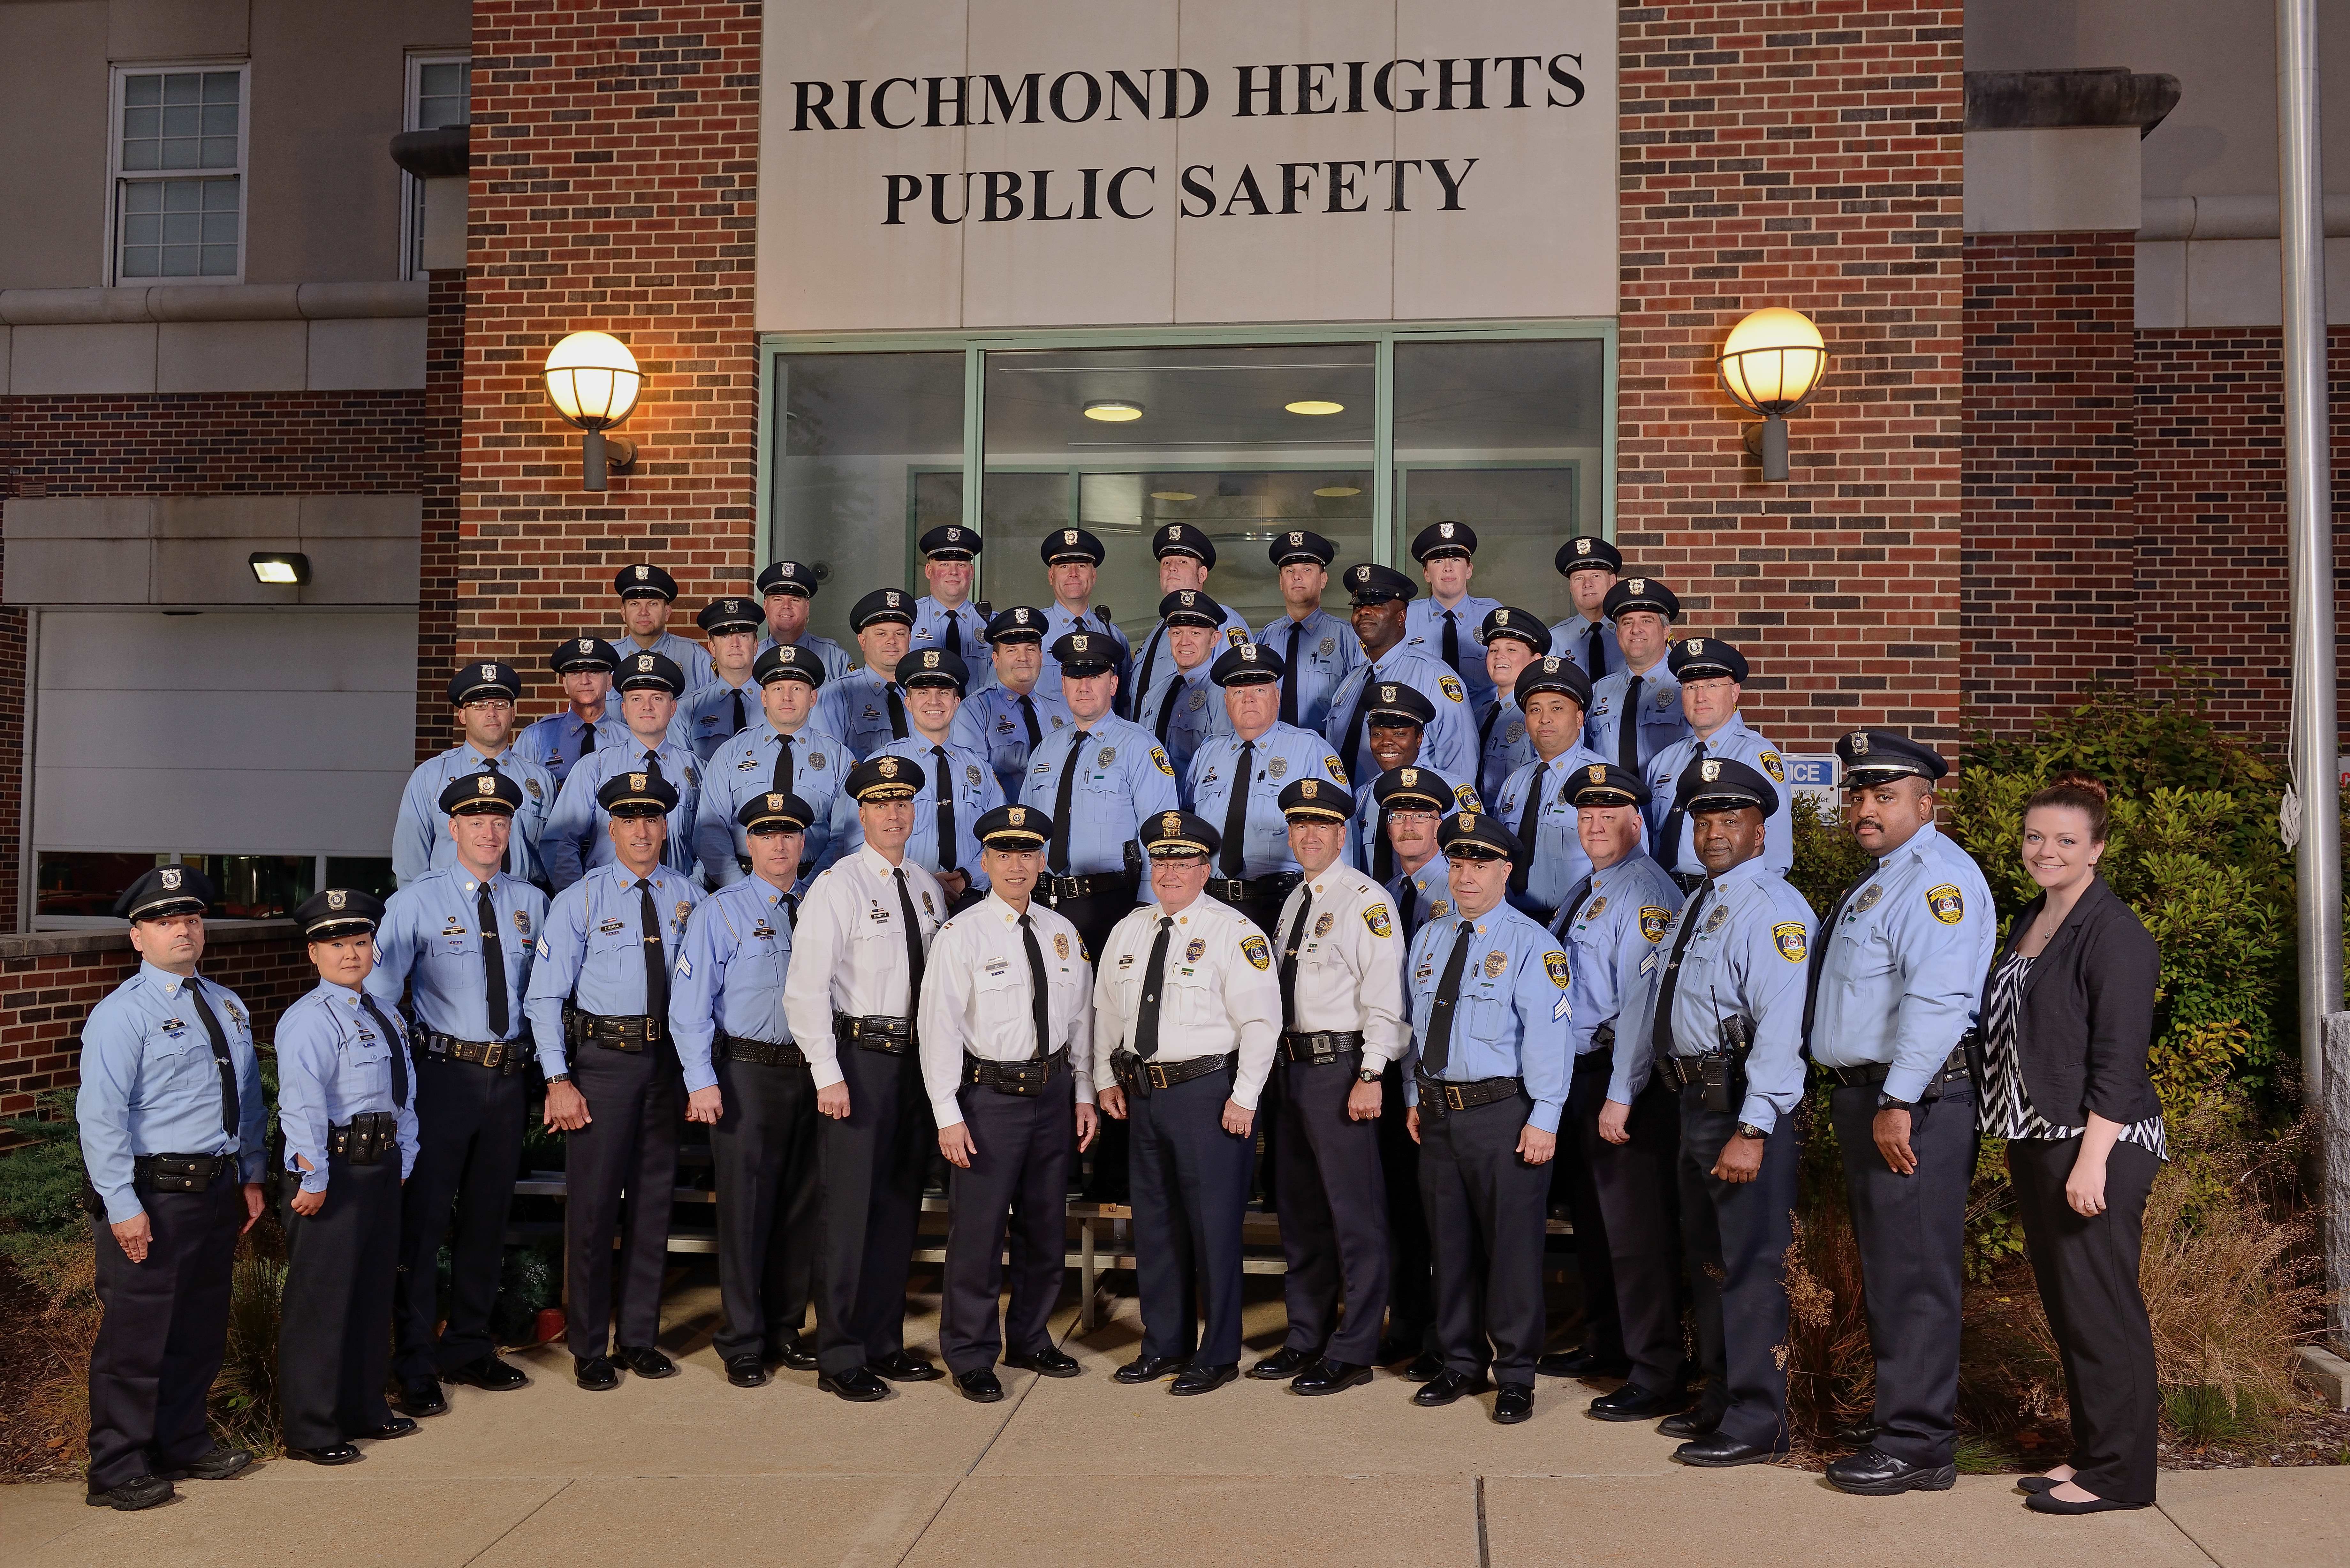
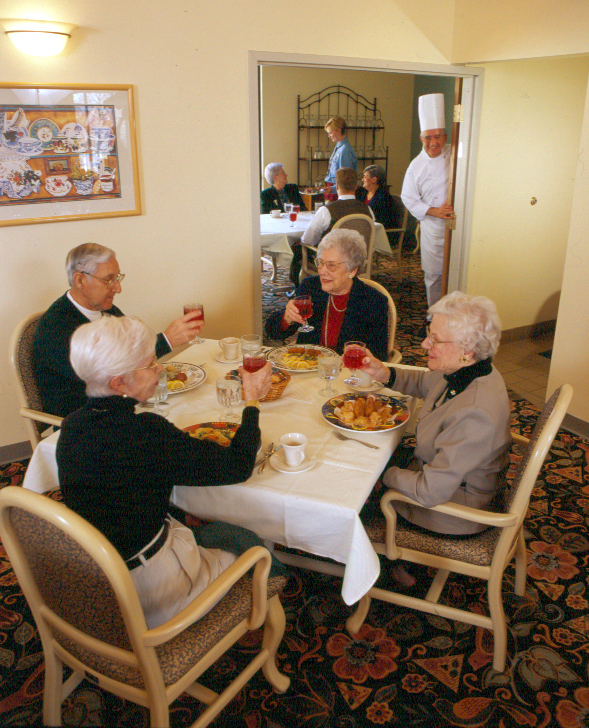
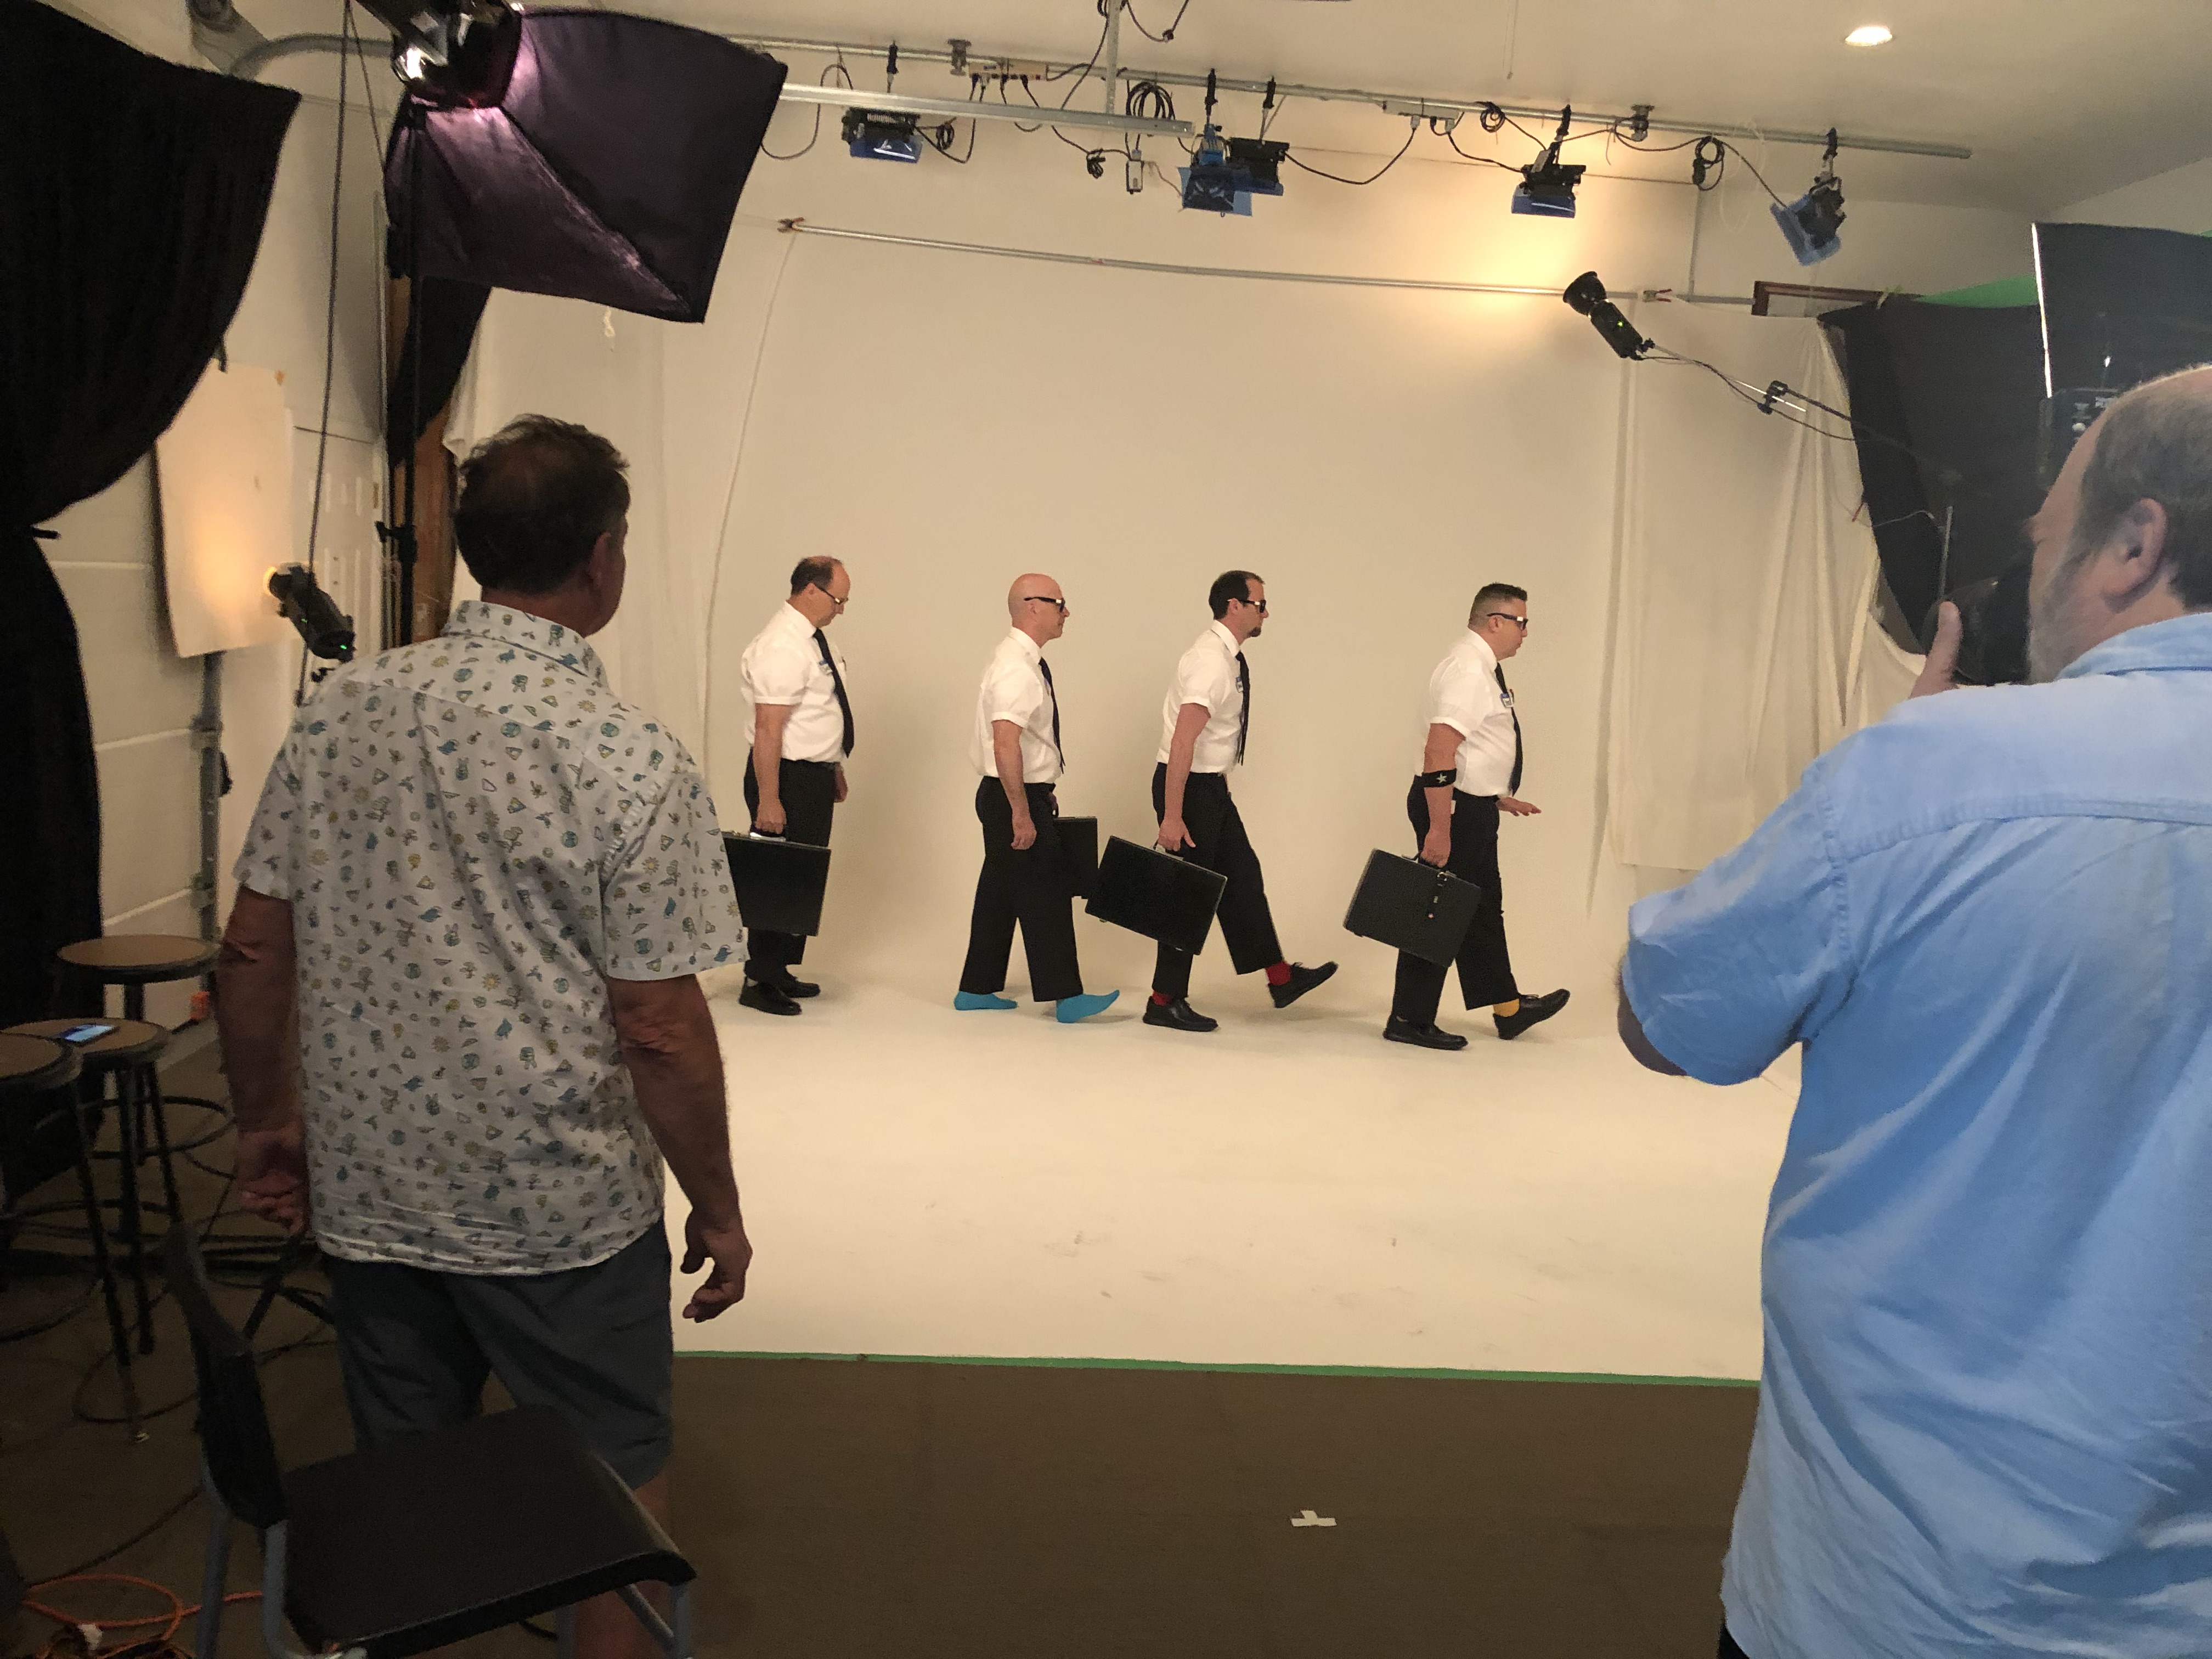
5) Wide Environmental Angle (Scale & Context)

What it does: Places subject in a designed environment—brand story in one frame.
Best for: Founders in studio, larger products, sets with signage or props.
Notes: Keep lines square; build depth with foreground “story objects.”

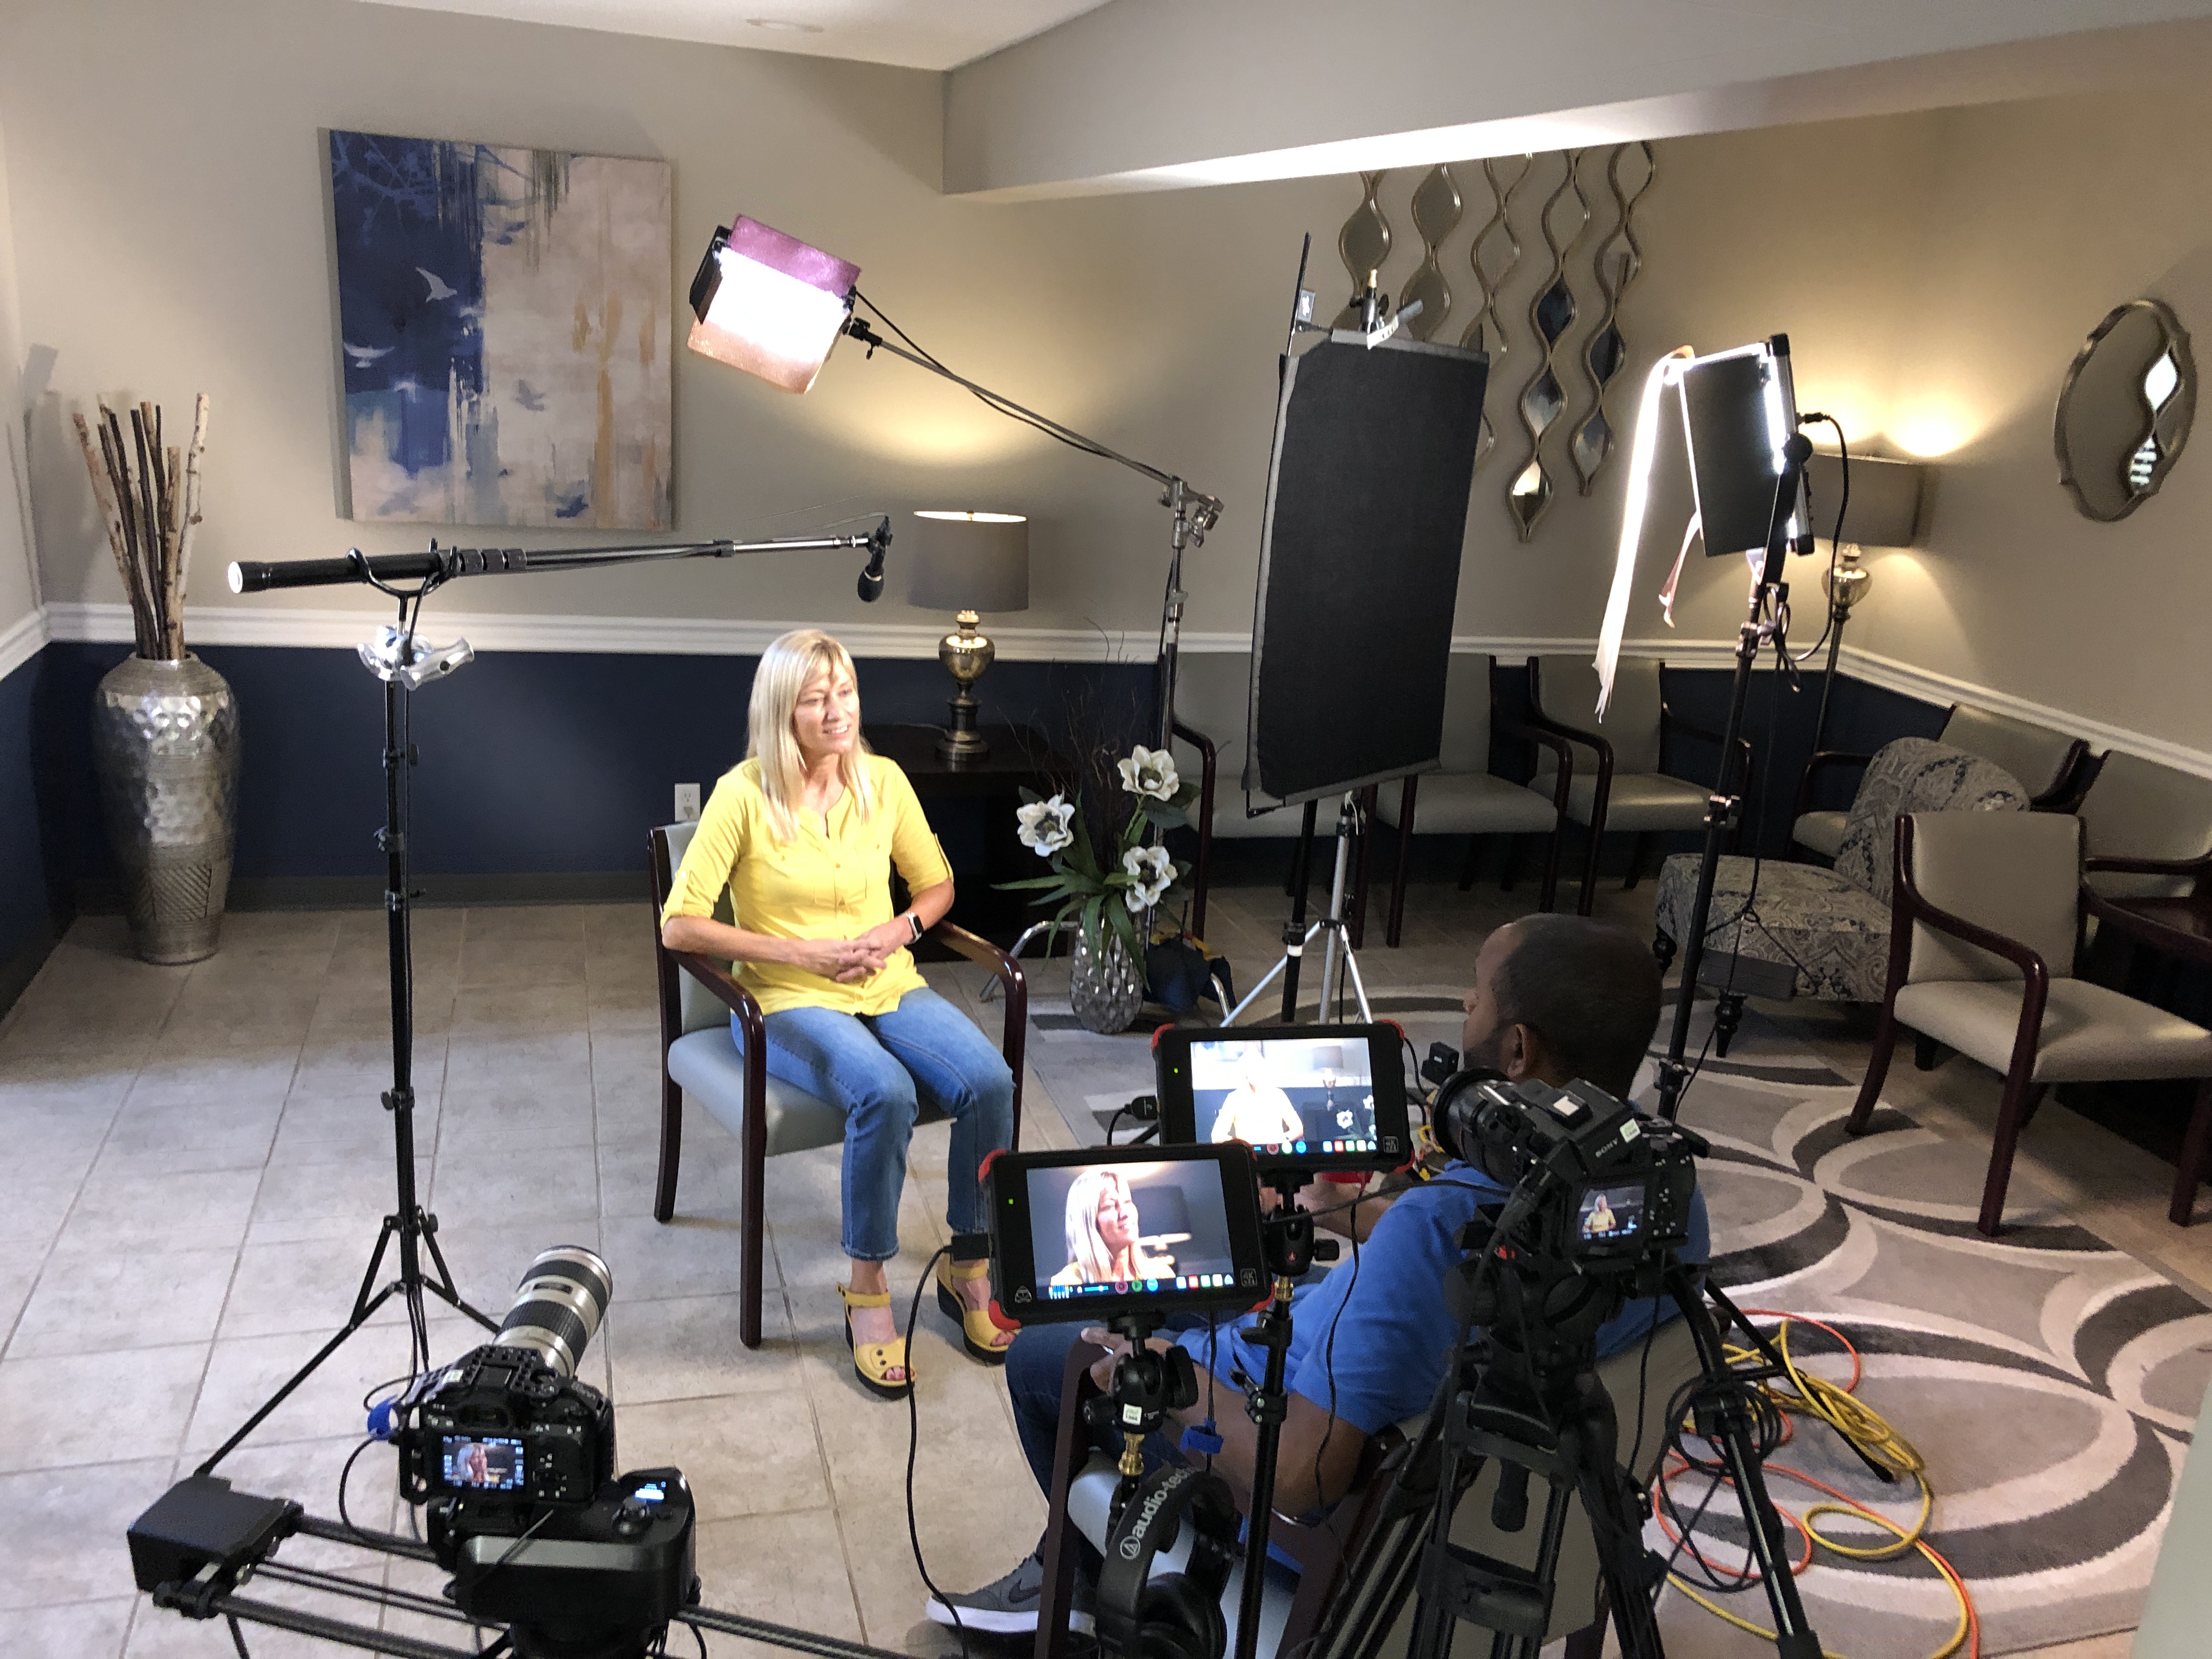
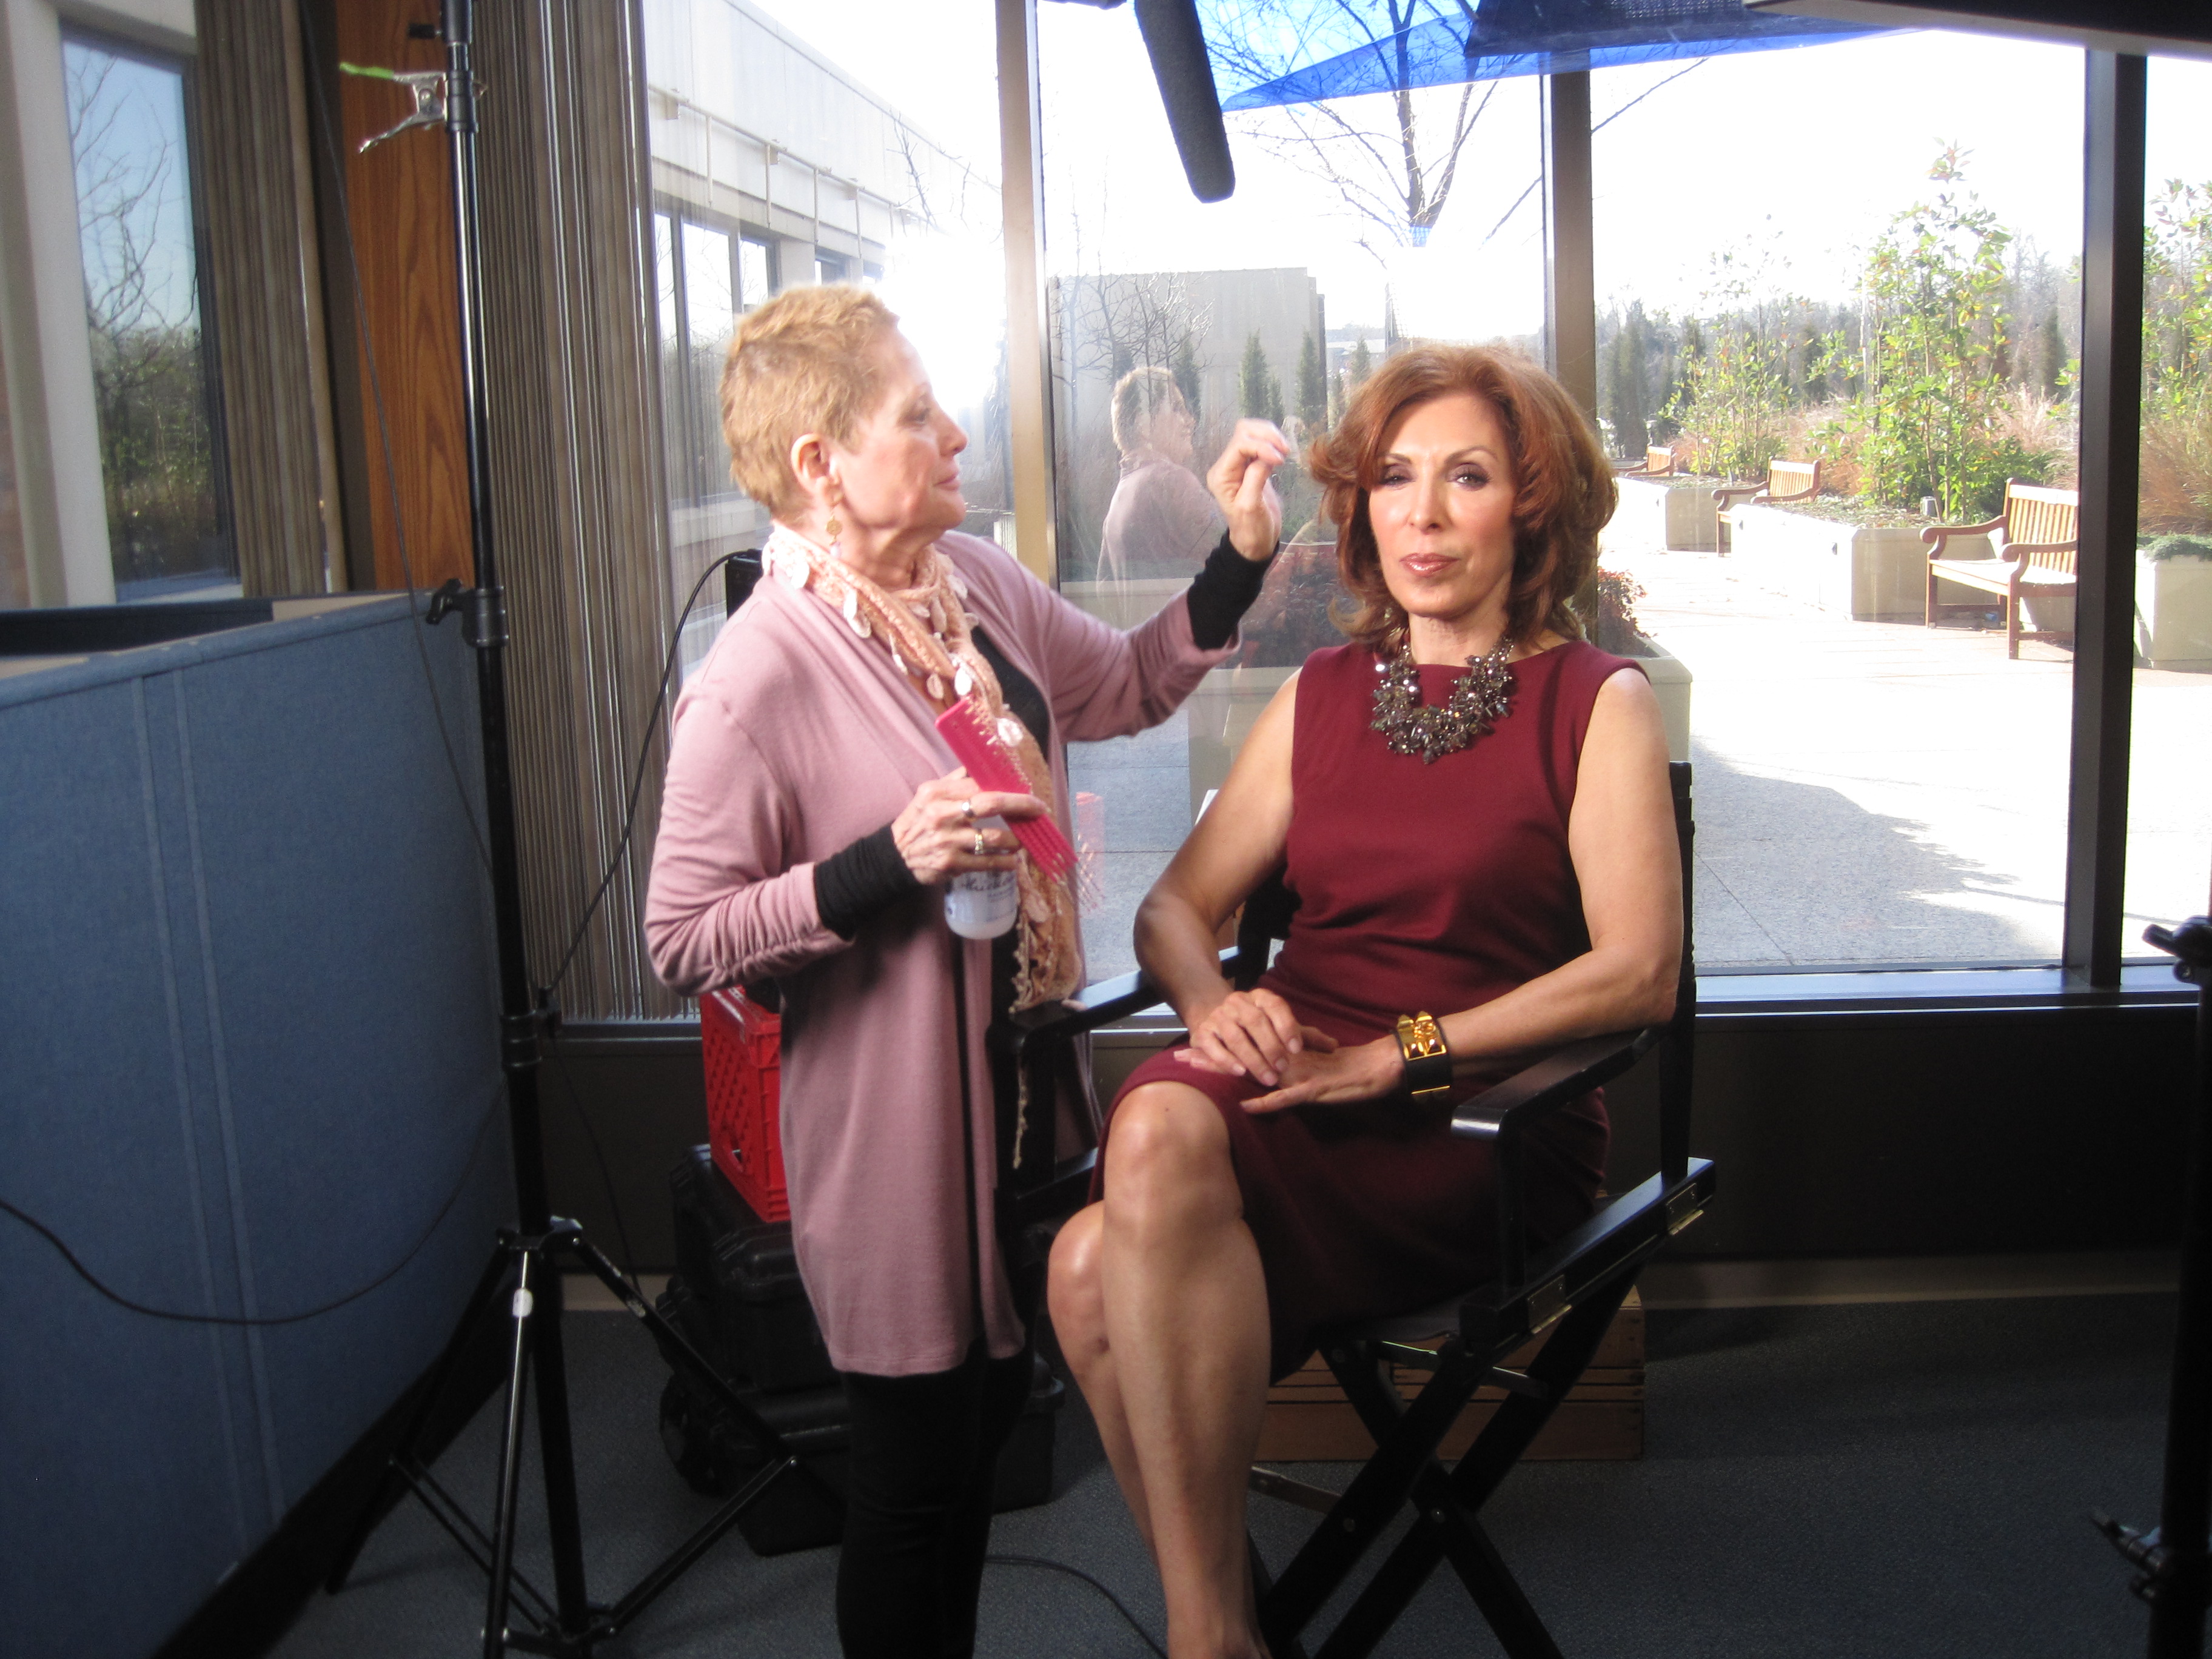
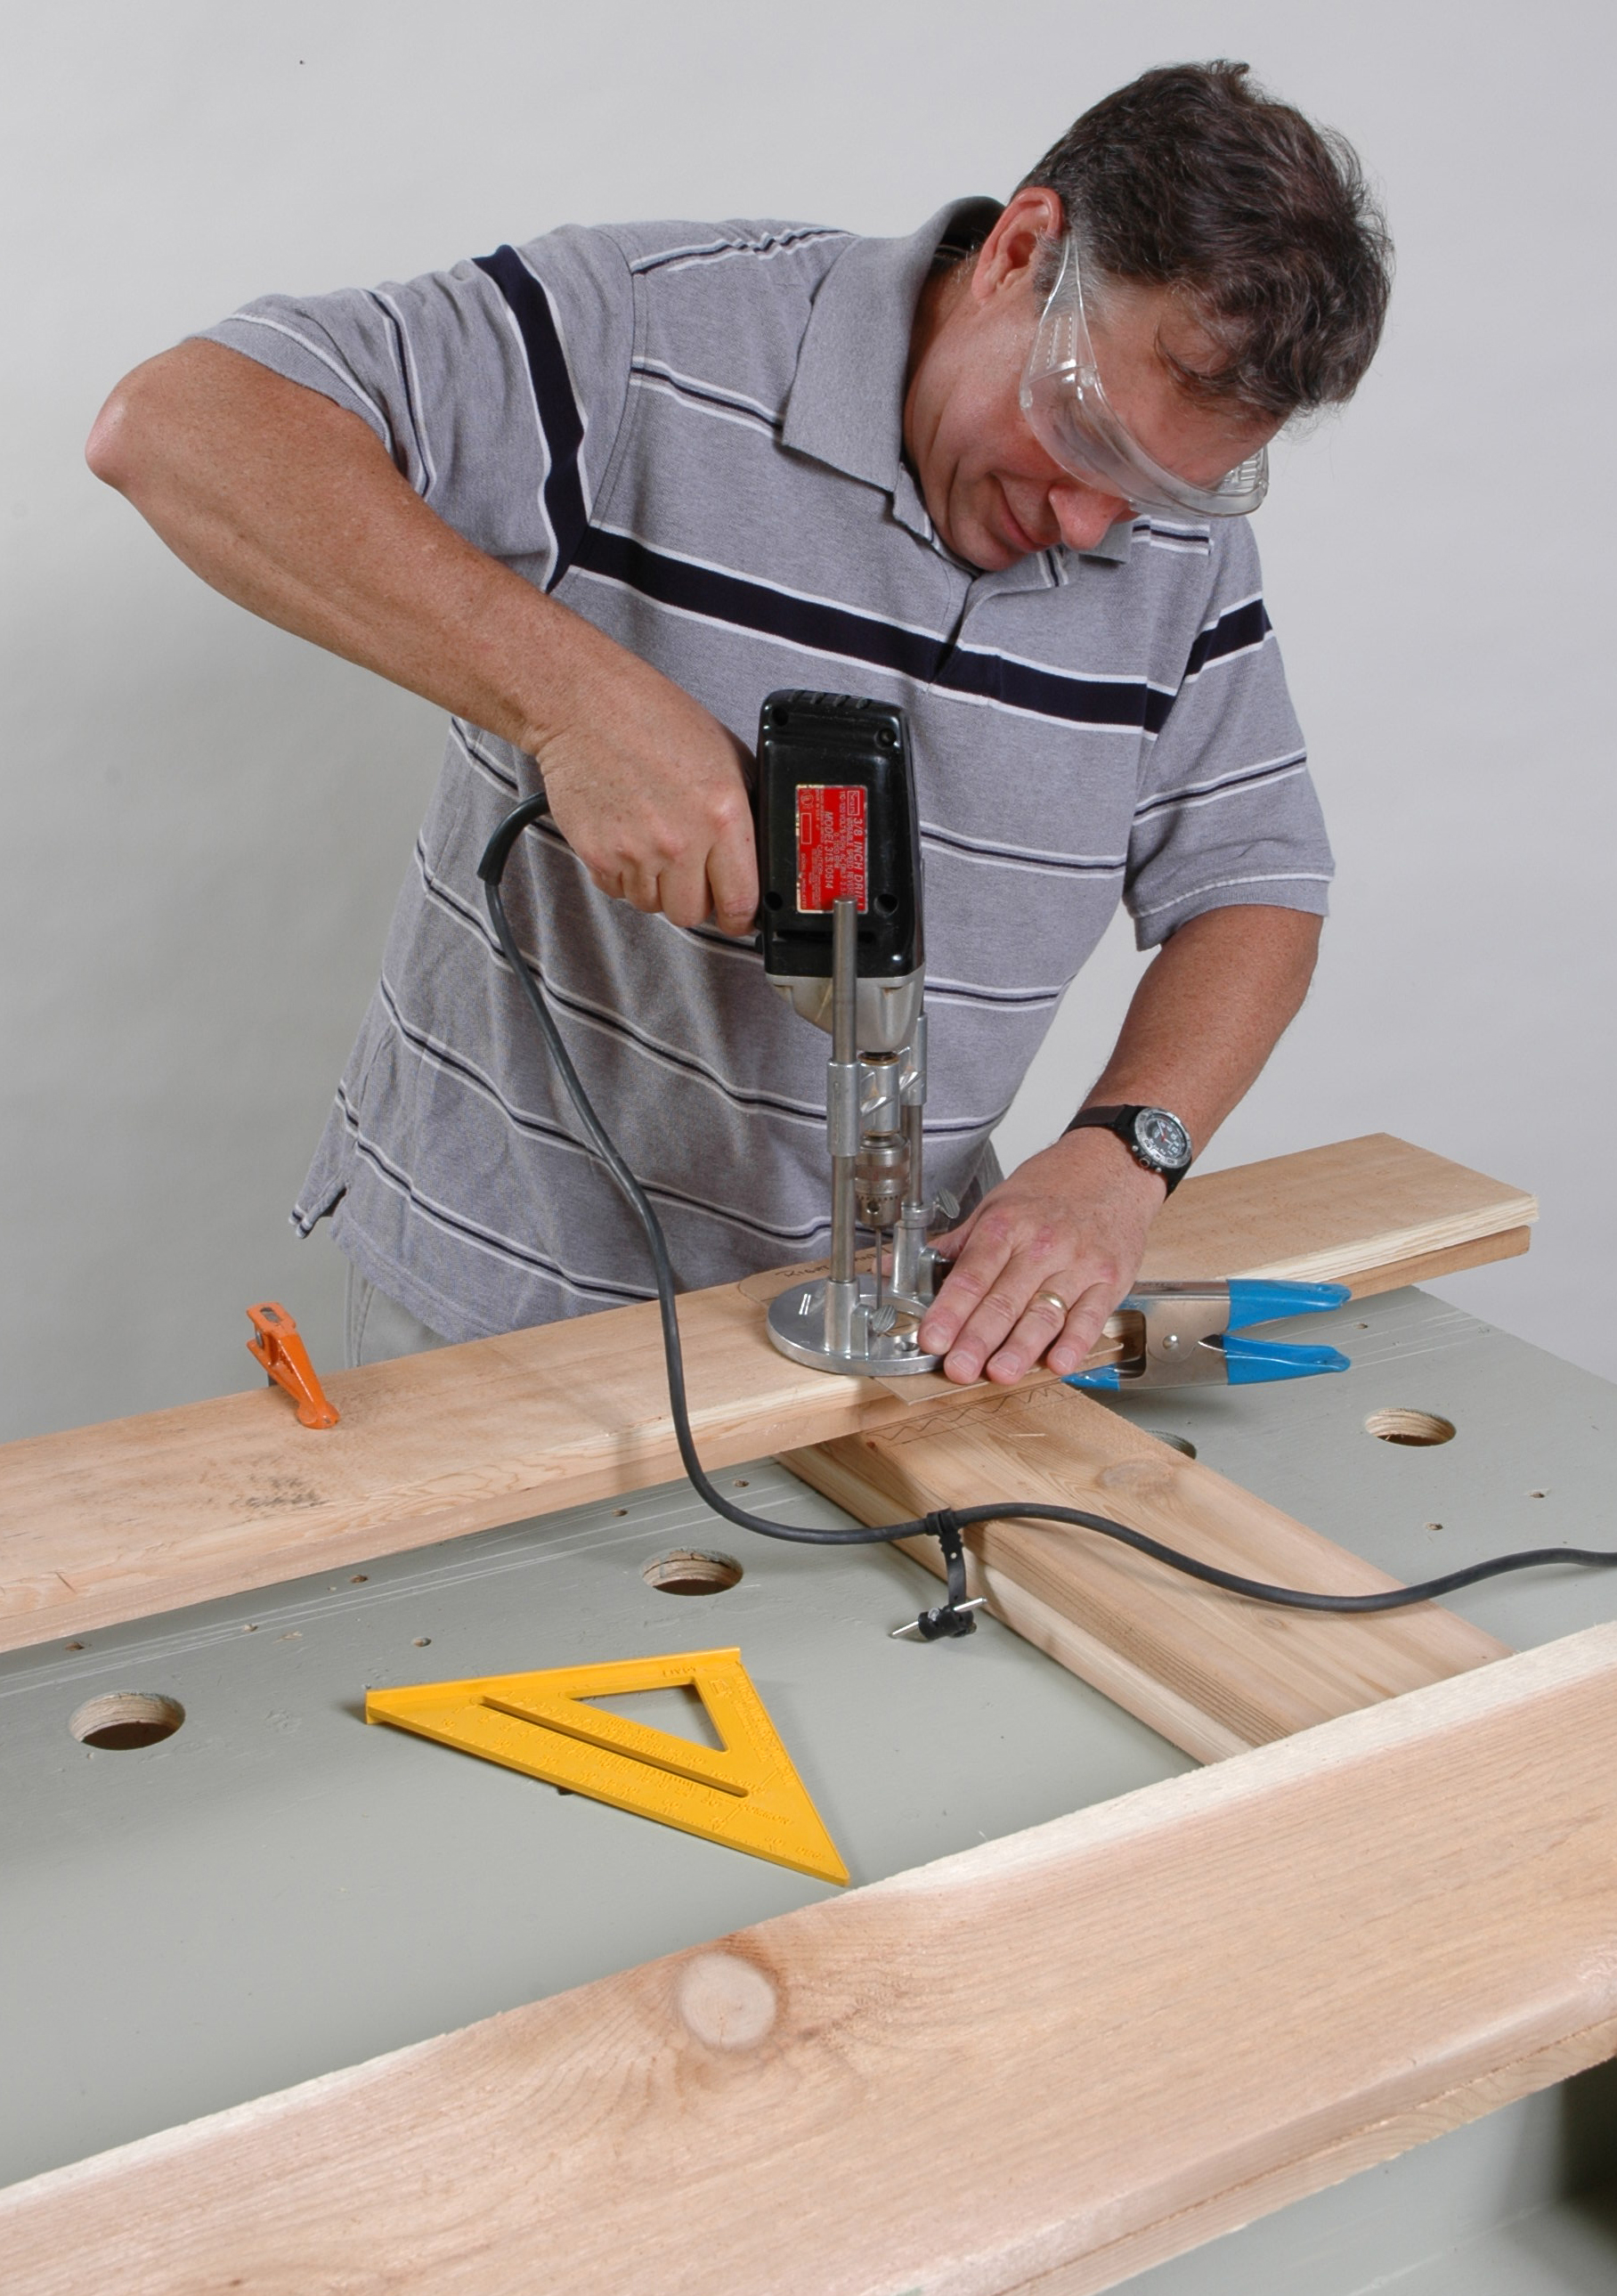
6) Over-the-Shoulder (OTS) (Trust & Demonstration)

What it does: Invites the viewer to “stand next to” your talent.
Best for: Tutorials, interviews with product in hand, collaborative scenes.
Notes: Keep OTS shoulder soft; prioritize subject eyes or focal plane on key action.

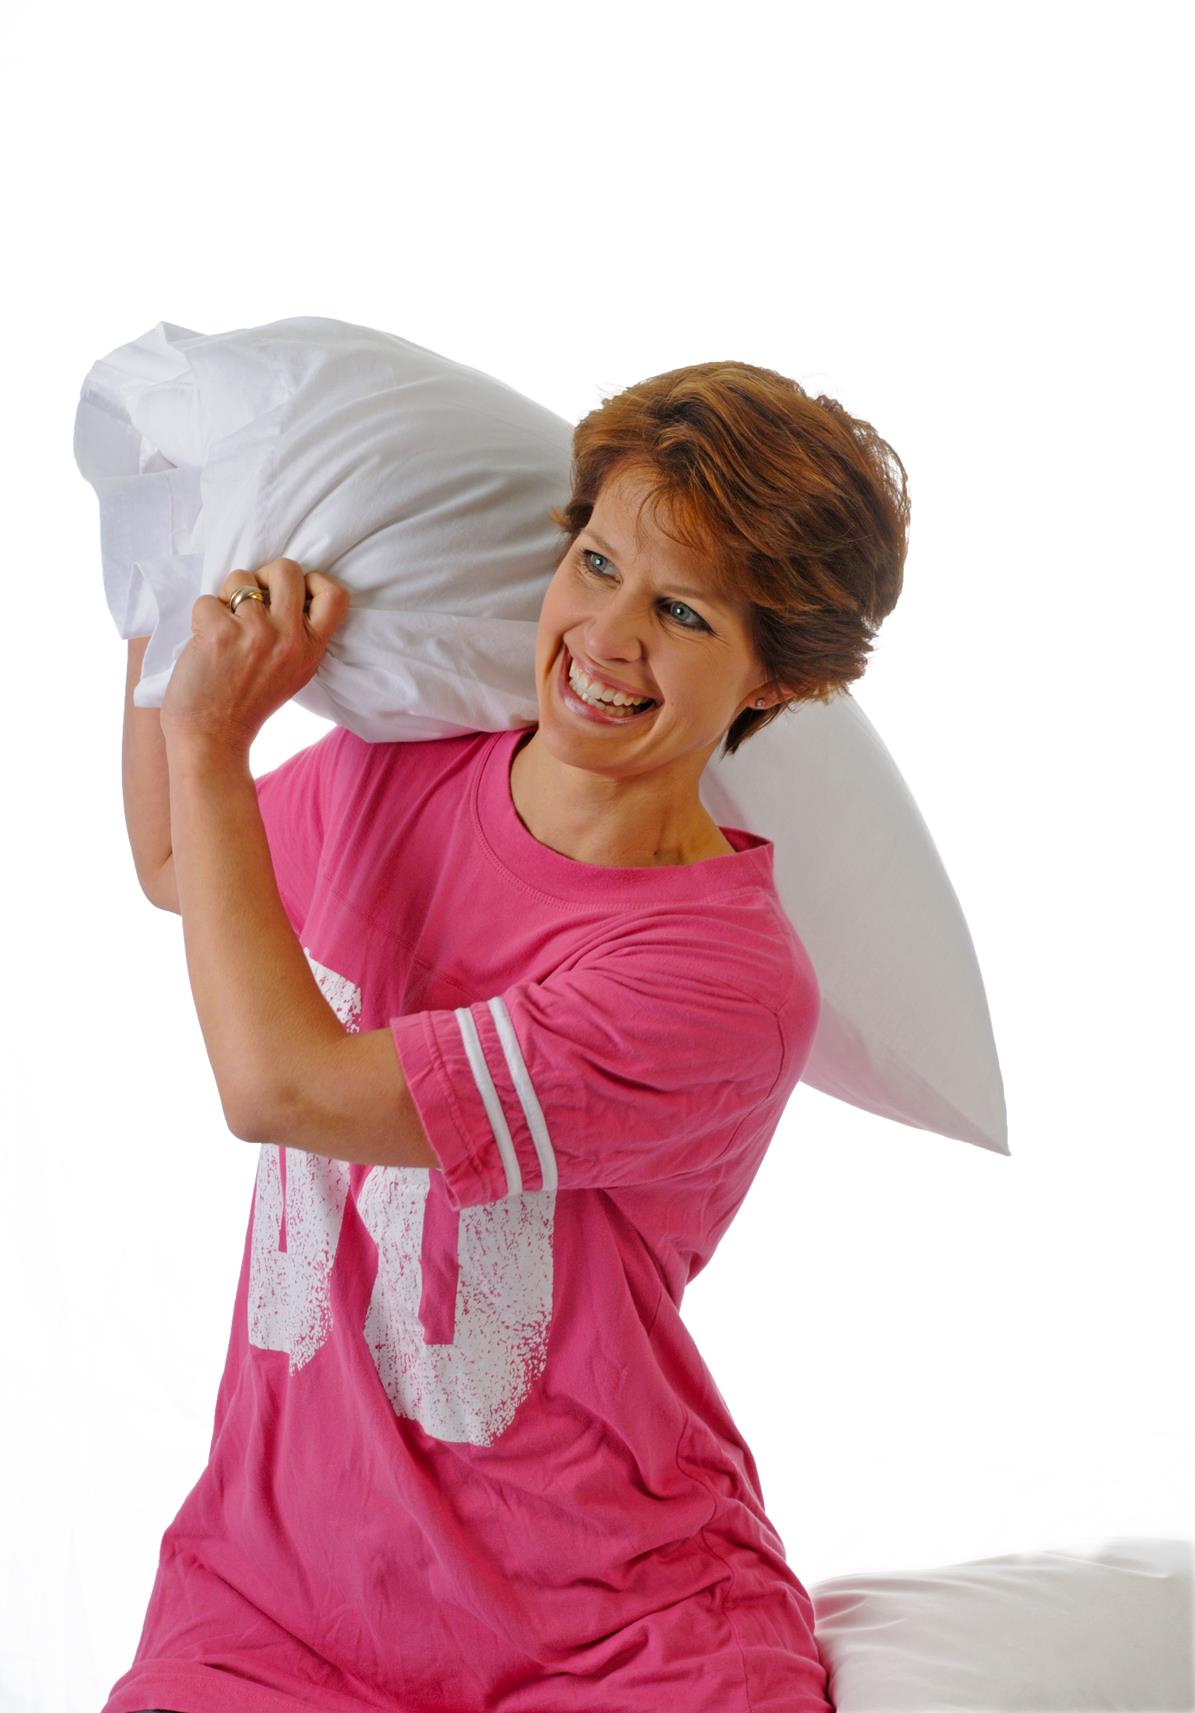
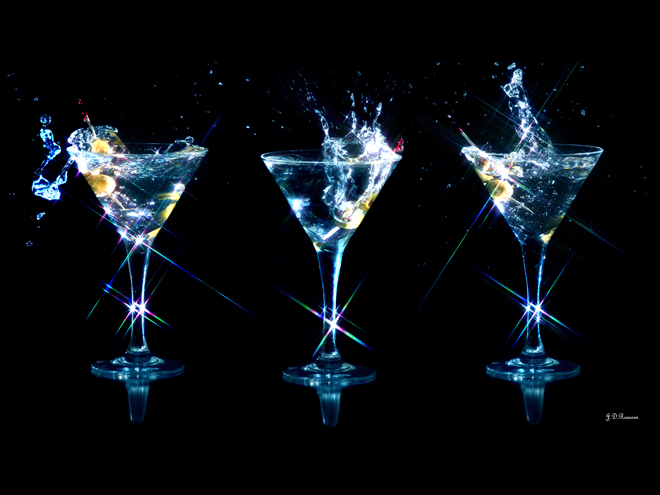
7) Dutch Tilt (Energy & Disruption)

What it does: Introduces dynamic tension; visually says “this isn’t ordinary.”
Best for: Sports, innovation sizzle, teasers.
Notes: Use sparingly; align any typography to the tilt in post to keep design cohesive.

8) Low Macro Sweep (Texture & Materiality)

What it does: Sells tactile quality—grains, knurls, stitching.
Best for: Apparel, industrial components, packaging.
Notes: Controlled rakes of light at shallow angles; focus stacking if needed.

9) Silhouette/Edge-Key (Mystery & Reveal)

What it does: Hides just enough to intrigue; perfect for pre-launch or teaser.
Best for: New products, high-concept hero moments.
Notes: Black-wrap and cutters to define edges; plan a second pass for the reveal.

10) Mirror/Reflection Angle (Depth & Duality)

What it does: Doubles subject; suggests perspective and sophistication.
Best for: Beauty, fashion, interiors, premium tech.
Notes: True mirrors for sharp reflection; watch for crew and light contamination.

11) Parallax Slider/Gimbal Angle (Motion without Complexity)

What it does: Creates premium feel with small lateral moves; boosts watch-time.
Best for: Social cutdowns, product pages, app demos.
Notes: Lock horizon; consistent speed = easily loopable assets for web.

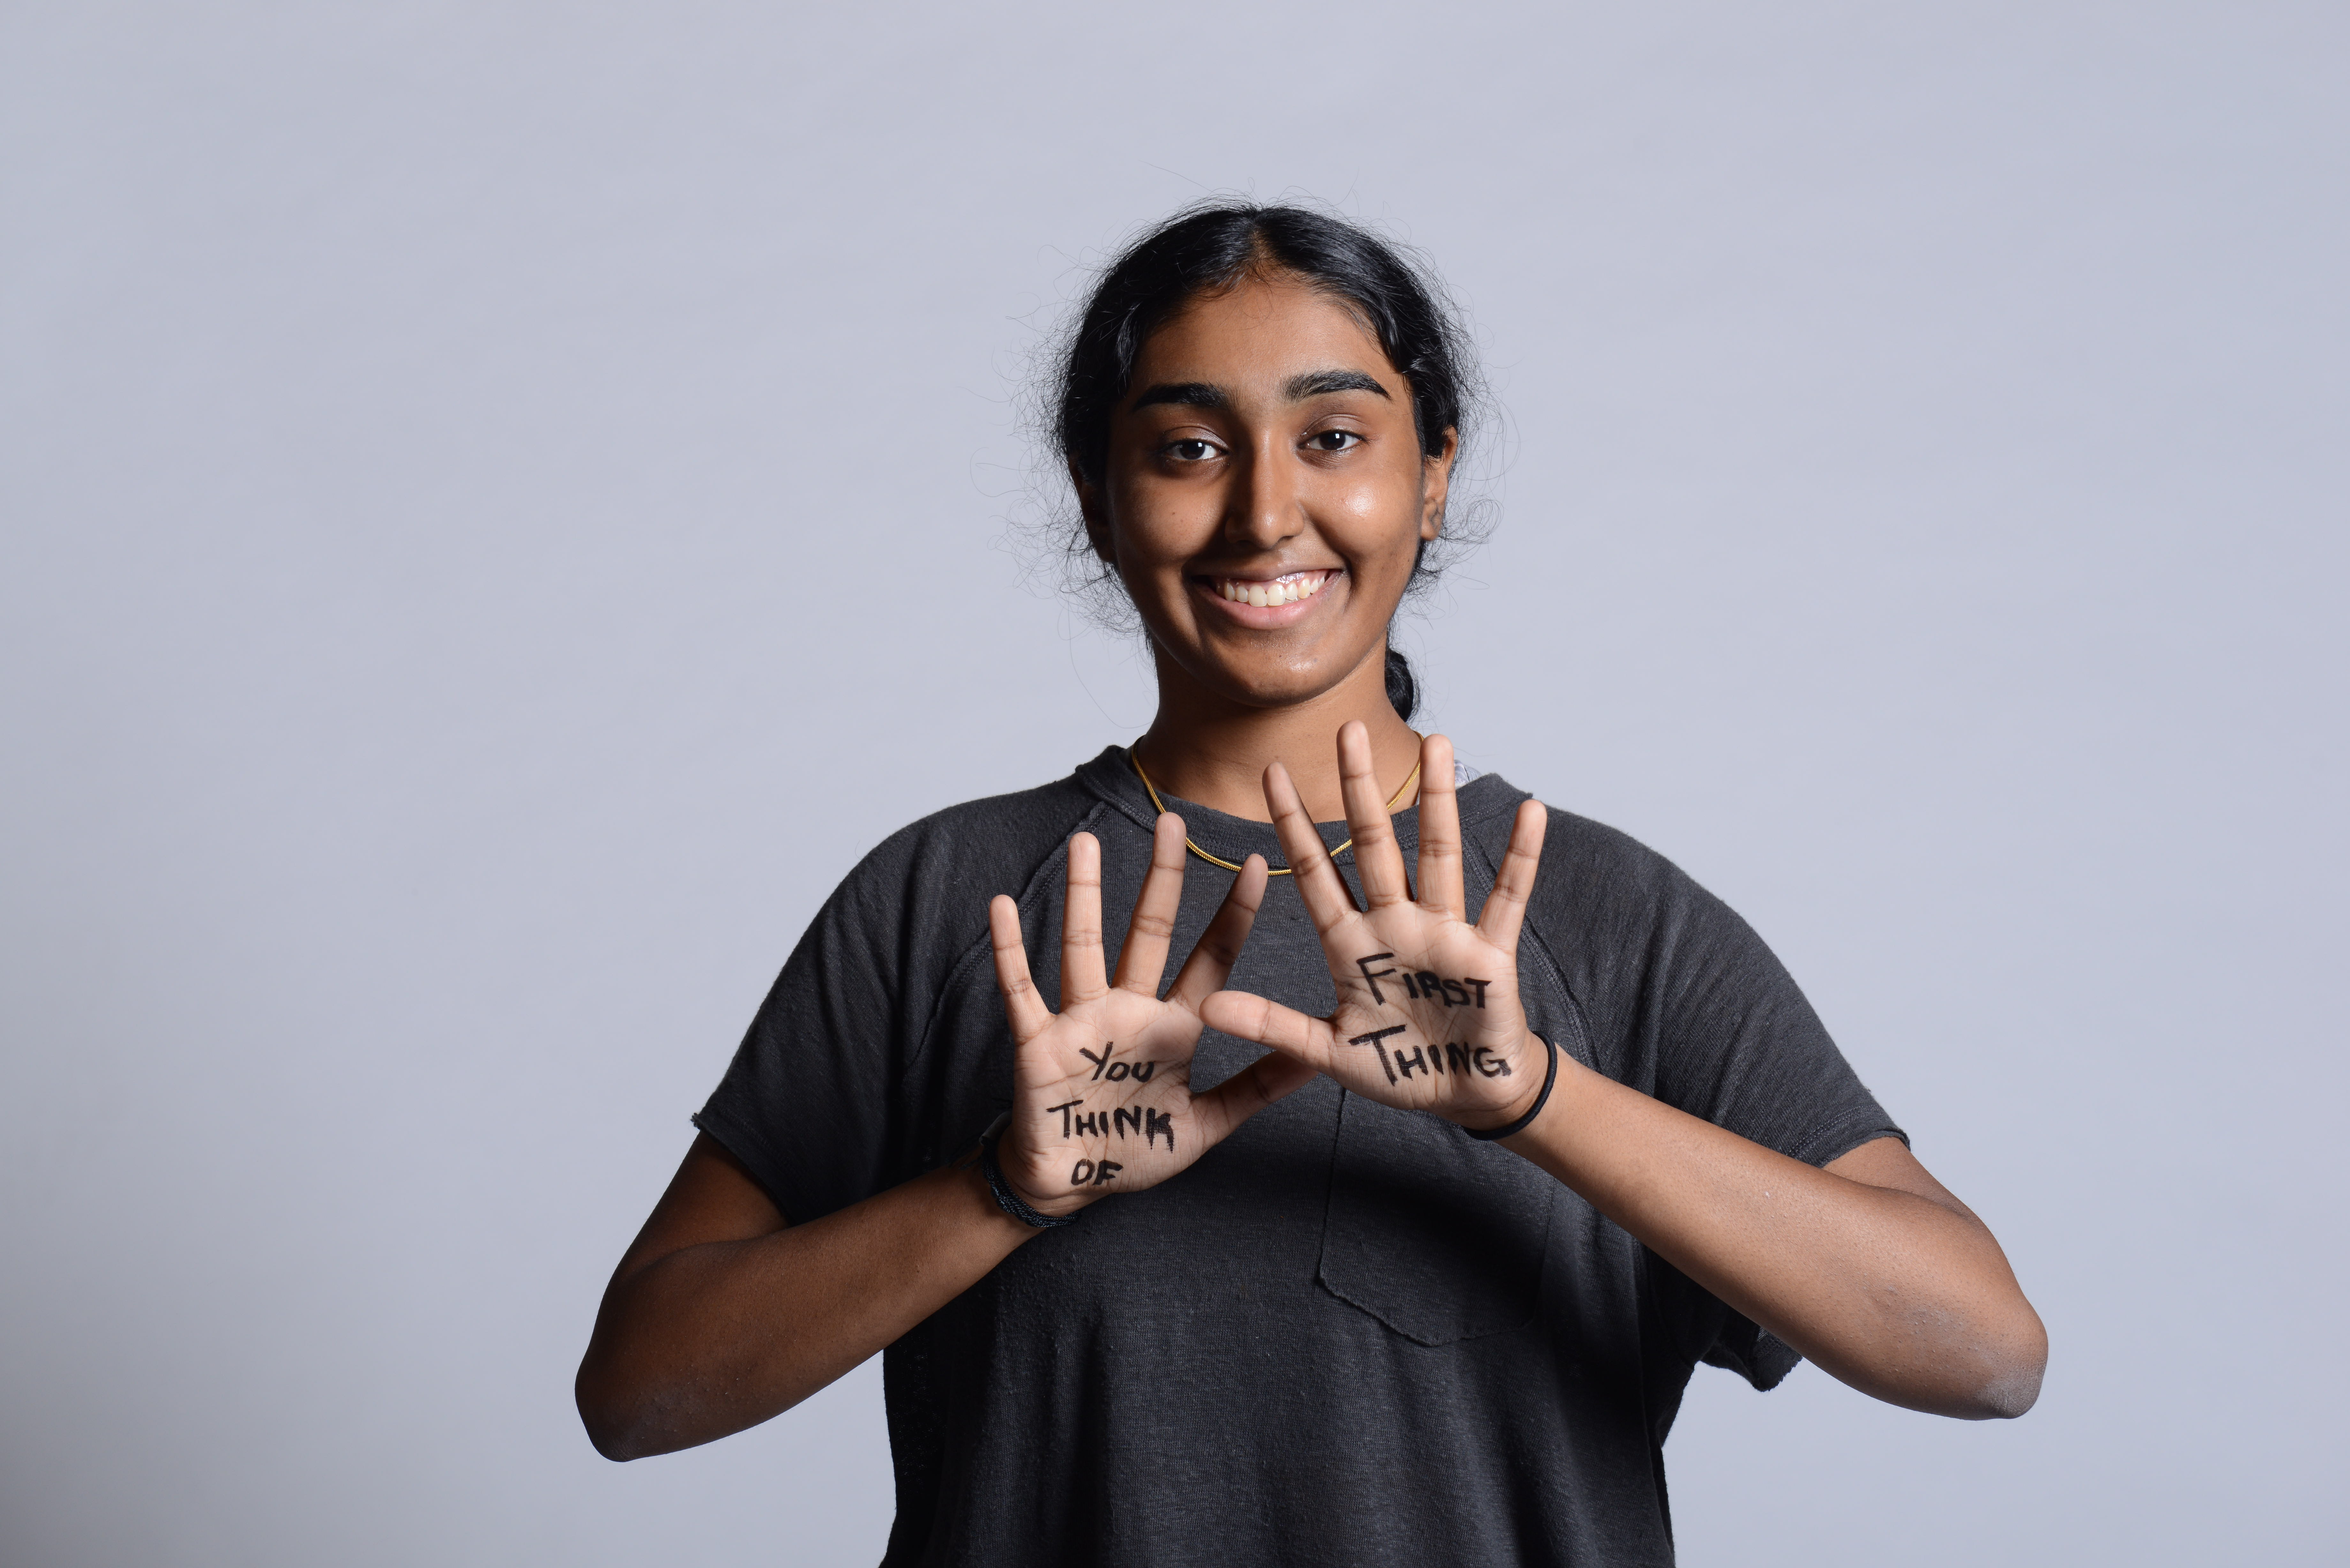
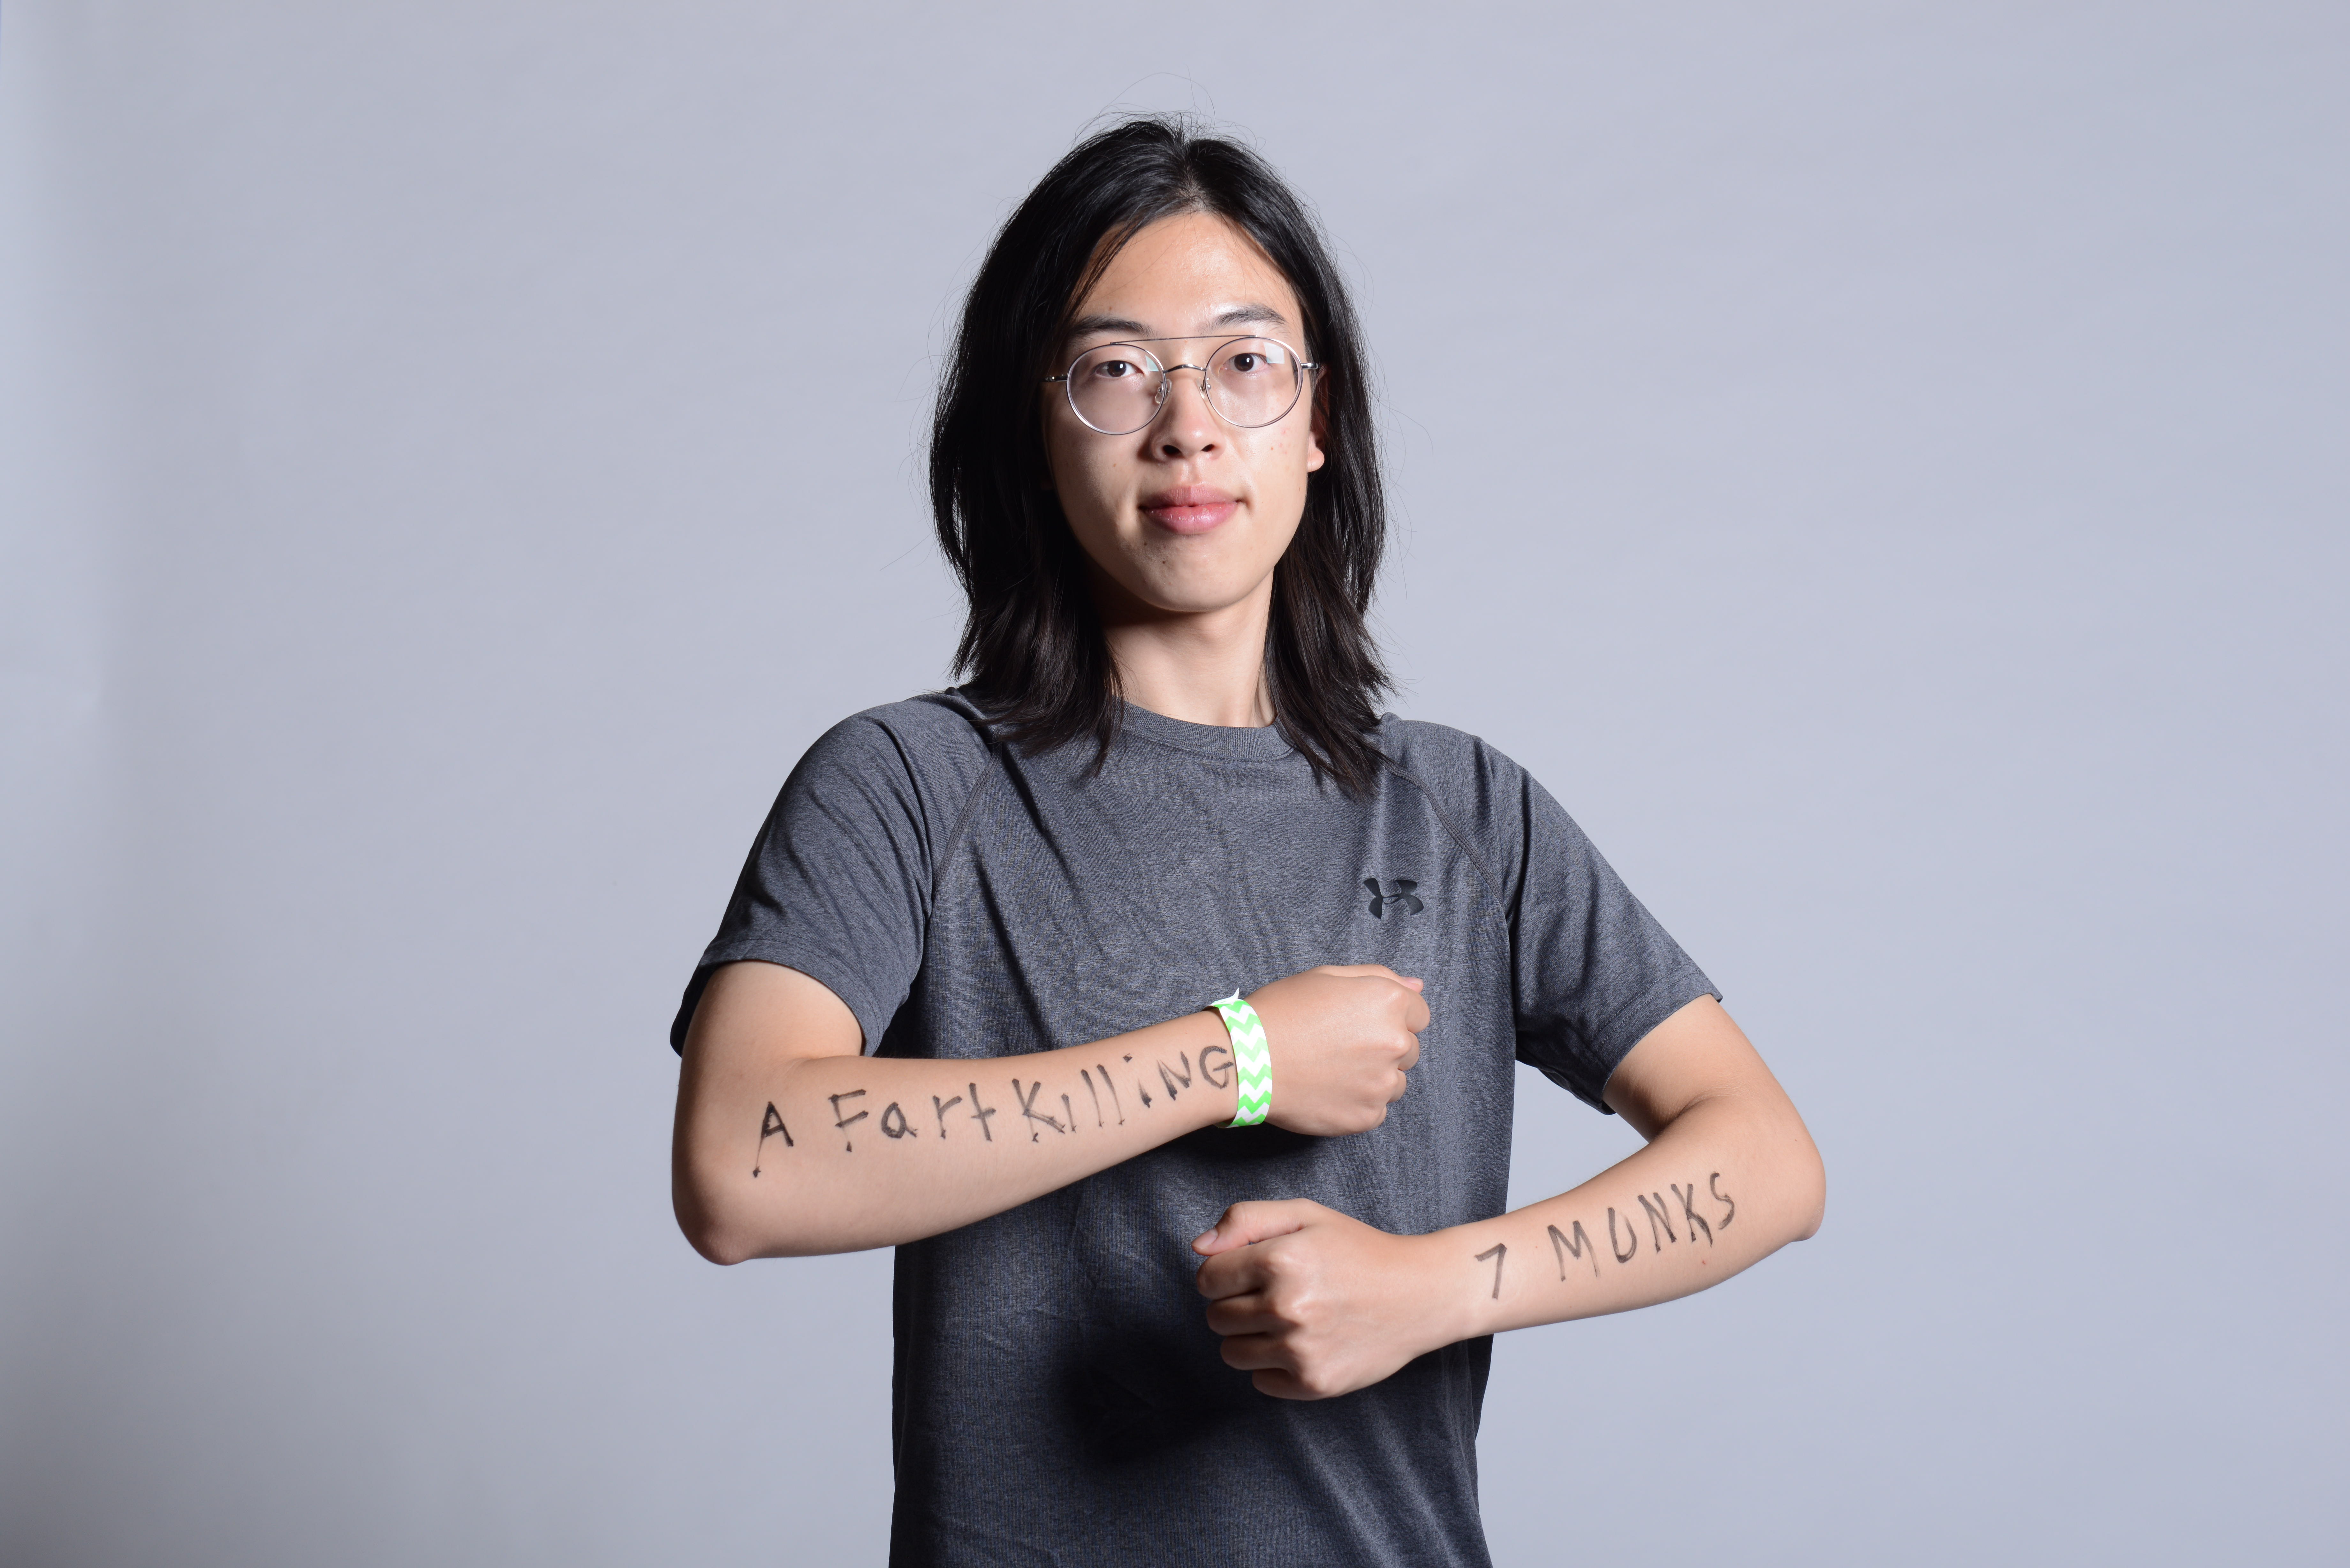
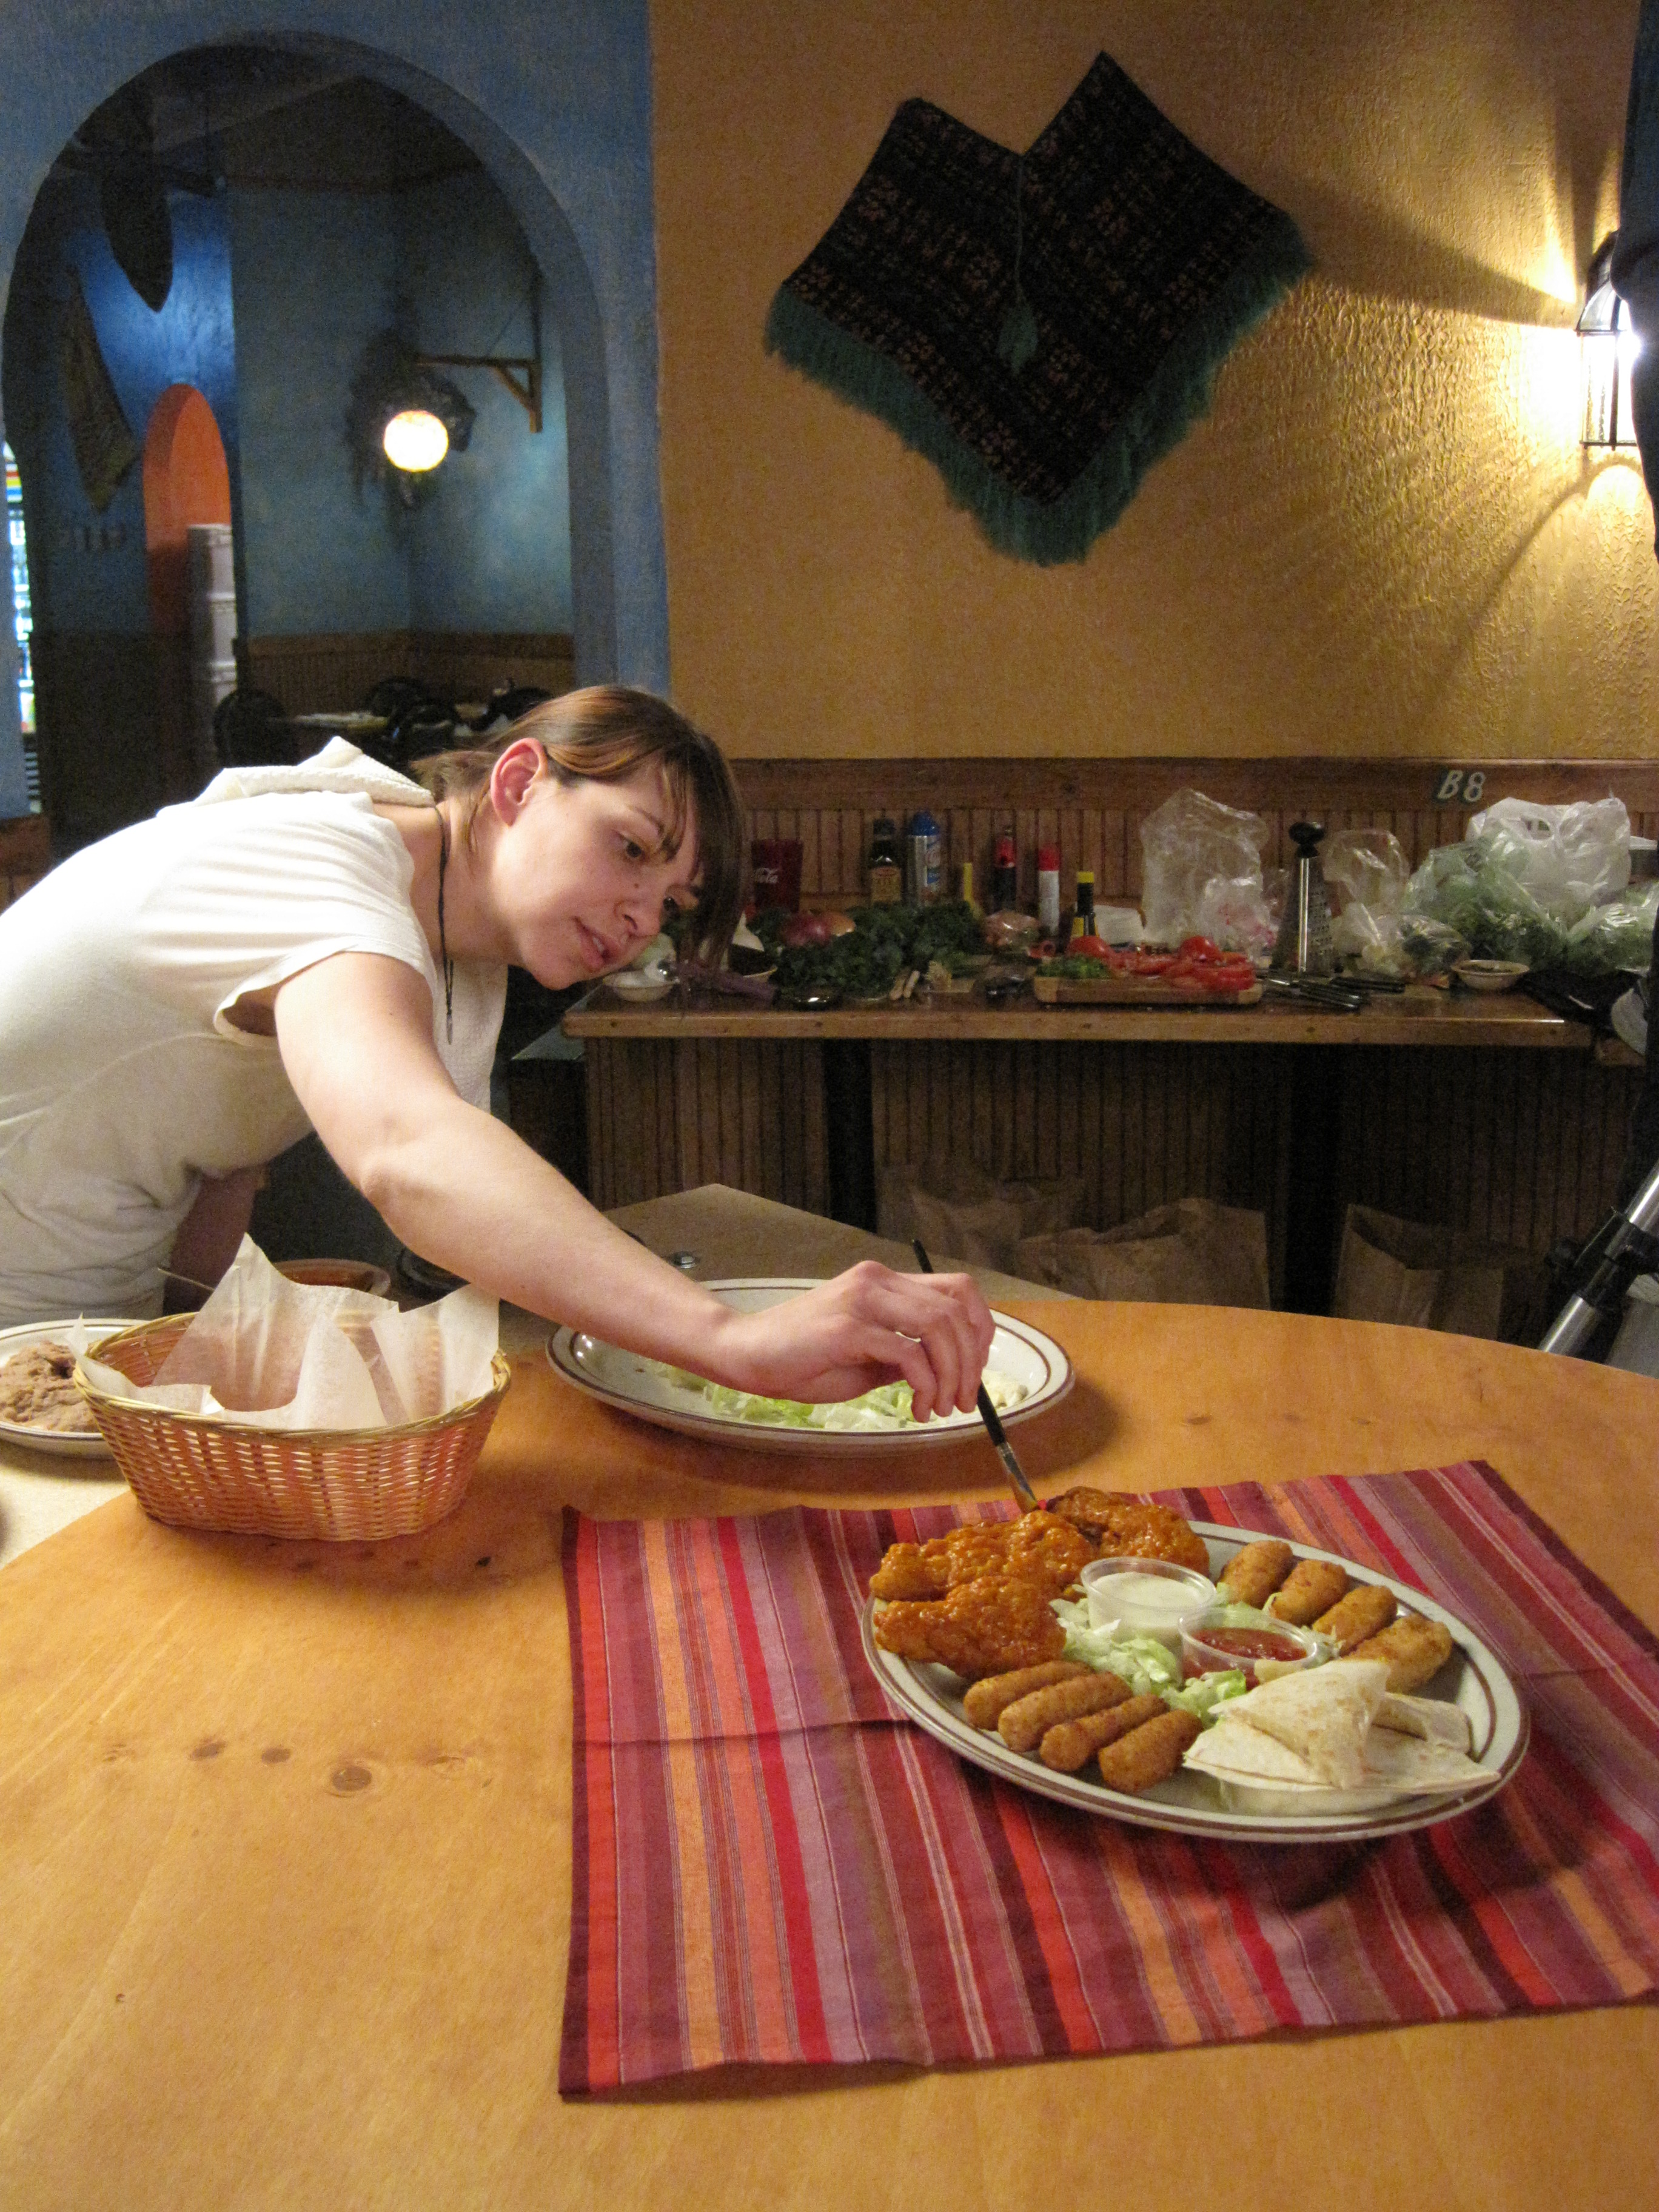
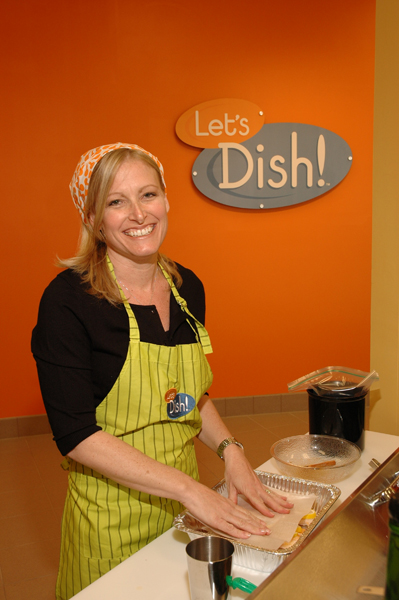
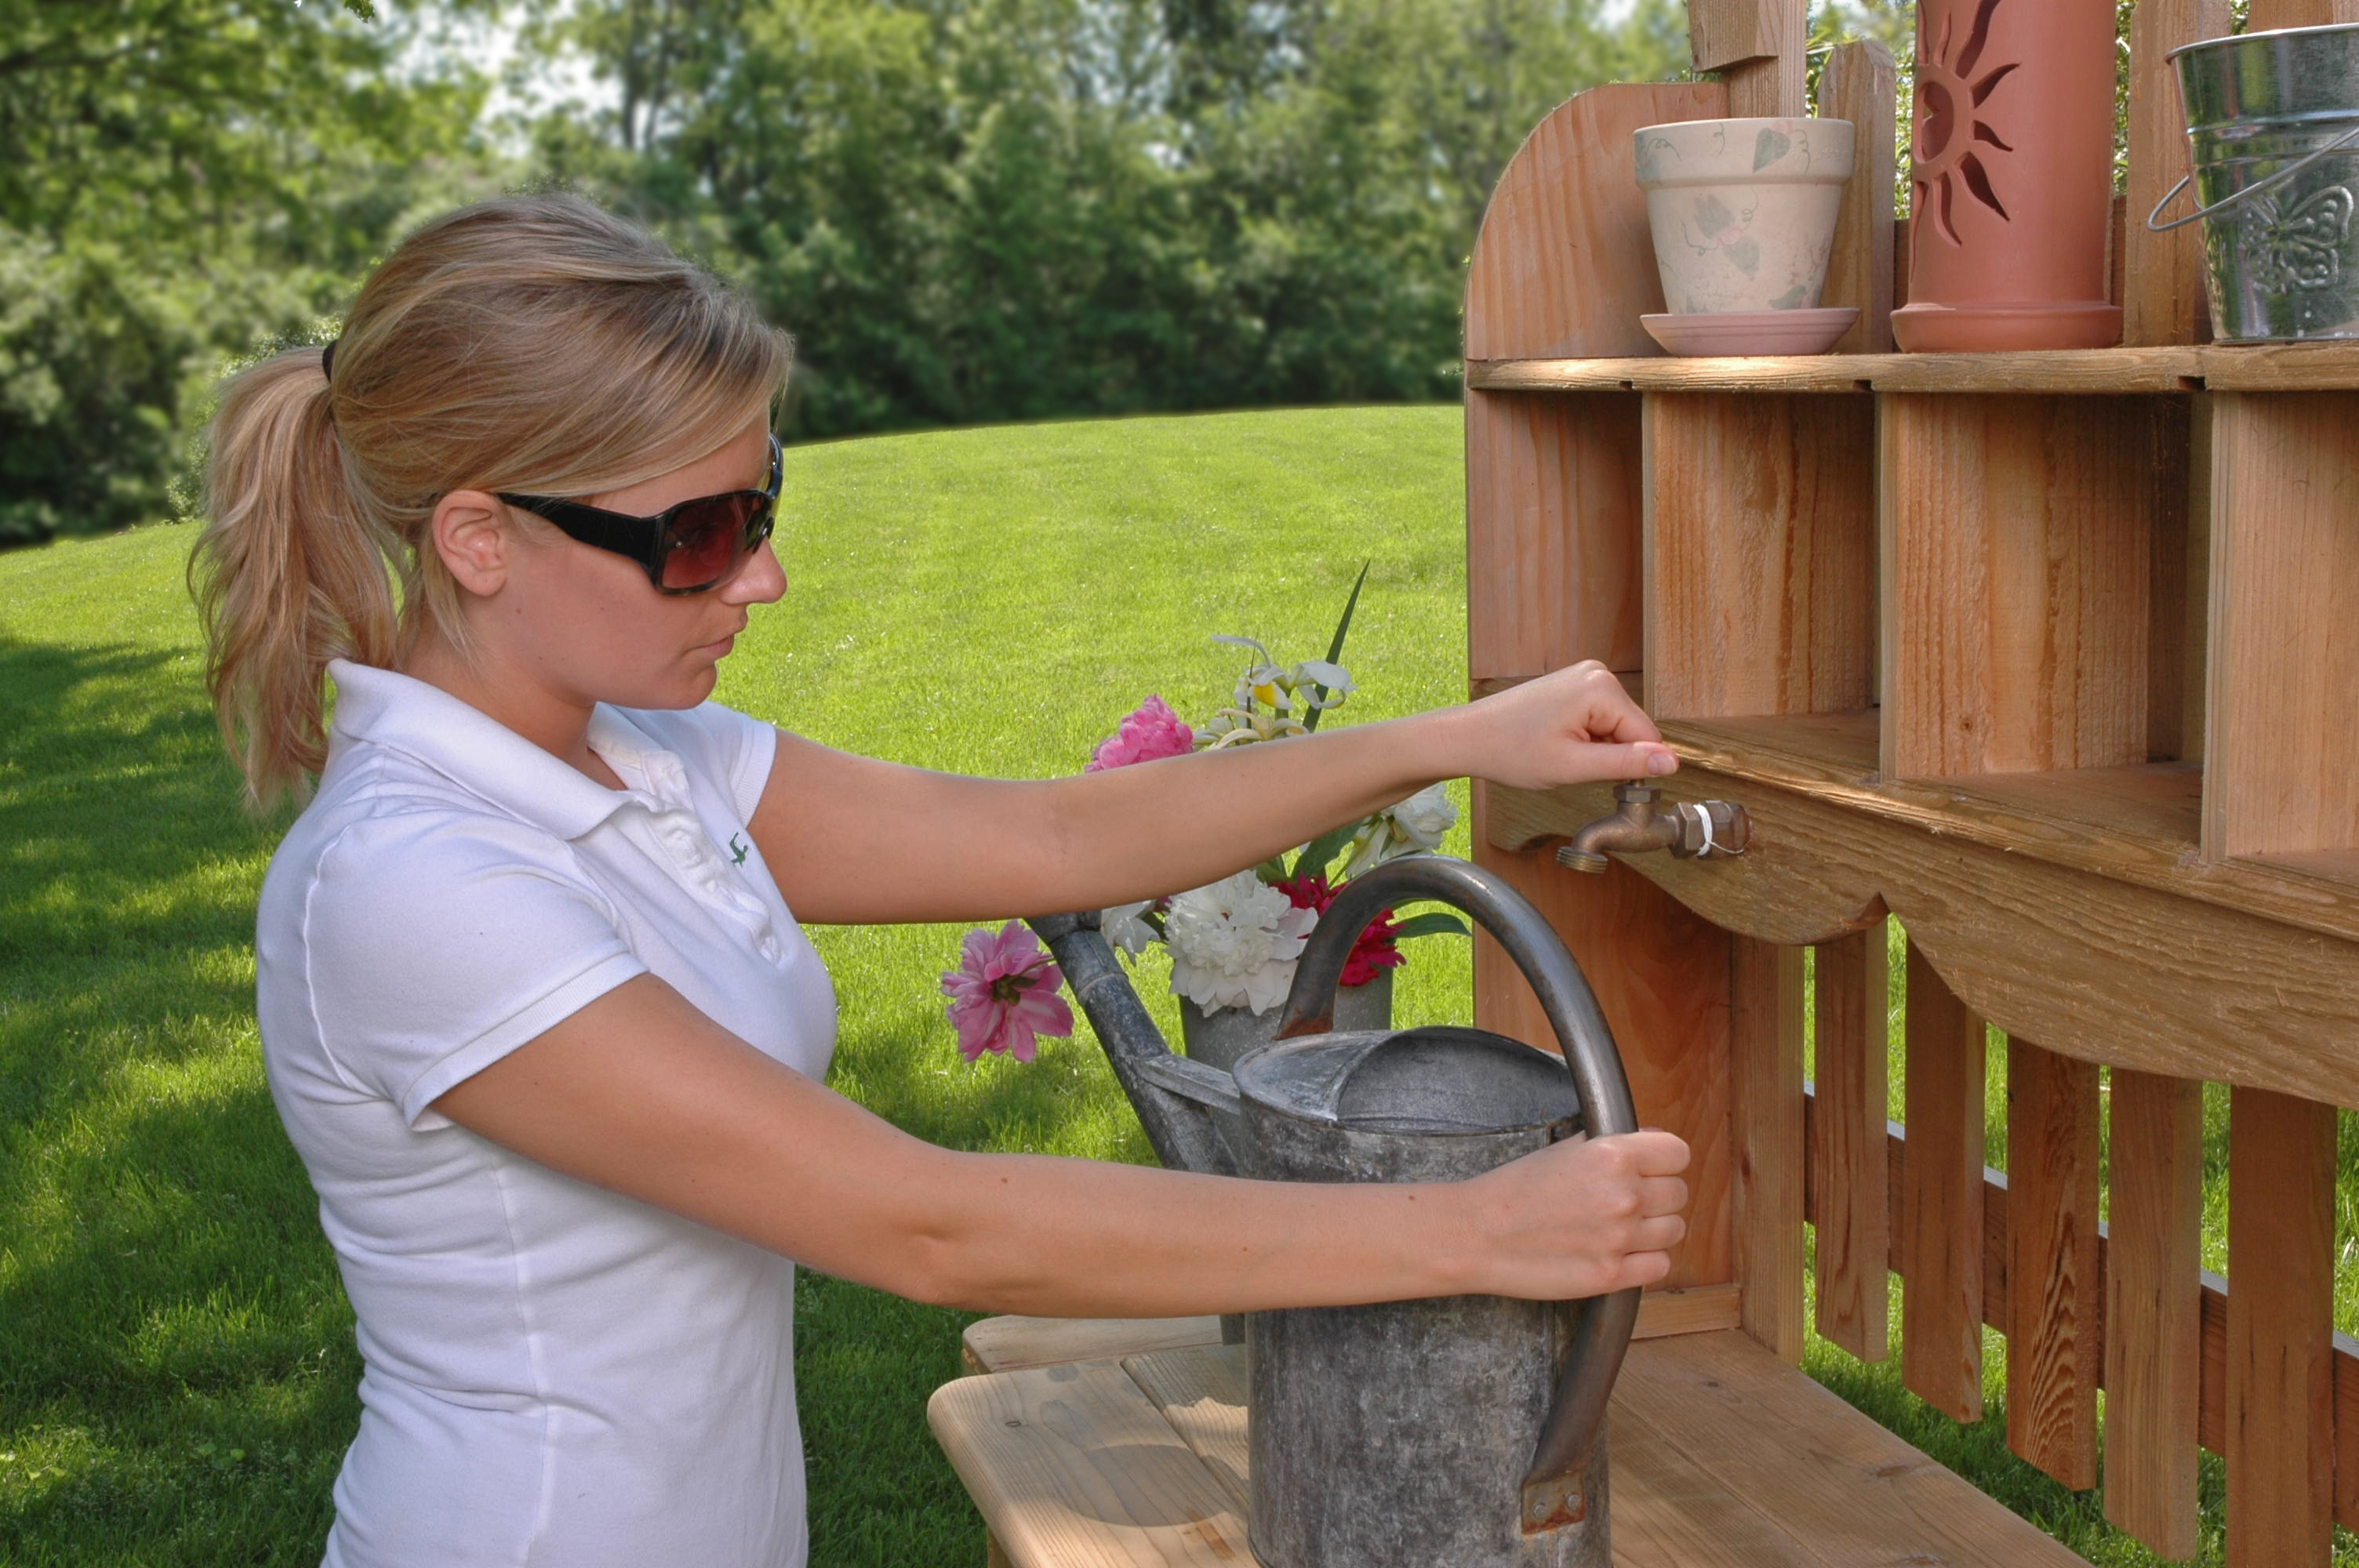
12) Table-Level POV (User Empathy)

What it does: Aligns the lens to the actual user height/angle.
Best for: Food & beverage, packaging, unboxing, medical devices.
Notes: Calibrate to realistic eye level (standing vs. seated); keep working distance natural.

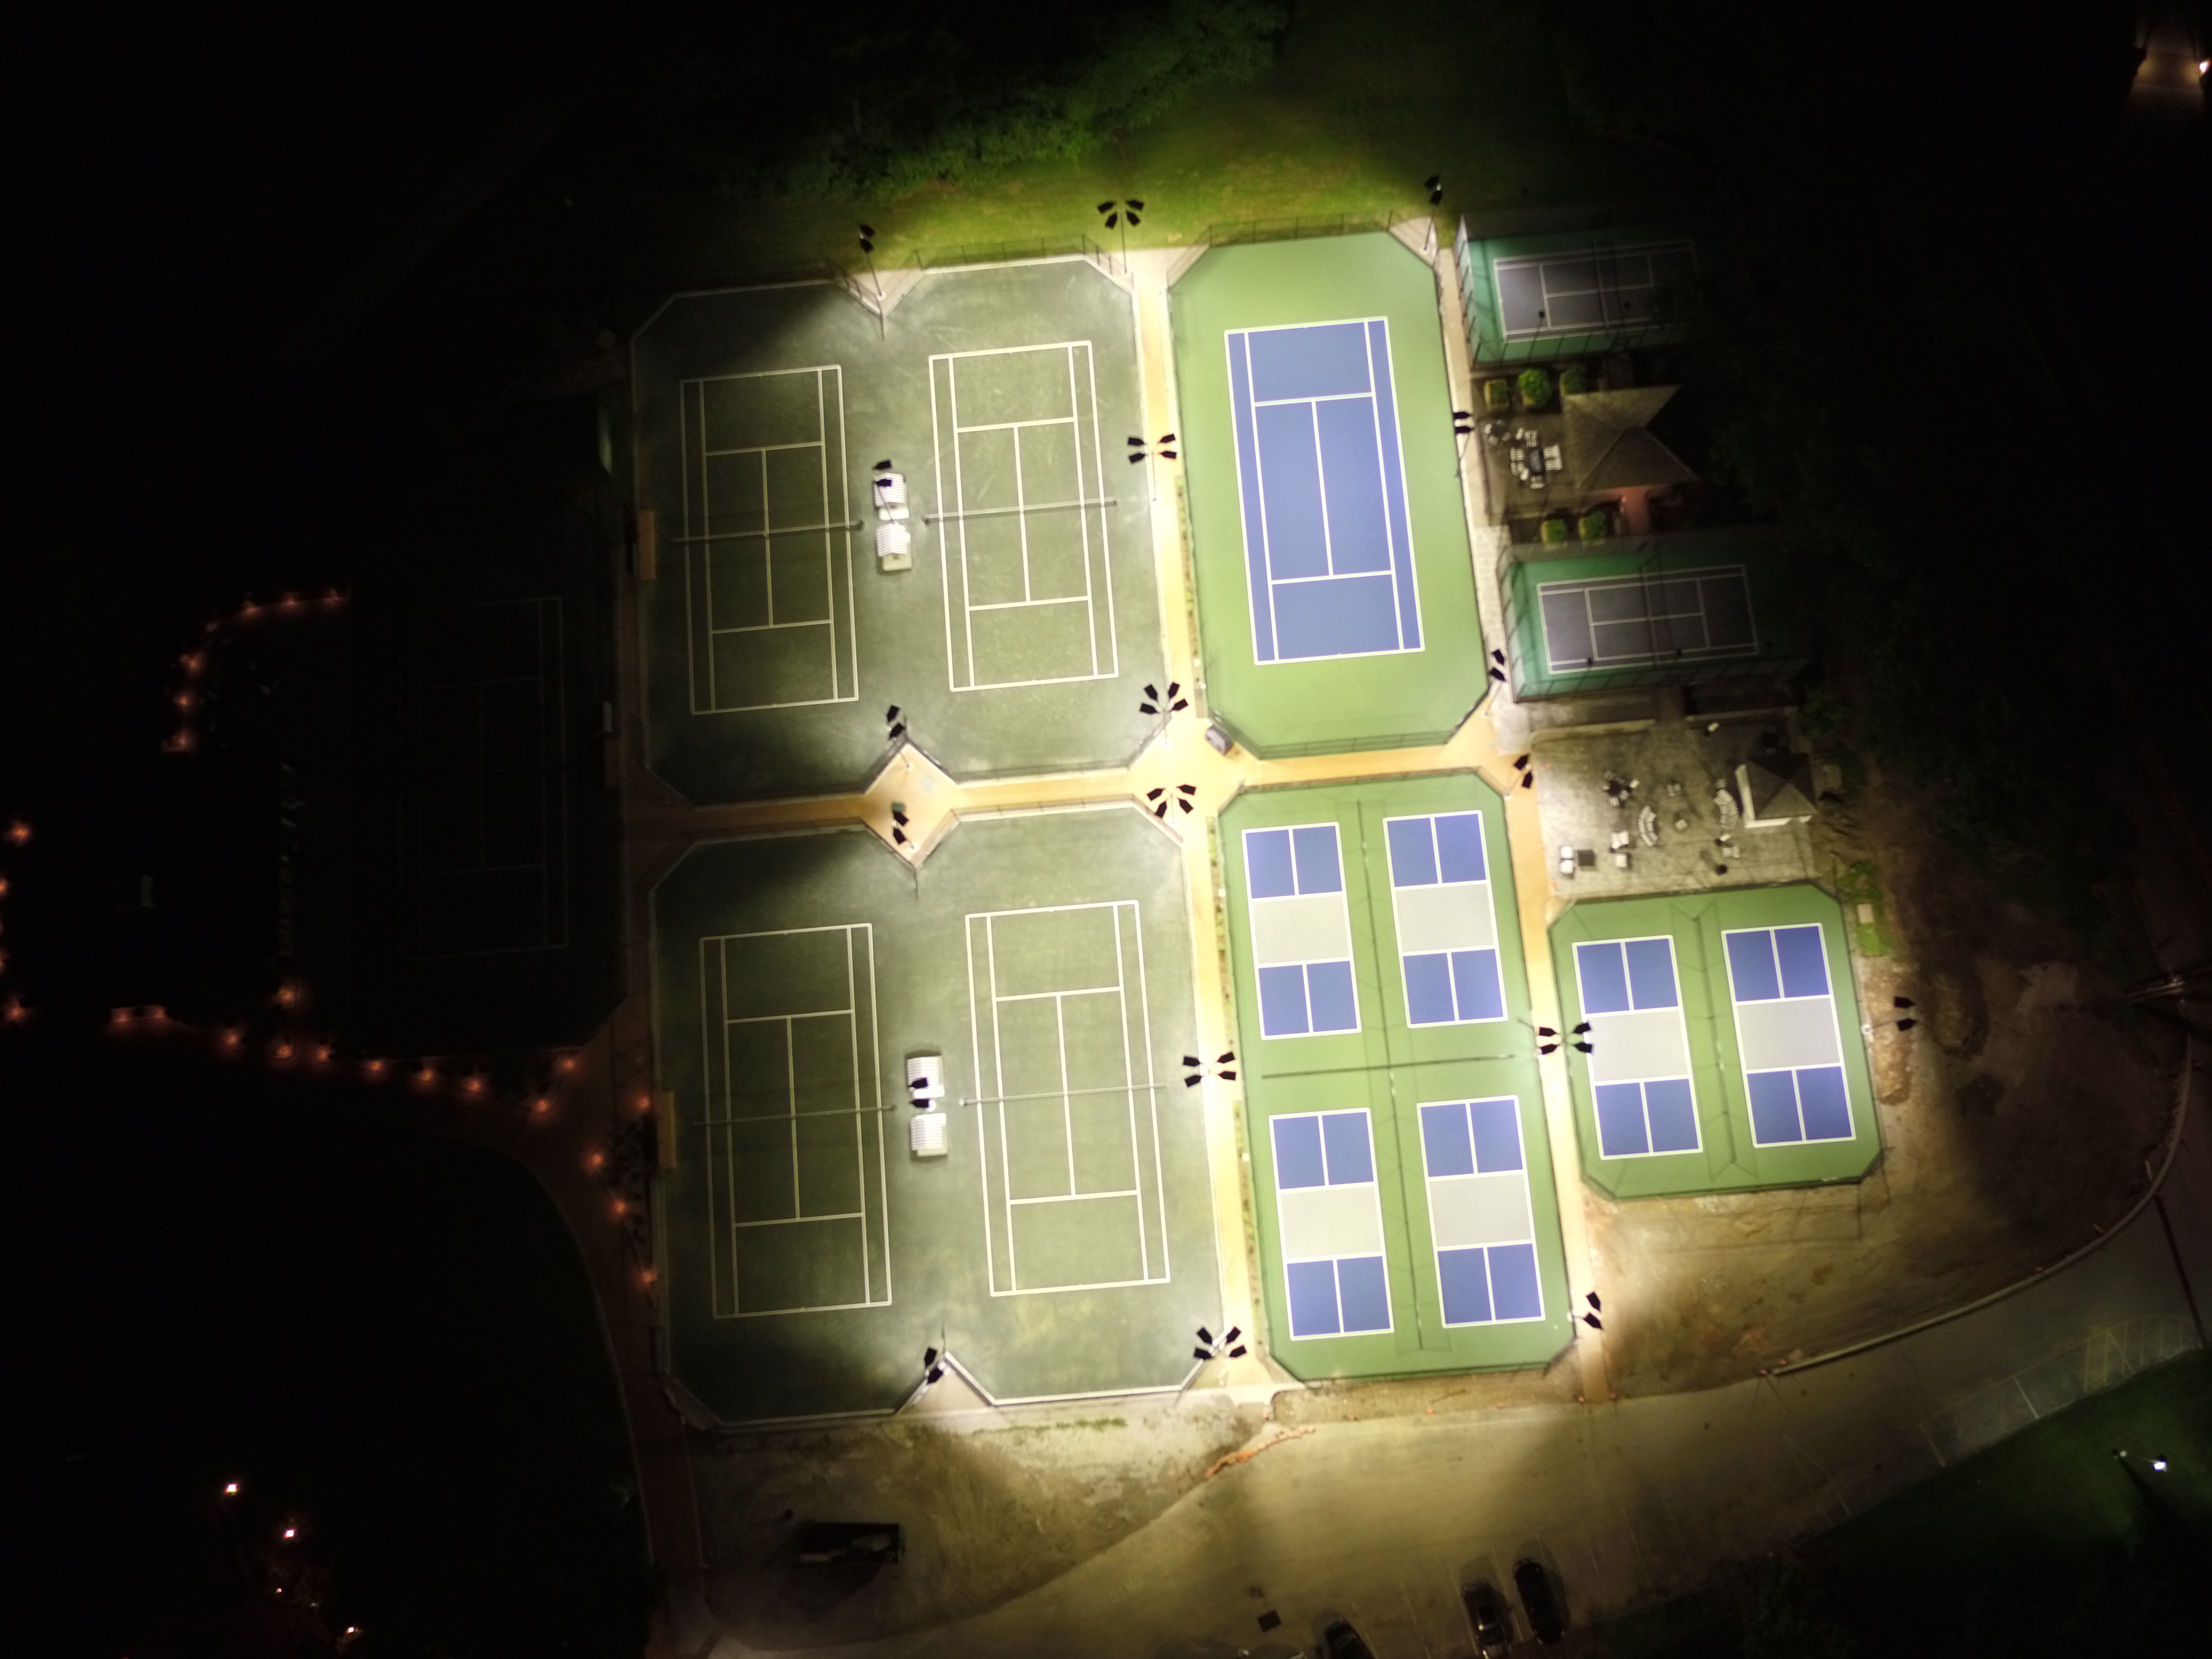
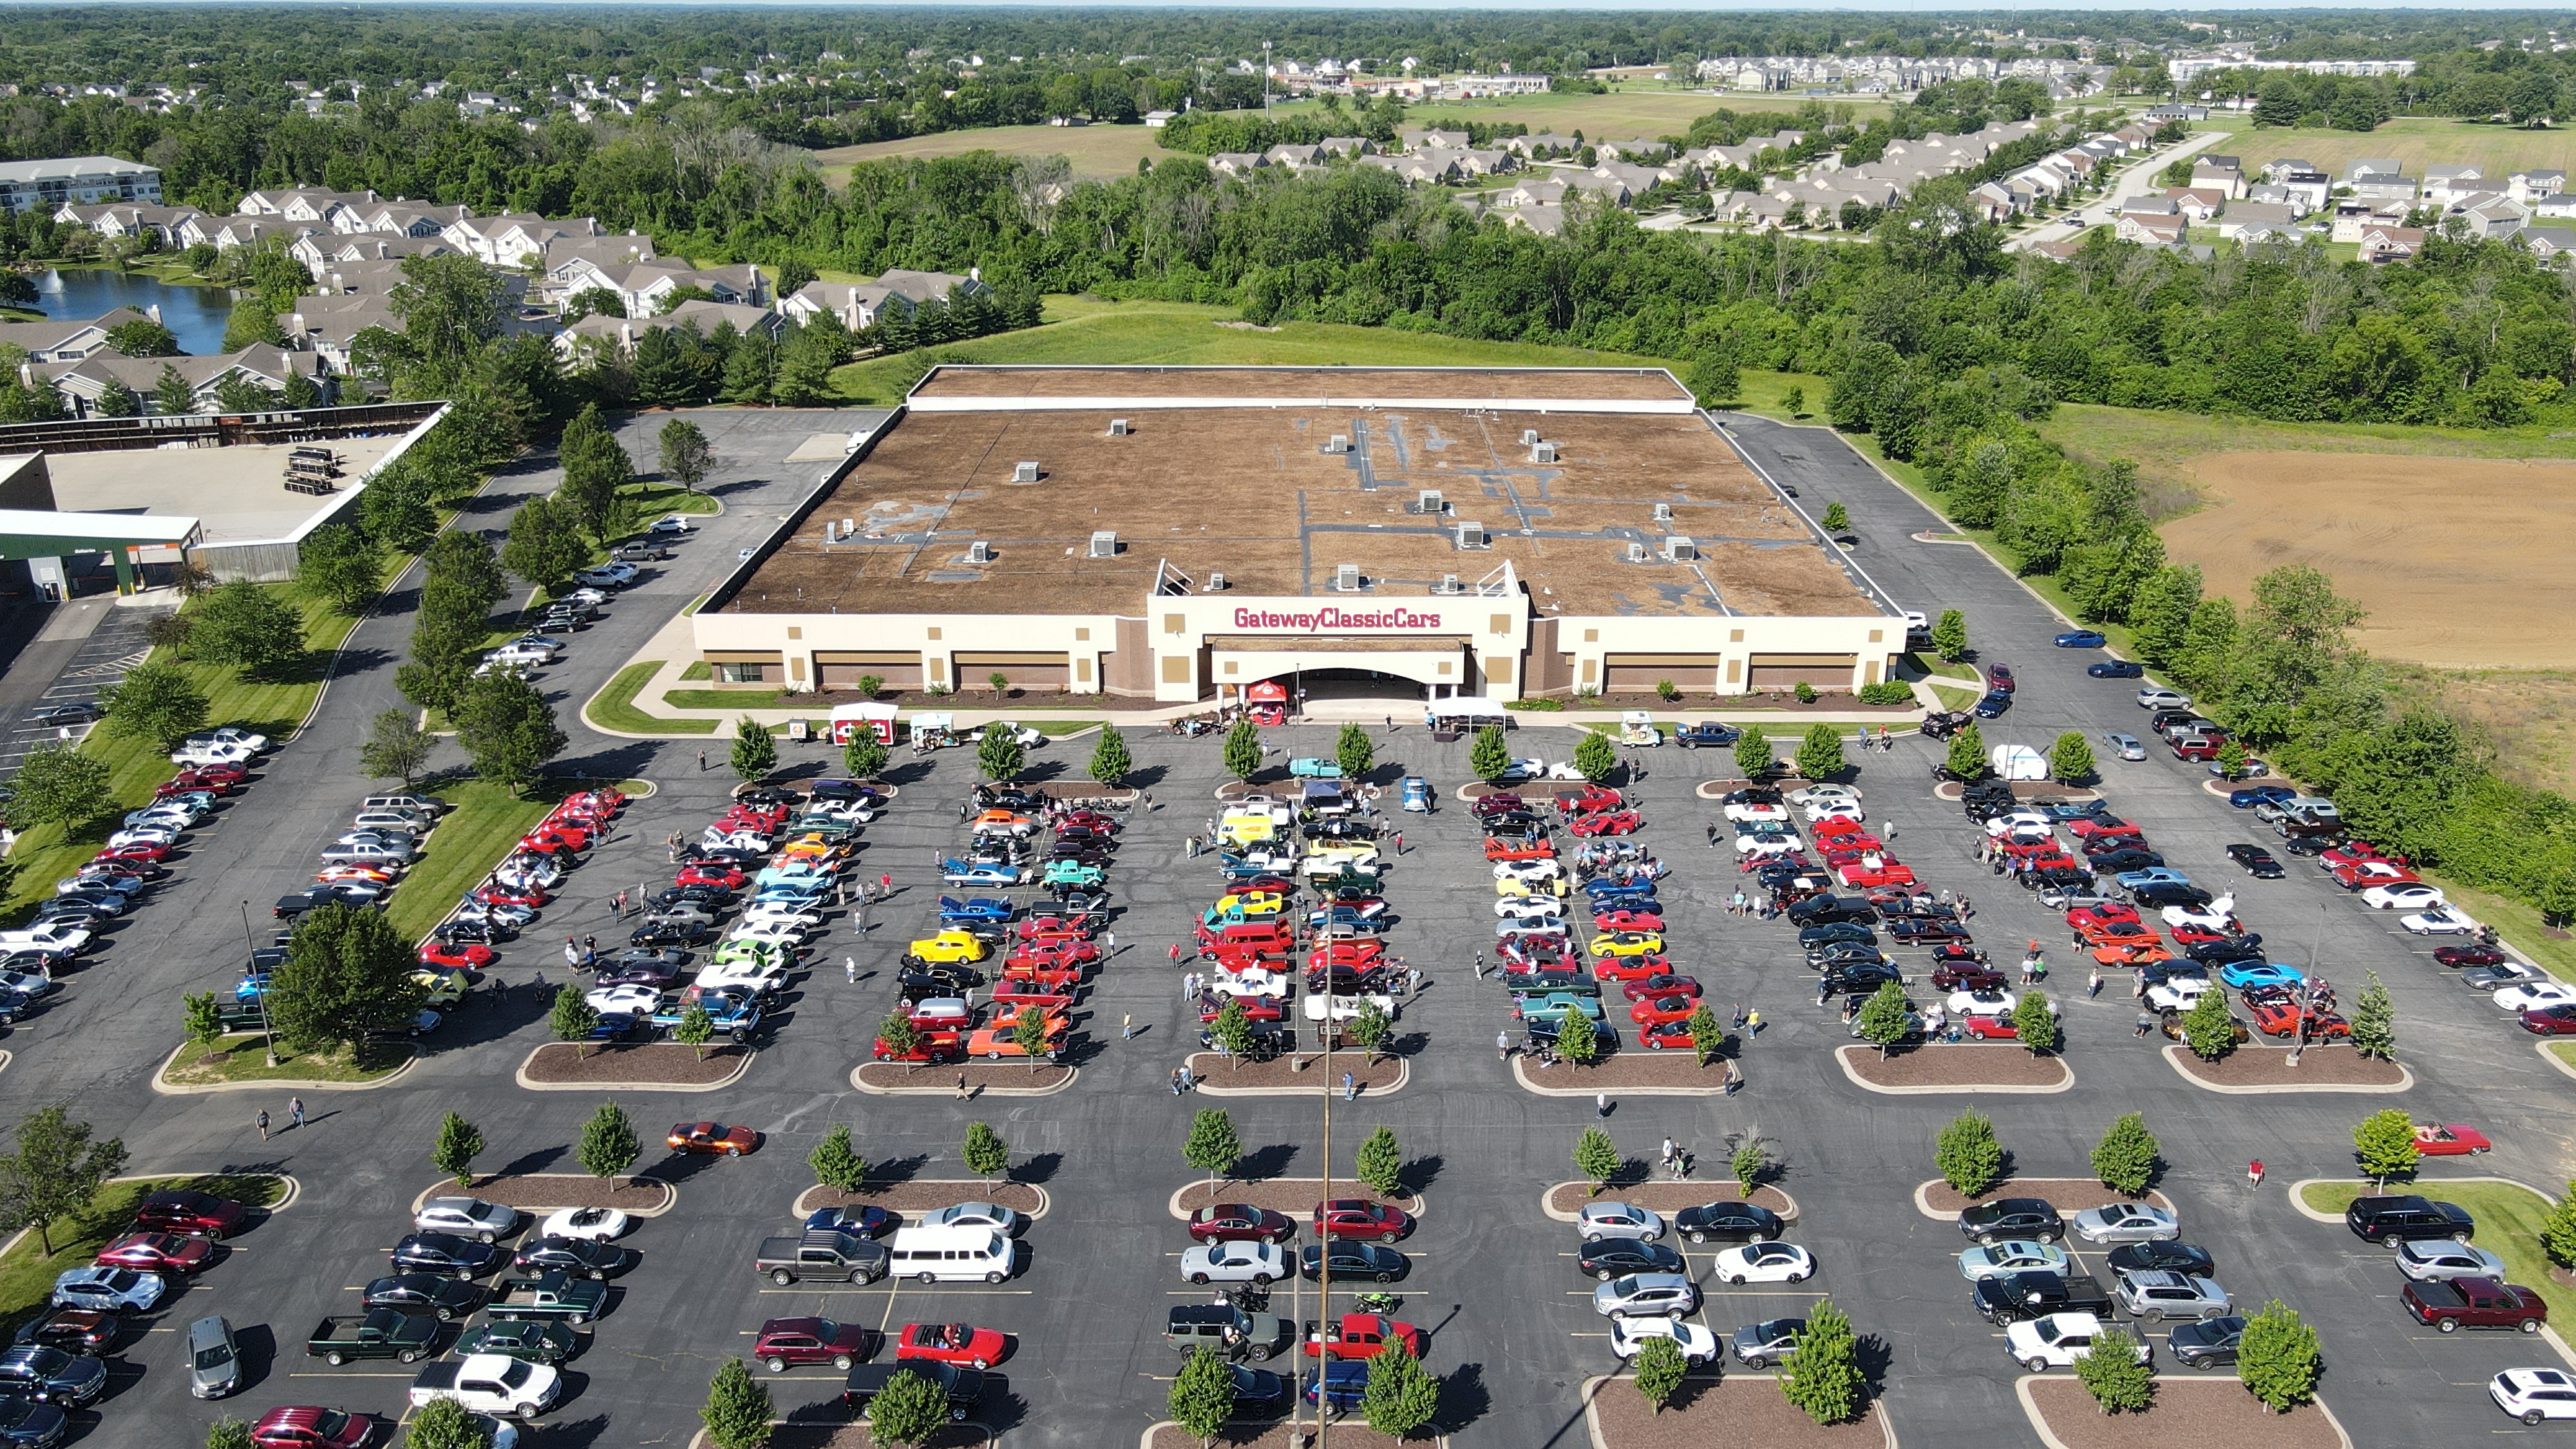
13) Overhead Drone Micro-Crane (Novelty & Coverage—Indoors)

What it does: Safe, repeatable “crane” and top-down moves in tight spaces.
Best for: Large set reveals, group portraits, immersive b-roll passes.
Notes: Specialized indoor drones with prop guards; coordinate sound to avoid rotor bleed or schedule for MOS passes.


Angle Selection by Business Objective

  • Trust & Authority: Hero Low, OTS, Compressed Long-Lens
  • Clarity & Education: High Semi-Overhead, True Top-Down, Table-Level POV
  • Luxury & Craft: Compressed Long-Lens, Low Macro Sweep, Mirror/Reflection
  • Launch Energy: Dutch Tilt, Silhouette/Edge-Key, Drone Micro-Crane
  • Engagement/Retention (Video): Parallax Slider/Gimbal, Drone Micro-Crane, Wide Environmental

Production Architecture That Makes Angles Work

Lighting Ratios & Modifiers

  • Set a base key/fill ratio per angle (e.g., 3:1 for authority, 2:1 for beauty).
  • Use grids and flags to maintain contrast when changing angle so color stays consistent across deliverables.

Lens & Sensor Choices

  • Maintain a “look LUT” and color pipeline so wide, macro, and compressed angles intercut seamlessly.
  • Prime set: 35/50/85/135; add macro for material shots. Zooms for speed when running multi-angle sequences.

Continuity for Multi-Channel Delivery

  • Shoot primary, social, and vertical variants per angle: lock framing charts for 16:9 / 1:1 / 9:16.
  • Build a “match frame” deck so marketing, design, and sales can request exact re-captures later.

On-Set Efficiency

  • Pre-rig for three anchor angles (e.g., hero low, semi-overhead, macro).
  • Color-coded stands and pre-measured marks reduce reset times between angles by 30–40%.

Safety & Compliance (Indoor Drones & Rigs)

  • Dedicated pilot and visual observer; prop guards; flight corridors taped and briefed.
  • MOS takes or ADR planning if sync sound is required.

AI-Accelerated Angle Strategy (Without Losing Authenticity)

  • Previsualization: Generate quick comps of each angle with your set and props to align stakeholders.
  • Shot-List Optimization: AI scheduling to group angles by lighting family (saves time and reduces crew fatigue).
  • Brand Consistency: Style transfer for reference boards—then re-create in-camera with real light for provenance.
  • Content Credentials: Embed provenance and metadata so platforms and clients trust the chain of custody.

Budgeting: Where Angles Add ROI (Not Cost)

  • One Set, Many Stories: A single styled set with three angle families can produce 20–40 distinct assets.
  • Angle-Driven Variants: Swap lensing and height before moving lights; this yields new looks with minimal labor.
  • Retention Metrics: Parallax and top-down sequences typically increase watch-time and add-to-cart rates in A/B tests.
  • Evergreen Library: Flat-lay and macro textures become background plates and design elements for future campaigns.

Starter Shot-List Template (Steal This)

  1. Hero Low Angle – Exec or product, 3:1 ratio, 85mm
  2. High Semi-Overhead – Process/demo, 35mm, polarizer
  3. True Top-Down – Flat lay, ceiling mount, grid softbox
  4. Compressed Long-Lens – Finish details, 135mm, negative fill
  5. Parallax Slider – 3–5 ft move, 24–70mm
  6. Low Macro Sweep – 90–105mm macro, stacked if needed
  7. Drone Micro-Crane – 12–16 ft overhead reveal, MOS

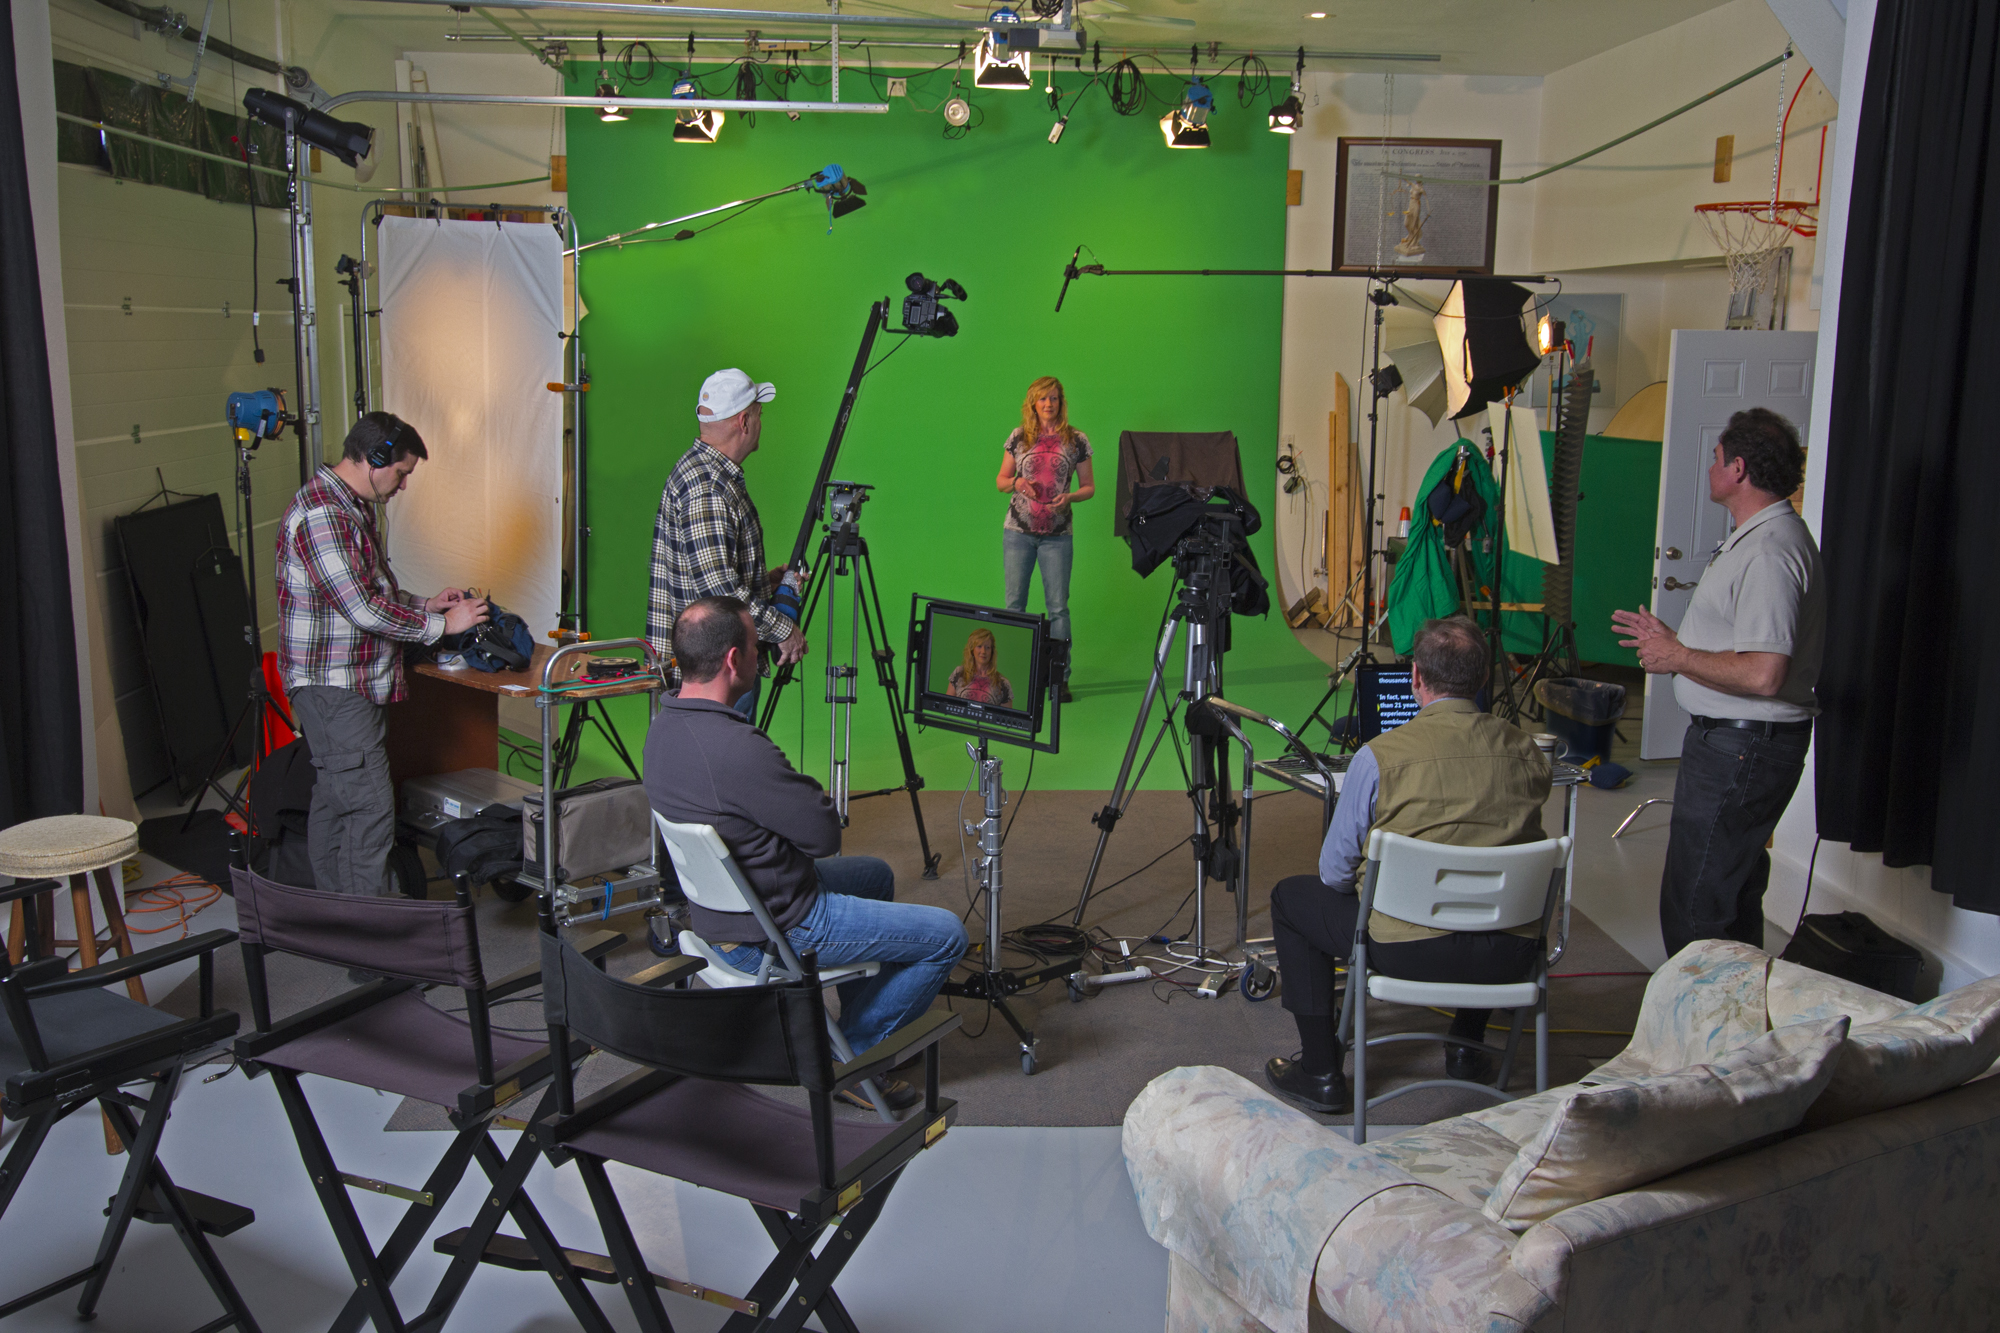
How We Execute This for You

St Louis Photo Studio is a full-service professional commercial photography and video production company with the right equipment and creative crew experience for successful image acquisition. We offer full-service studio and location video and photography, as well as editing, post-production, and licensed drone pilots. St Louis Photo Studio can customize your productions for diverse types of media requirements. Repurposing your photography and video branding to gain more traction is another specialty. We are well-versed in all file types, styles of media, and accompanying software, and we use the latest in Artificial Intelligence across our media services. Our private studio lighting and visual setup is perfect for small productions and interview scenes, and our studio is large enough to incorporate props that round out your set. We support every aspect of your production—from setting up a private, custom interview studio to supplying professional sound and camera operators, as well as providing the right equipment—ensuring your next video production is seamless and successful. We can even fly our specialized drones indoors. As a full-service video and photography production corporation since 1982, St Louis Photo Studio has partnered with many businesses, marketing firms, and creative agencies throughout the St. Louis area for their marketing photography and video. If you’d like, I can tailor this angle mix to your specific campaign goals and channels.

314-913-5626

Mike Haller
stlouisphotostudio@gmail.com
4501 Mattis Road St Louis, MO 63128

How to Organize Your Photos and Videos After Your Company Event

Capturing the perfect images and videos at your company event is only half of the equation. The true value of these assets comes from how they’re organized, stored, and utilized. Without an effective organization system, even the best shots and videos can get lost in the shuffle, making it harder for your team to leverage them for future marketing, branding, or internal purposes.

In this post, we’ll walk you through the process of organizing your photos and videos after a company event to ensure they’re easily accessible and ready for any marketing or content creation needs. Whether you’re planning to repurpose the footage for social media, internal presentations, or long-term promotional use, proper organization is key to maximizing the potential of your visual assets.

Tags should be added to both images and video files to help with content retrieval.

Step 1: Define Your Categories

Before you start organizing your photos and videos, it’s important to establish categories that will make it easier to locate specific content later. Think about how the content will be used and group your files accordingly. Here are a few common categories you might want to consider:

  • Event Highlights: This category includes the most important moments of the event, such as keynote speakers, award ceremonies, and important milestones.
  • People and Attendees: Group images and videos of attendees, networking sessions, and group photos here. If you have shots of key individuals or notable guests, this category should highlight those as well.
  • Behind-the-Scenes: Candid shots or video clips of behind-the-scenes moments during setup or breaks can be great for future marketing materials or social media posts.
  • Venue and Details: If your event took place in a unique venue or featured significant decor, product displays, or branding, you’ll want to organize these shots separately.
  • Testimonial Videos: If you captured interviews or testimonials from attendees or speakers, these can form a unique category for easy access when creating case studies or promotional content.
  • Promotional Material: For images and videos that are specifically designed for marketing, such as promotional trailers or teaser videos, it’s important to separate these out for easy access during the post-production process.

Step 2: File Naming Conventions

Once you have your categories in mind, it’s time to focus on file naming. This can often be the most tedious part of organizing your visual content, but it is crucial for easy retrieval. Here are some tips to make your file naming system efficient:

  • Consistency Is Key: Stick to a uniform format for naming files. A good structure could include the event name, the date, and a description of the content. For example, “EventName_YYYYMMDD_SpeakerName” for images or “EventName_YYYYMMDD_BehindTheScenes” for video files.
  • Keep It Short and Descriptive: File names should be short but descriptive enough to give an idea of what the content is. Avoid using spaces or special characters, which may cause issues on some systems.
  • Use Folders and Subfolders: Organize your files into folders based on categories and then create subfolders for more specific types of content. This creates a layered approach that’s easy to navigate.

Step 3: Implement a Storage System

With your files named and categorized, the next step is choosing the right storage system. For companies dealing with large volumes of photos and videos, a reliable storage solution is essential. Here are some options:

  • Cloud Storage: Services like Google Drive, Dropbox, or Box allow for secure, remote access to your content, which is perfect for teams that need to share files across locations. The added bonus of cloud storage is that it offers scalability—meaning, as your visual content library grows, you can easily upgrade your storage.
  • External Hard Drives: If you prefer to store your files locally, an external hard drive with ample storage space is a solid option. Make sure to back up your files regularly to avoid data loss.
  • Network-Attached Storage (NAS): For larger organizations or those working with extensive amounts of media, a NAS system can provide centralized, secure storage. This allows your team to access files from multiple devices and workstations, streamlining the production process.

Step 4: Utilize Metadata and Tags

Metadata is an often-overlooked but powerful tool for organizing visual content. By adding relevant metadata (such as keywords, descriptions, and dates) to your files, you can create an extra layer of searchability.

  • Descriptive Tags: Tags should be added to both images and video files to help with content retrieval. Tags could include the event type, key people, themes, or specific moments within the content.
  • Geotagging: For videos or photos taken in different locations, adding geotags can help further organize and sort your media.
  • Using Software for Asset Management: Software like Adobe Bridge, Lightroom, or ACDSee allows you to add detailed metadata and manage your files in a more sophisticated way. These tools enable batch editing, tagging, and categorizing, which makes managing large amounts of content much easier.

Step 5: Editing and Post-Production Workflow

After organizing your raw files, it’s time to start editing and creating final content. A well-defined post-production workflow is critical to ensuring your images and videos are polished and ready for use.

  • Images: Use software like Adobe Photoshop or Lightroom to enhance your photos. Create presets for consistency, such as color correction, cropping, or sharpening. If you’re working with large quantities of images, batch processing can save time.
  • Videos: Video editing software such as Adobe Premiere Pro or Final Cut Pro can help you refine your event footage. Focus on creating short, impactful clips for social media and longer-form content for marketing or internal presentations.
  • File Versions: After editing, it’s essential to save multiple versions of your files—such as raw, edited, and web-ready versions—so that you have the flexibility to repurpose them in different formats.

Step 6: Repurposing Content for Marketing

Repurposing your photos and videos is an effective way to extend the life of your content. A single shot from your event could be used in multiple ways:

  • Social Media Posts: Short clips, behind-the-scenes footage, or powerful photos can be shared on your social media channels to keep the event buzz alive.
  • Website: Highlight key moments from the event in a video gallery or blog post.
  • Email Campaigns: Use images or videos to promote your event or upcoming events in newsletters.

By repurposing content, you’re not only increasing its value but also ensuring that it reaches a wider audience across various marketing channels.

Why Choose St. Louis Photo Studio for Your Event Photography and Video Needs?

At St. Louis Photo Studio, we pride ourselves on our ability to capture the essence of every event, turning moments into lasting memories. As a full-service professional commercial photography and video production company, we have the right equipment and a creative, experienced crew to ensure successful image acquisition. Our studio and location video and photography services are complemented by editing, post-production, and licensed drone pilots, all designed to bring your vision to life.

Since 1982, we have worked with businesses, marketing firms, and agencies in the St. Louis area, providing top-quality photography and video services that help brands engage their audience. We specialize in customizing productions for diverse media requirements and are experts in repurposing photography and video branding to increase traction. Our private studio setup is perfect for small productions and interview scenes, and we can accommodate larger sets with props to enhance your shoot.

Whether you need a custom interview studio setup, sound and camera operators, or indoor drone capabilities, St. Louis Photo Studio is here to support every aspect of your production. Let us help you make your next event a visual success with images and videos that will continue to benefit your business for years to come.

Ready to elevate your next event’s photography and video coverage? Contact St. Louis Photo Studio today!

314-913-5626

Mike Haller
stlouisphotostudio@gmail.com

From Dusk till Dawn: How to Perfectly Time Your Light Trail Photos

Photography is an art that beautifully captures moments in time. One such mesmerizing technique is capturing light trails, which can add a touch of magic to your photos. Whether it’s the stunning glow of car lights streaking through the city or the soft flicker of stars in the night sky, light trail photos create an enchanting effect. As an experienced photographer at St. Louis Photo Studio, I am thrilled to share some expert tips on how to perfectly time your light trail photos and turn them into captivating masterpieces.

Light trails can be created by various sources, such as car headlights, city lights, stars, or even handheld light sources.

Understanding Light Trails

Before diving into the technical aspects, let’s understand what light trails are and why they make such captivating photos. Light trails are the streaks of light created by moving objects during long exposure photography. The longer the exposure, the more pronounced and prominent the light trails become. These trails can be created by various sources, such as car headlights, city lights, stars, or even handheld light sources.

Choosing the Right Gear

To capture stunning light trail photos, you’ll need the right gear. While smartphones can take decent long exposure shots, investing in a DSLR or mirrorless camera will give you more control over the settings. Here’s what you’ll need:

  1. Camera: A camera that allows manual control over exposure settings is ideal. Additionally, having a sturdy tripod is essential to keep your camera stable during long exposures.
  2. Lens: A wide-angle lens with a large aperture (low f-stop number) will help you capture more of the scene and allow more light into the camera.
  3. Remote Shutter Release: Using a remote shutter release or the camera’s built-in timer will minimize camera shake during the shot.

Location and Composition

Choosing the right location and composing your shot effectively can significantly impact the outcome of your light trail photos. Here are some tips for finding the perfect spot:

  1. Scout the Location: Visit the location during the day to find interesting elements, such as leading lines, bridges, or buildings, that will complement the light trails.
  2. Foreground Interest: Including a foreground element in your composition can add depth and context to the image. It could be anything from a tree to a park bench or an interesting statue.
  3. Minimal Light Pollution: While city lights can create beautiful trails, excessive light pollution can wash out the stars and other subtle details in the scene.

Timing Is Everything

Mastering the art of timing is crucial in capturing stunning light trail photos. Here are some tips to help you achieve perfect timing:

  1. Golden Hour: The golden hour, which occurs shortly after sunrise and just before sunset, provides the perfect balance of ambient light and artificial light. During this time, the sky’s colors create a beautiful backdrop for your light trails.
  2. Traffic Density: Choose locations with moderate to heavy traffic flow to capture a higher density of light trails. This will create a more captivating and dynamic photo.
  3. Night Sky Trails: For capturing light trails in the night sky, consider the moon phase and the visibility of stars. A clear night with a new moon or a crescent moon provides a dark sky canvas for stars and light trails to shine.

Camera Settings

Now that you have the perfect location and timing, let’s delve into the essential camera settings for capturing stunning light trail photos:

  1. Manual Mode: Switch your camera to manual mode, allowing you to have full control over exposure settings.
  2. ISO: Set your ISO to the lowest possible value (usually ISO 100 or 200) to reduce noise in the image.
  3. Aperture: Use a large aperture (low f-stop number) to allow more light into the camera. This also creates a shallow depth of field, blurring the background and emphasizing the light trails.
  4. Shutter Speed: This is the most critical setting for capturing light trails. Start with a shutter speed of around 15 to 30 seconds and adjust as needed based on the intensity of the light trails and ambient light.
  5. Focus: Switch your camera to manual focus and focus on the area where the light trails will pass through. This will prevent the camera from constantly trying to refocus during long exposures.

Long Exposure Techniques

When capturing light trails, experimenting with different long exposure techniques can yield unique and captivating results:

  1. Zooming Effect: During a long exposure, gently zooming the lens in or out can create an exciting zooming effect, adding a dynamic element to the photo.
  2. Multiple Exposures: You can combine multiple exposures in post-processing to create composite images with several light trail patterns.
  3. Light Painting: Use handheld light sources, such as flashlights or LED panels, to paint light trails directly onto the scene during a long exposure.

Post-Processing Tips

The final step in perfecting your light trail photos is post-processing. Here are some tips to enhance your images:

  1. White Balance: Adjust the white balance to fine-tune the colors and overall mood of the image.
  2. Exposure and Contrast: Make minor adjustments to exposure and contrast to bring out the details in the light trails and the surrounding environment.
  3. Remove Noise: Long exposures can introduce noise into the image. Use noise reduction techniques in post-processing to minimize unwanted grain.
  4. Crop and Straighten: Crop the image to eliminate any distracting elements and straighten the horizon if needed.

Embrace Creativity

Remember, photography is an art form, and there are no strict rules. Embrace your creativity and experiment with different angles, locations, and techniques to create unique and captivating light trail photos.

Experience the St. Louis Photo Studio Difference

As professional photographers, St. Louis Photo Studio has vast experience in capturing light trails and various other forms of photography for multimedia productions. Our full-service commercial photography company is based in St. Louis and is well-versed in all aspects of photography and video production.

Whether you’re a large corporation or a small business, our team at St. Louis Photo Studio can help you elevate your branding and business marketing communications. We understand the power of visual storytelling, and our expert photographers can create stunning visuals that resonate with your target audience.

Over the years, we have shot for hundreds of advertising productions for businesses and organizations of all sizes in the St. Louis region. Our dedication to quality and creativity has earned us a reputation as a trusted partner for clients seeking outstanding photography services.

If you’re looking to capture captivating light trail photos or any other photography needs for your business, St. Louis Photo Studio is here to help. Contact us today to discuss your project and discover how we can elevate your brand through the power of visual storytelling.

Capture the magic of light trails and unleash the true potential of your brand with St. Louis Photo Studio! Let us be your partner in creating captivating imagery that leaves a lasting impression.

314-913-5626

stlouisphotostudio@gmail.com