How to Organize Your Photos and Videos After Your Company Event

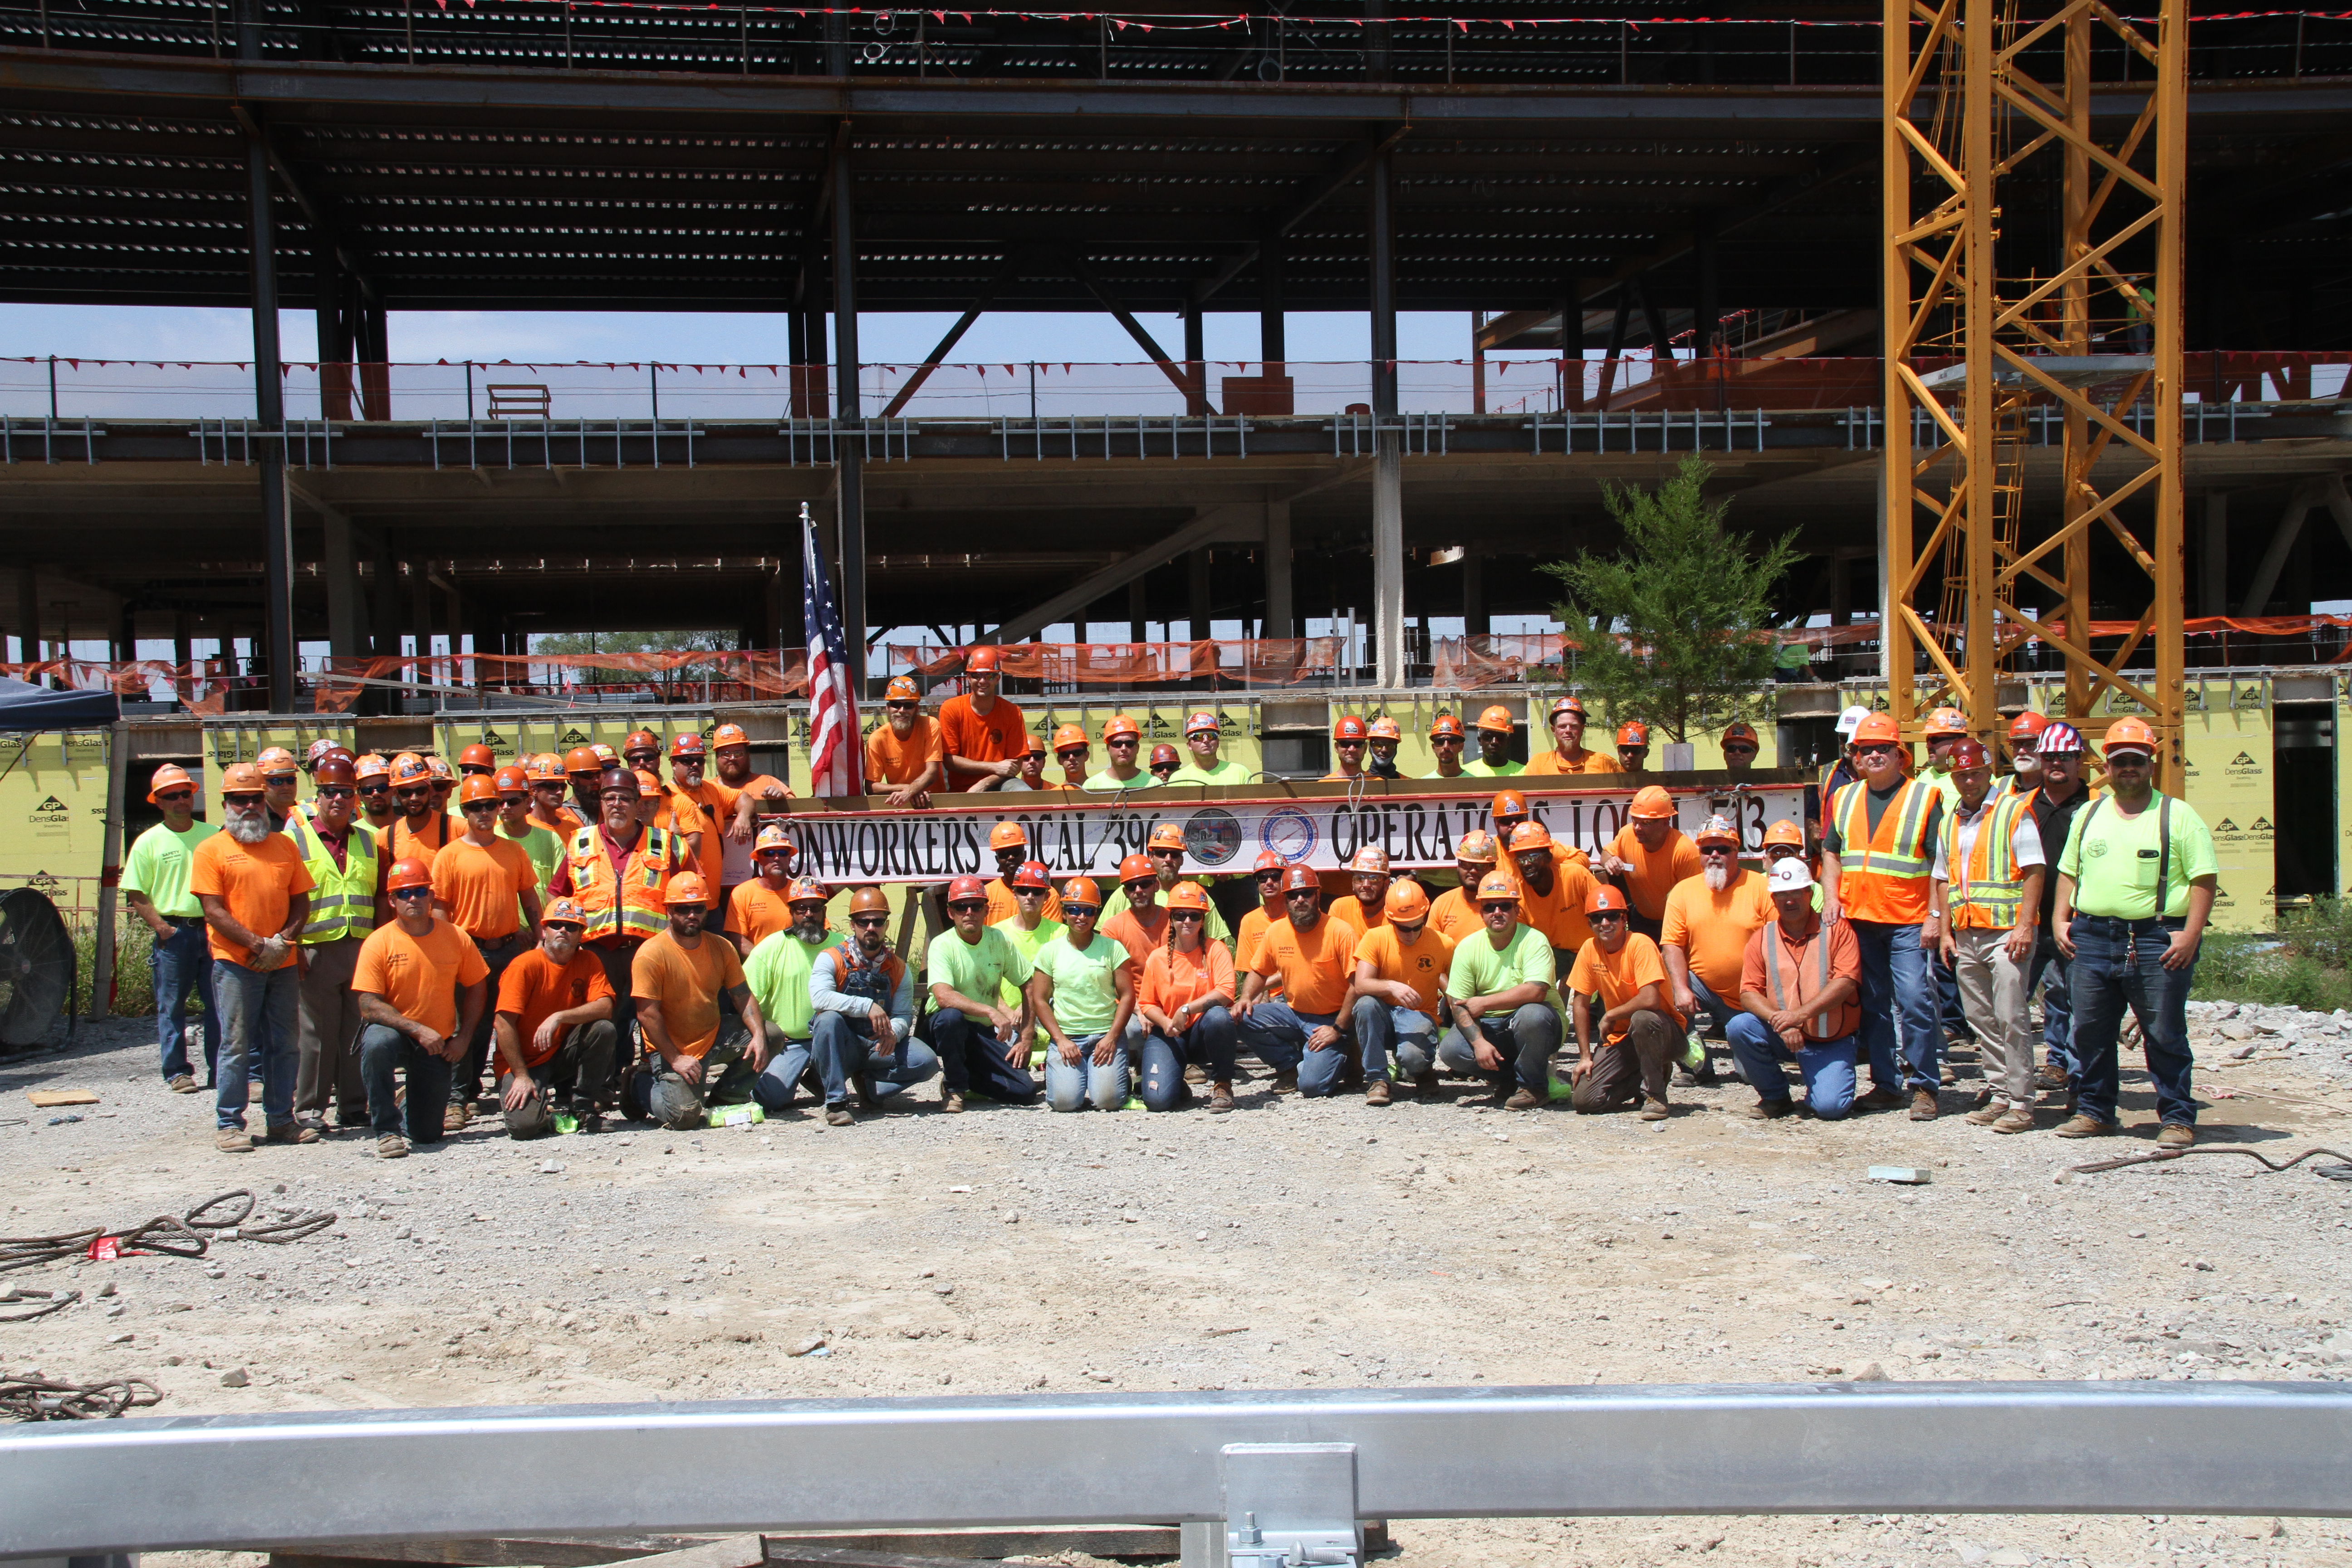
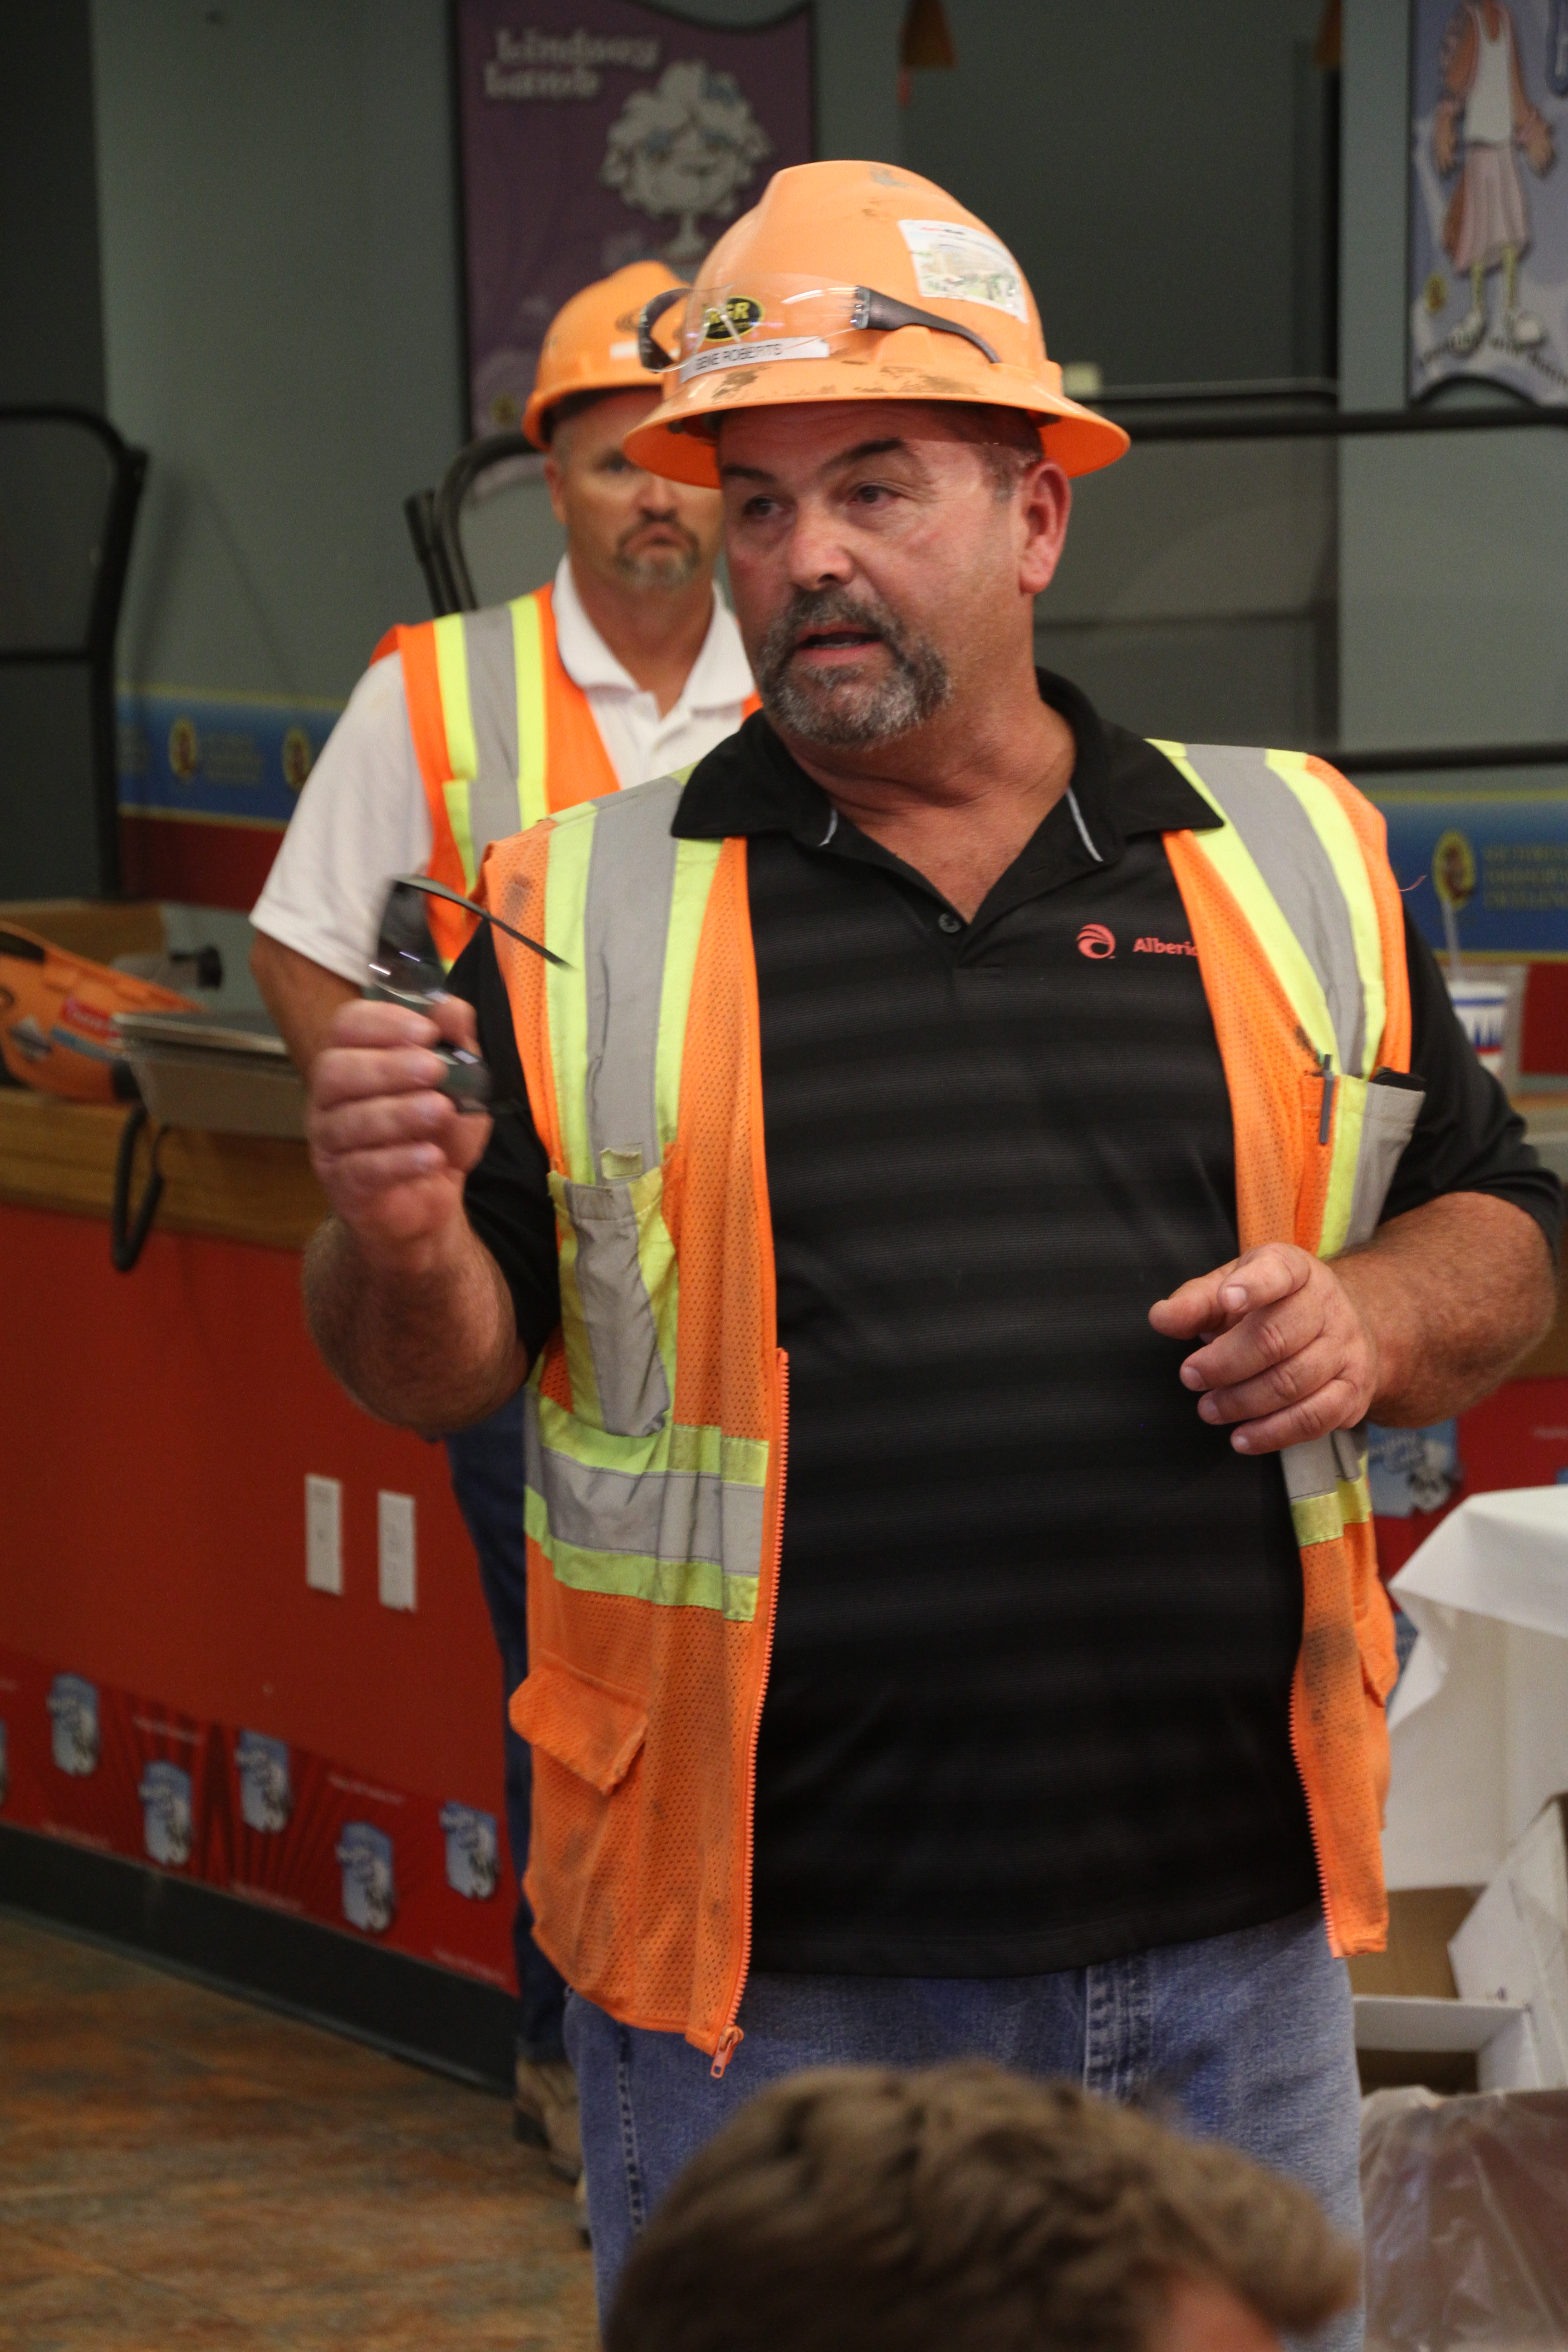
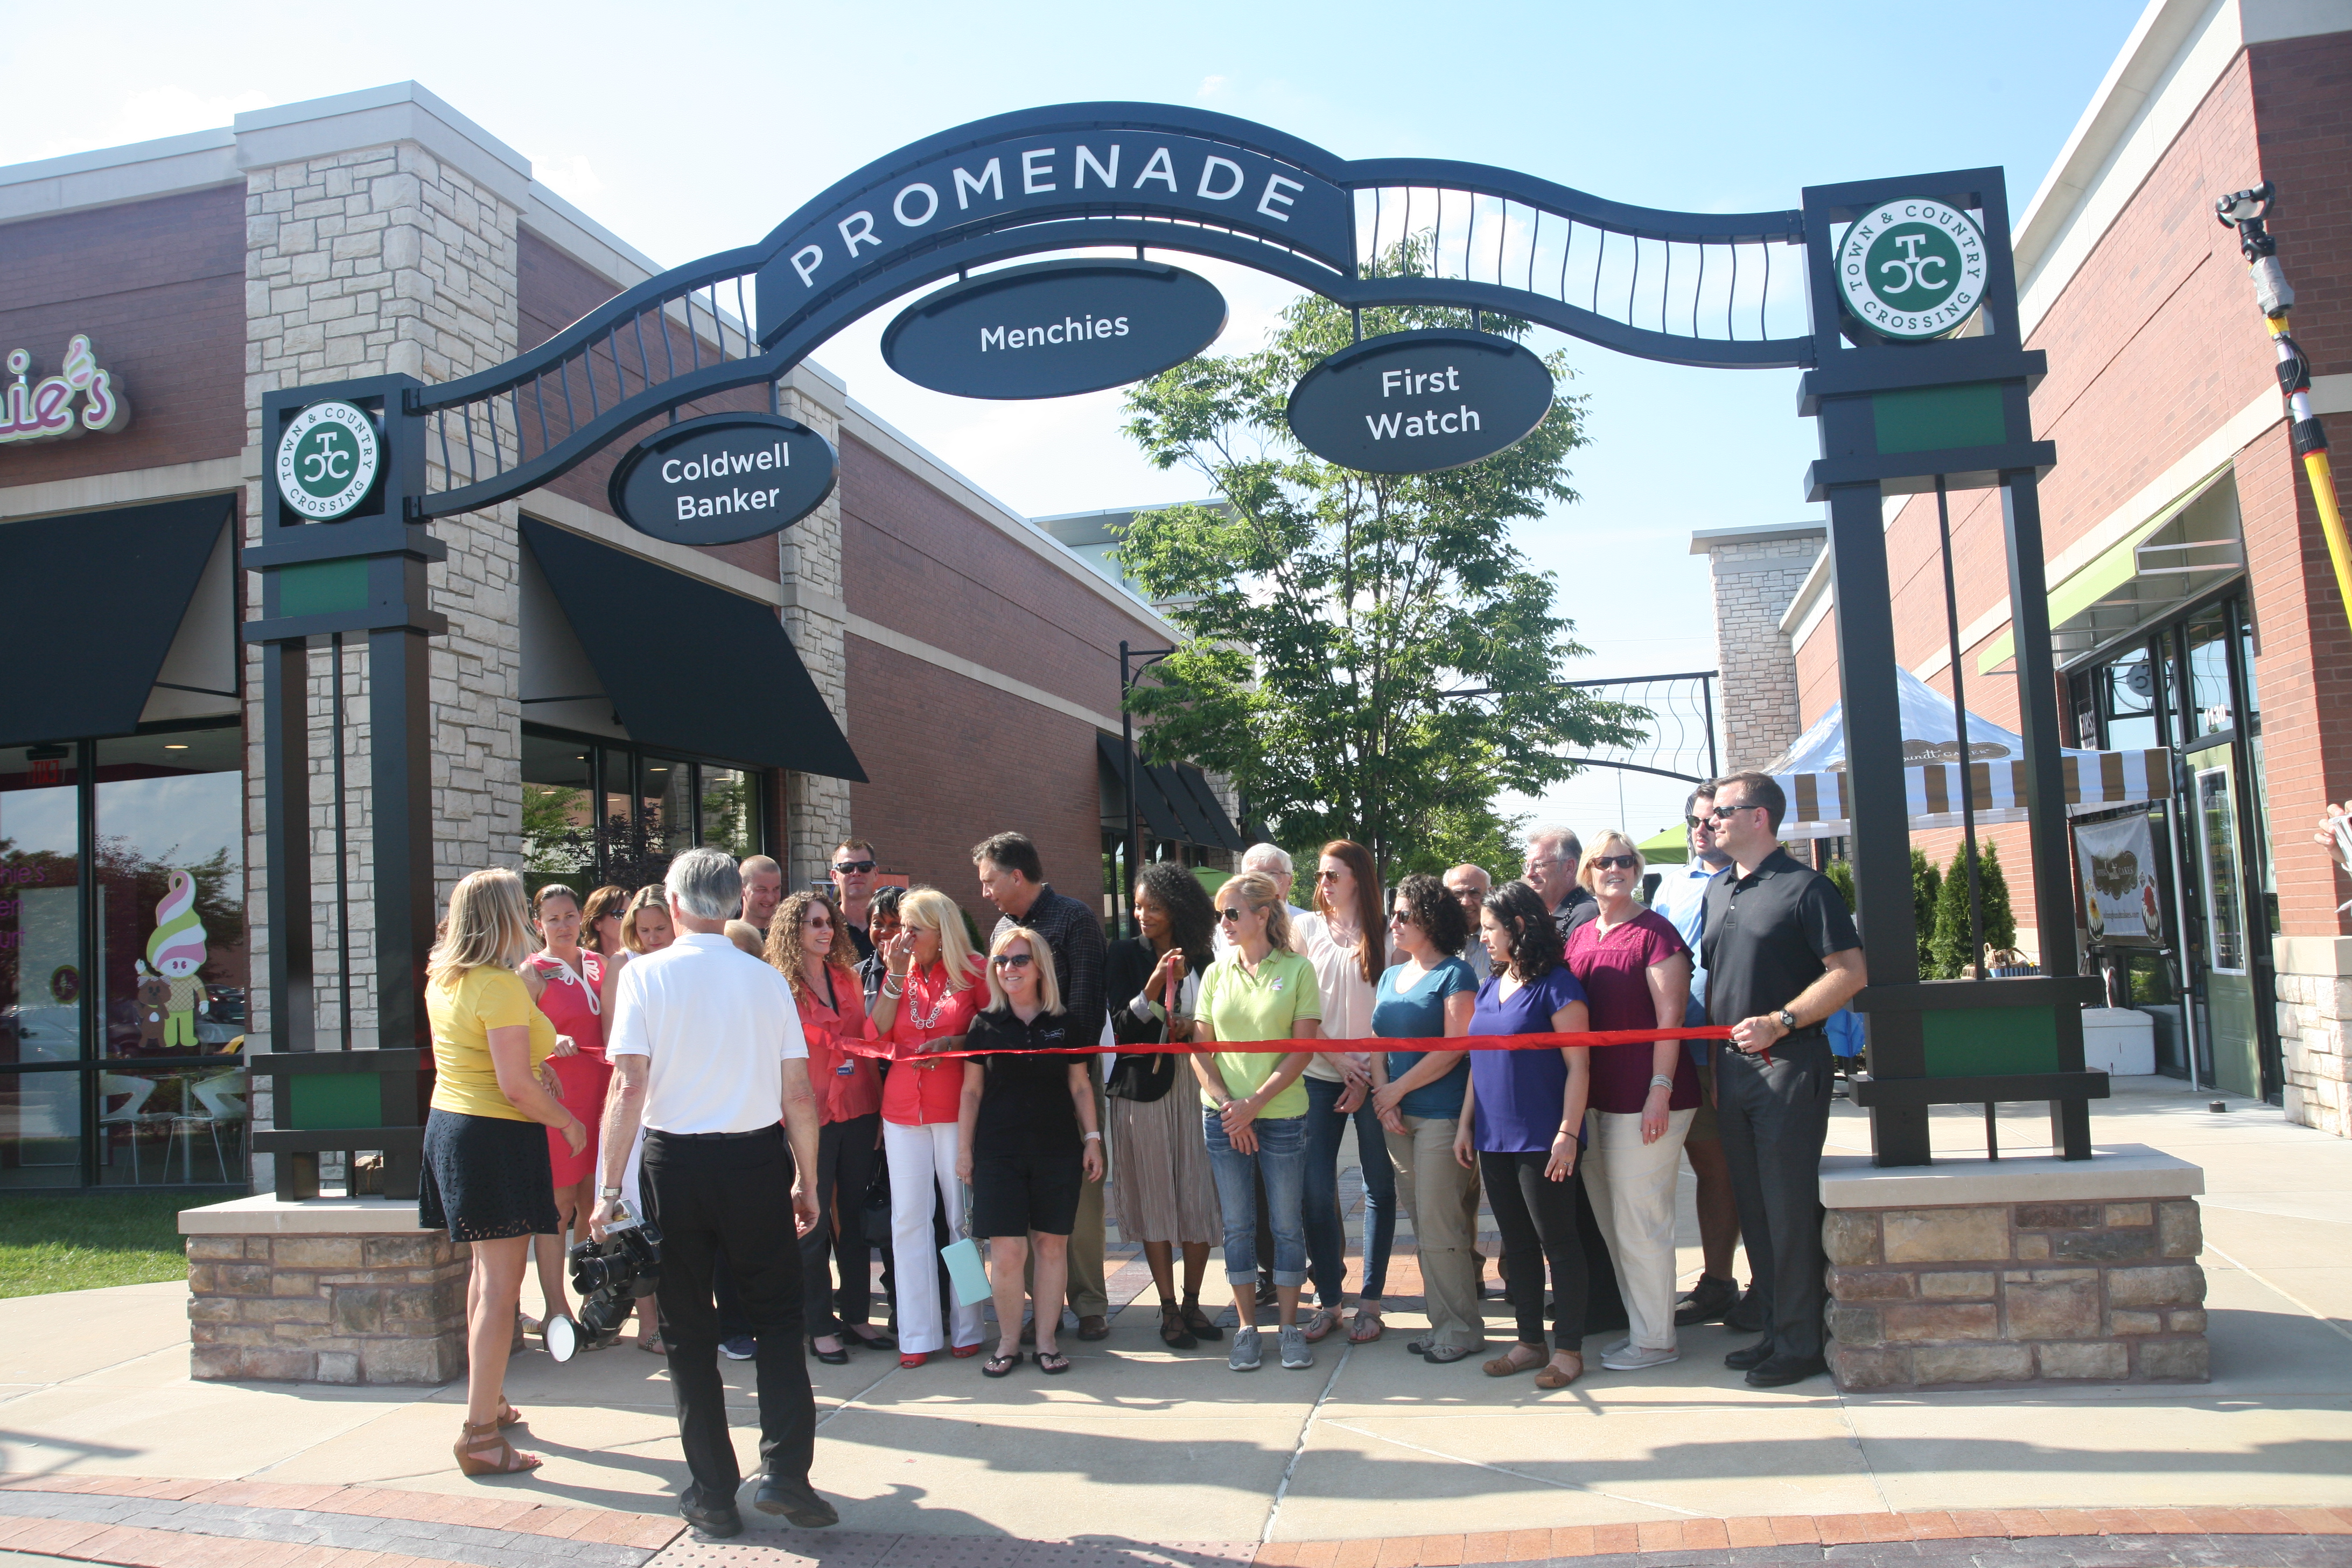
Capturing the perfect images and videos at your company event is only half of the equation. The true value of these assets comes from how they’re organized, stored, and utilized. Without an effective organization system, even the best shots and videos can get lost in the shuffle, making it harder for your team to leverage them for future marketing, branding, or internal purposes.

In this post, we’ll walk you through the process of organizing your photos and videos after a company event to ensure they’re easily accessible and ready for any marketing or content creation needs. Whether you’re planning to repurpose the footage for social media, internal presentations, or long-term promotional use, proper organization is key to maximizing the potential of your visual assets.

Tags should be added to both images and video files to help with content retrieval.

Step 1: Define Your Categories

Before you start organizing your photos and videos, it’s important to establish categories that will make it easier to locate specific content later. Think about how the content will be used and group your files accordingly. Here are a few common categories you might want to consider:

  • Event Highlights: This category includes the most important moments of the event, such as keynote speakers, award ceremonies, and important milestones.
  • People and Attendees: Group images and videos of attendees, networking sessions, and group photos here. If you have shots of key individuals or notable guests, this category should highlight those as well.
  • Behind-the-Scenes: Candid shots or video clips of behind-the-scenes moments during setup or breaks can be great for future marketing materials or social media posts.
  • Venue and Details: If your event took place in a unique venue or featured significant decor, product displays, or branding, you’ll want to organize these shots separately.
  • Testimonial Videos: If you captured interviews or testimonials from attendees or speakers, these can form a unique category for easy access when creating case studies or promotional content.
  • Promotional Material: For images and videos that are specifically designed for marketing, such as promotional trailers or teaser videos, it’s important to separate these out for easy access during the post-production process.

Step 2: File Naming Conventions

Once you have your categories in mind, it’s time to focus on file naming. This can often be the most tedious part of organizing your visual content, but it is crucial for easy retrieval. Here are some tips to make your file naming system efficient:

  • Consistency Is Key: Stick to a uniform format for naming files. A good structure could include the event name, the date, and a description of the content. For example, “EventName_YYYYMMDD_SpeakerName” for images or “EventName_YYYYMMDD_BehindTheScenes” for video files.
  • Keep It Short and Descriptive: File names should be short but descriptive enough to give an idea of what the content is. Avoid using spaces or special characters, which may cause issues on some systems.
  • Use Folders and Subfolders: Organize your files into folders based on categories and then create subfolders for more specific types of content. This creates a layered approach that’s easy to navigate.

Step 3: Implement a Storage System

With your files named and categorized, the next step is choosing the right storage system. For companies dealing with large volumes of photos and videos, a reliable storage solution is essential. Here are some options:

  • Cloud Storage: Services like Google Drive, Dropbox, or Box allow for secure, remote access to your content, which is perfect for teams that need to share files across locations. The added bonus of cloud storage is that it offers scalability—meaning, as your visual content library grows, you can easily upgrade your storage.
  • External Hard Drives: If you prefer to store your files locally, an external hard drive with ample storage space is a solid option. Make sure to back up your files regularly to avoid data loss.
  • Network-Attached Storage (NAS): For larger organizations or those working with extensive amounts of media, a NAS system can provide centralized, secure storage. This allows your team to access files from multiple devices and workstations, streamlining the production process.

Step 4: Utilize Metadata and Tags

Metadata is an often-overlooked but powerful tool for organizing visual content. By adding relevant metadata (such as keywords, descriptions, and dates) to your files, you can create an extra layer of searchability.

  • Descriptive Tags: Tags should be added to both images and video files to help with content retrieval. Tags could include the event type, key people, themes, or specific moments within the content.
  • Geotagging: For videos or photos taken in different locations, adding geotags can help further organize and sort your media.
  • Using Software for Asset Management: Software like Adobe Bridge, Lightroom, or ACDSee allows you to add detailed metadata and manage your files in a more sophisticated way. These tools enable batch editing, tagging, and categorizing, which makes managing large amounts of content much easier.

Step 5: Editing and Post-Production Workflow

After organizing your raw files, it’s time to start editing and creating final content. A well-defined post-production workflow is critical to ensuring your images and videos are polished and ready for use.

  • Images: Use software like Adobe Photoshop or Lightroom to enhance your photos. Create presets for consistency, such as color correction, cropping, or sharpening. If you’re working with large quantities of images, batch processing can save time.
  • Videos: Video editing software such as Adobe Premiere Pro or Final Cut Pro can help you refine your event footage. Focus on creating short, impactful clips for social media and longer-form content for marketing or internal presentations.
  • File Versions: After editing, it’s essential to save multiple versions of your files—such as raw, edited, and web-ready versions—so that you have the flexibility to repurpose them in different formats.

Step 6: Repurposing Content for Marketing

Repurposing your photos and videos is an effective way to extend the life of your content. A single shot from your event could be used in multiple ways:

  • Social Media Posts: Short clips, behind-the-scenes footage, or powerful photos can be shared on your social media channels to keep the event buzz alive.
  • Website: Highlight key moments from the event in a video gallery or blog post.
  • Email Campaigns: Use images or videos to promote your event or upcoming events in newsletters.

By repurposing content, you’re not only increasing its value but also ensuring that it reaches a wider audience across various marketing channels.

Why Choose St. Louis Photo Studio for Your Event Photography and Video Needs?

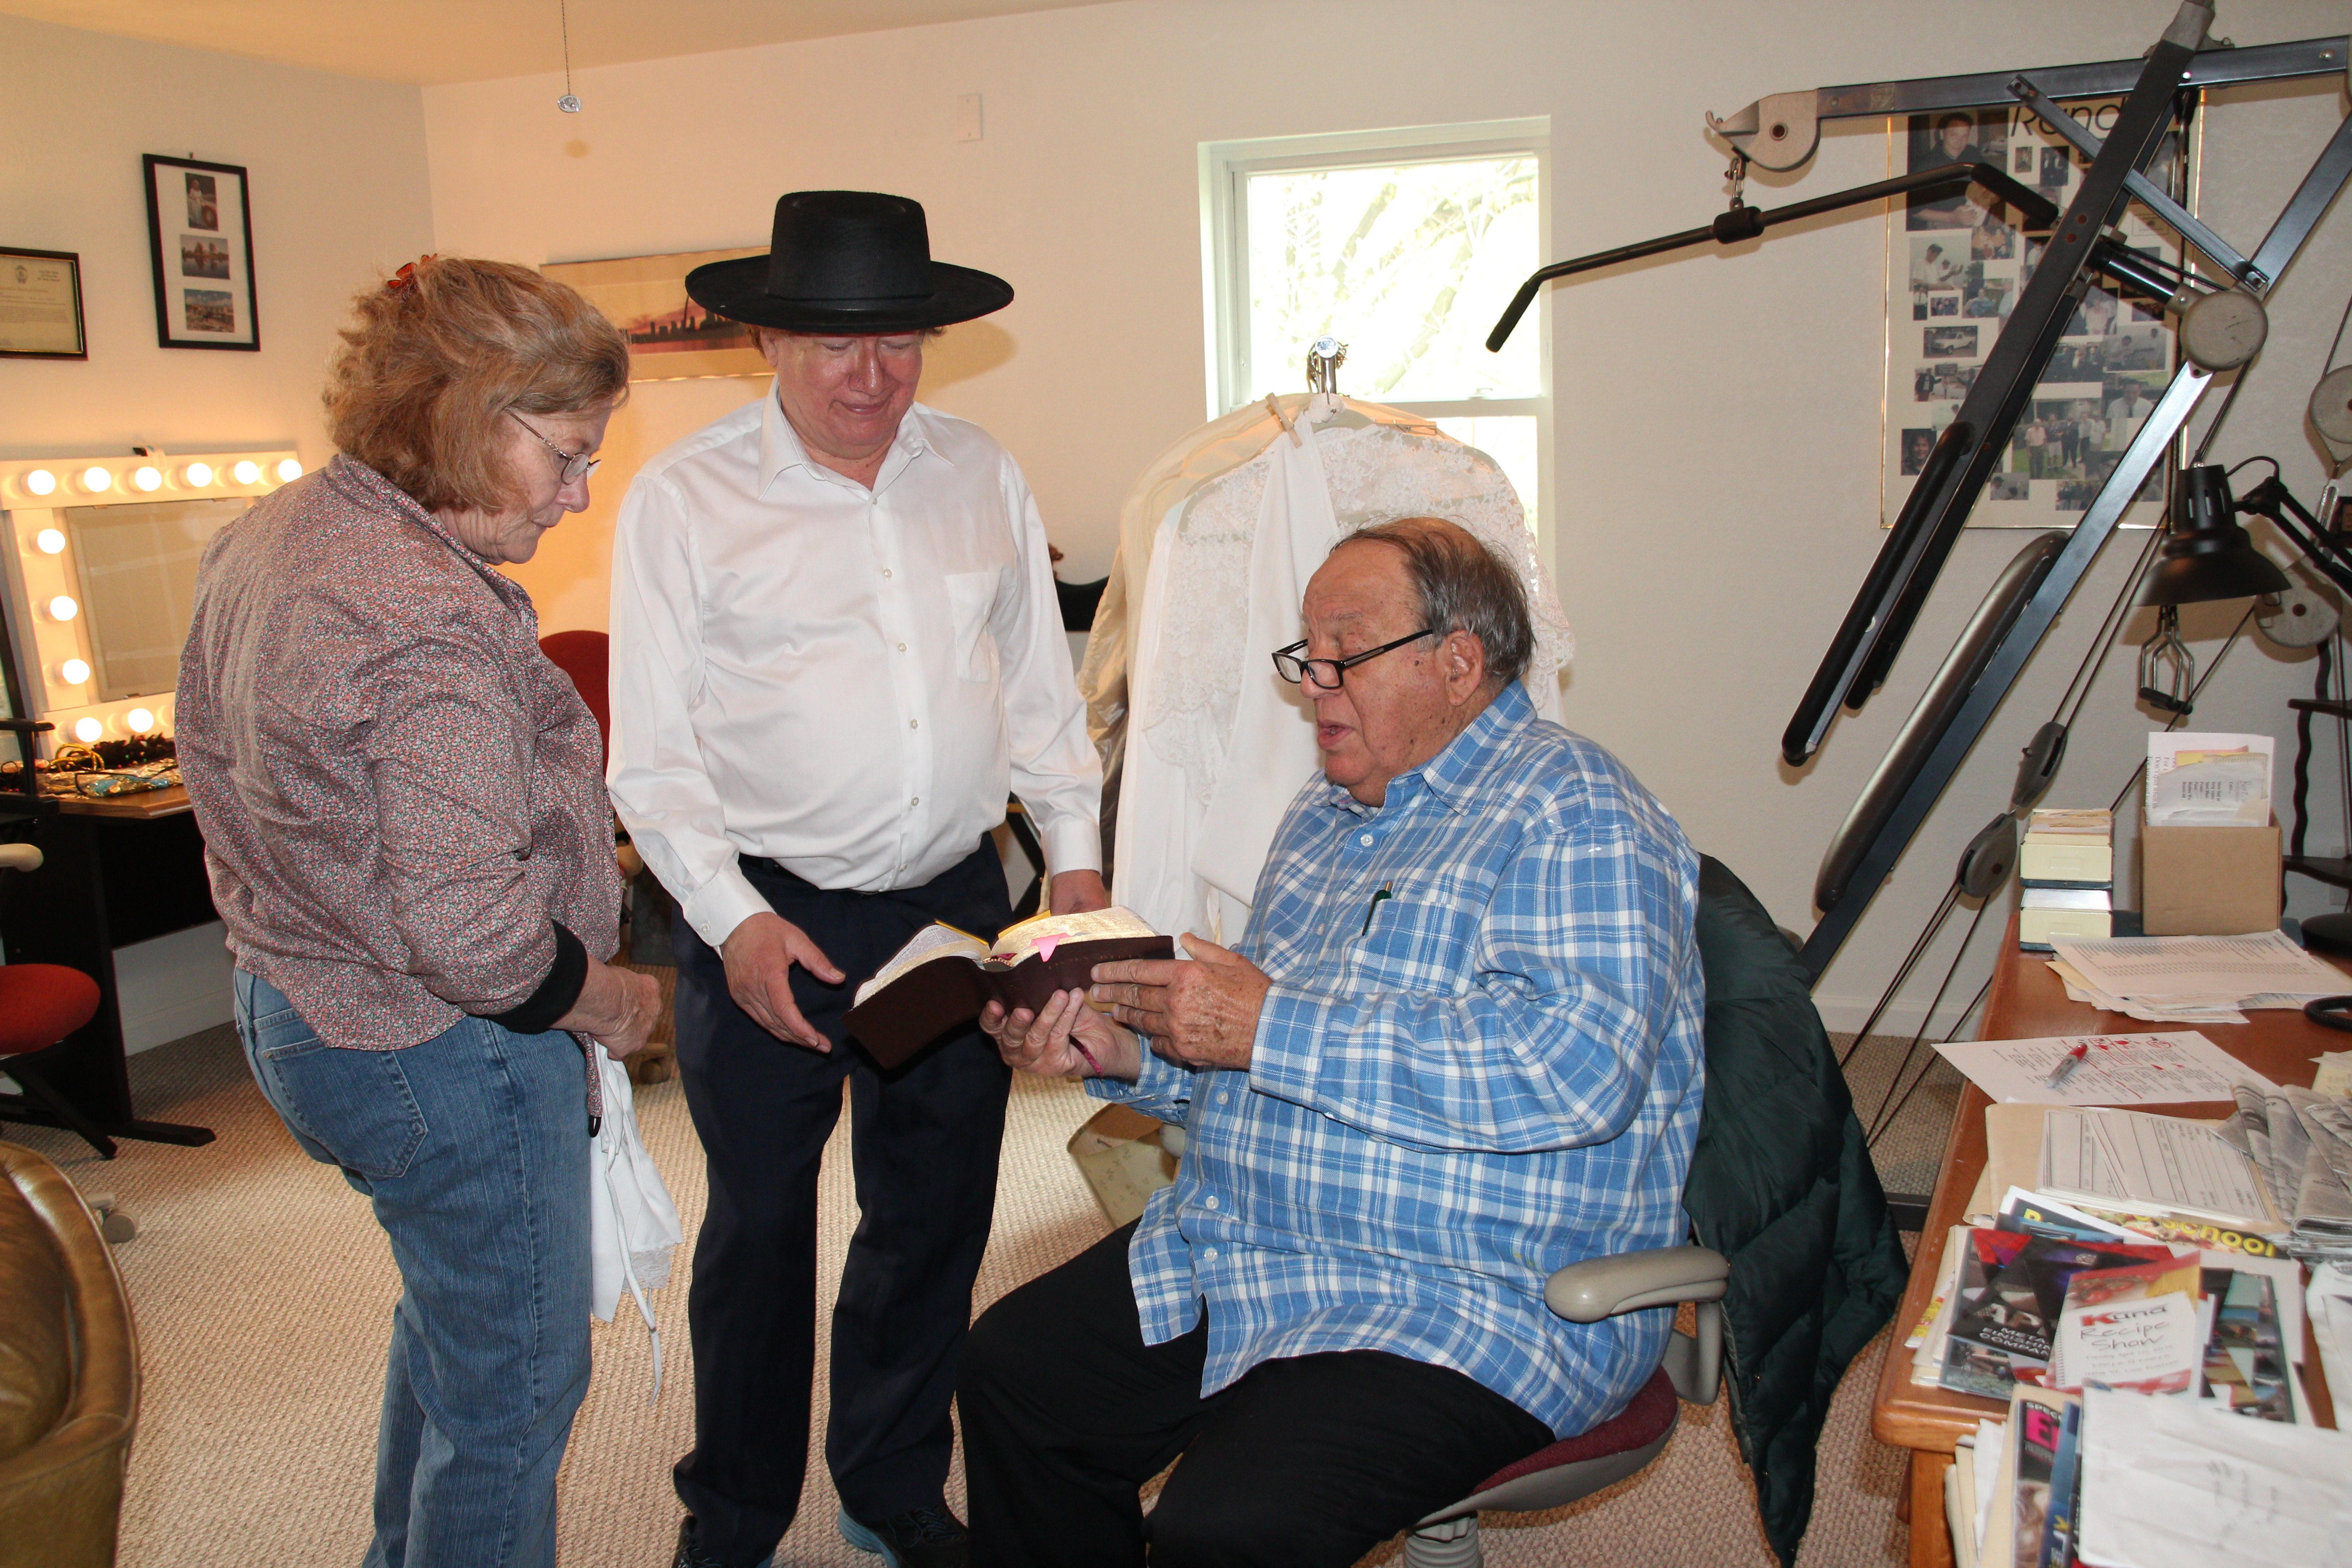
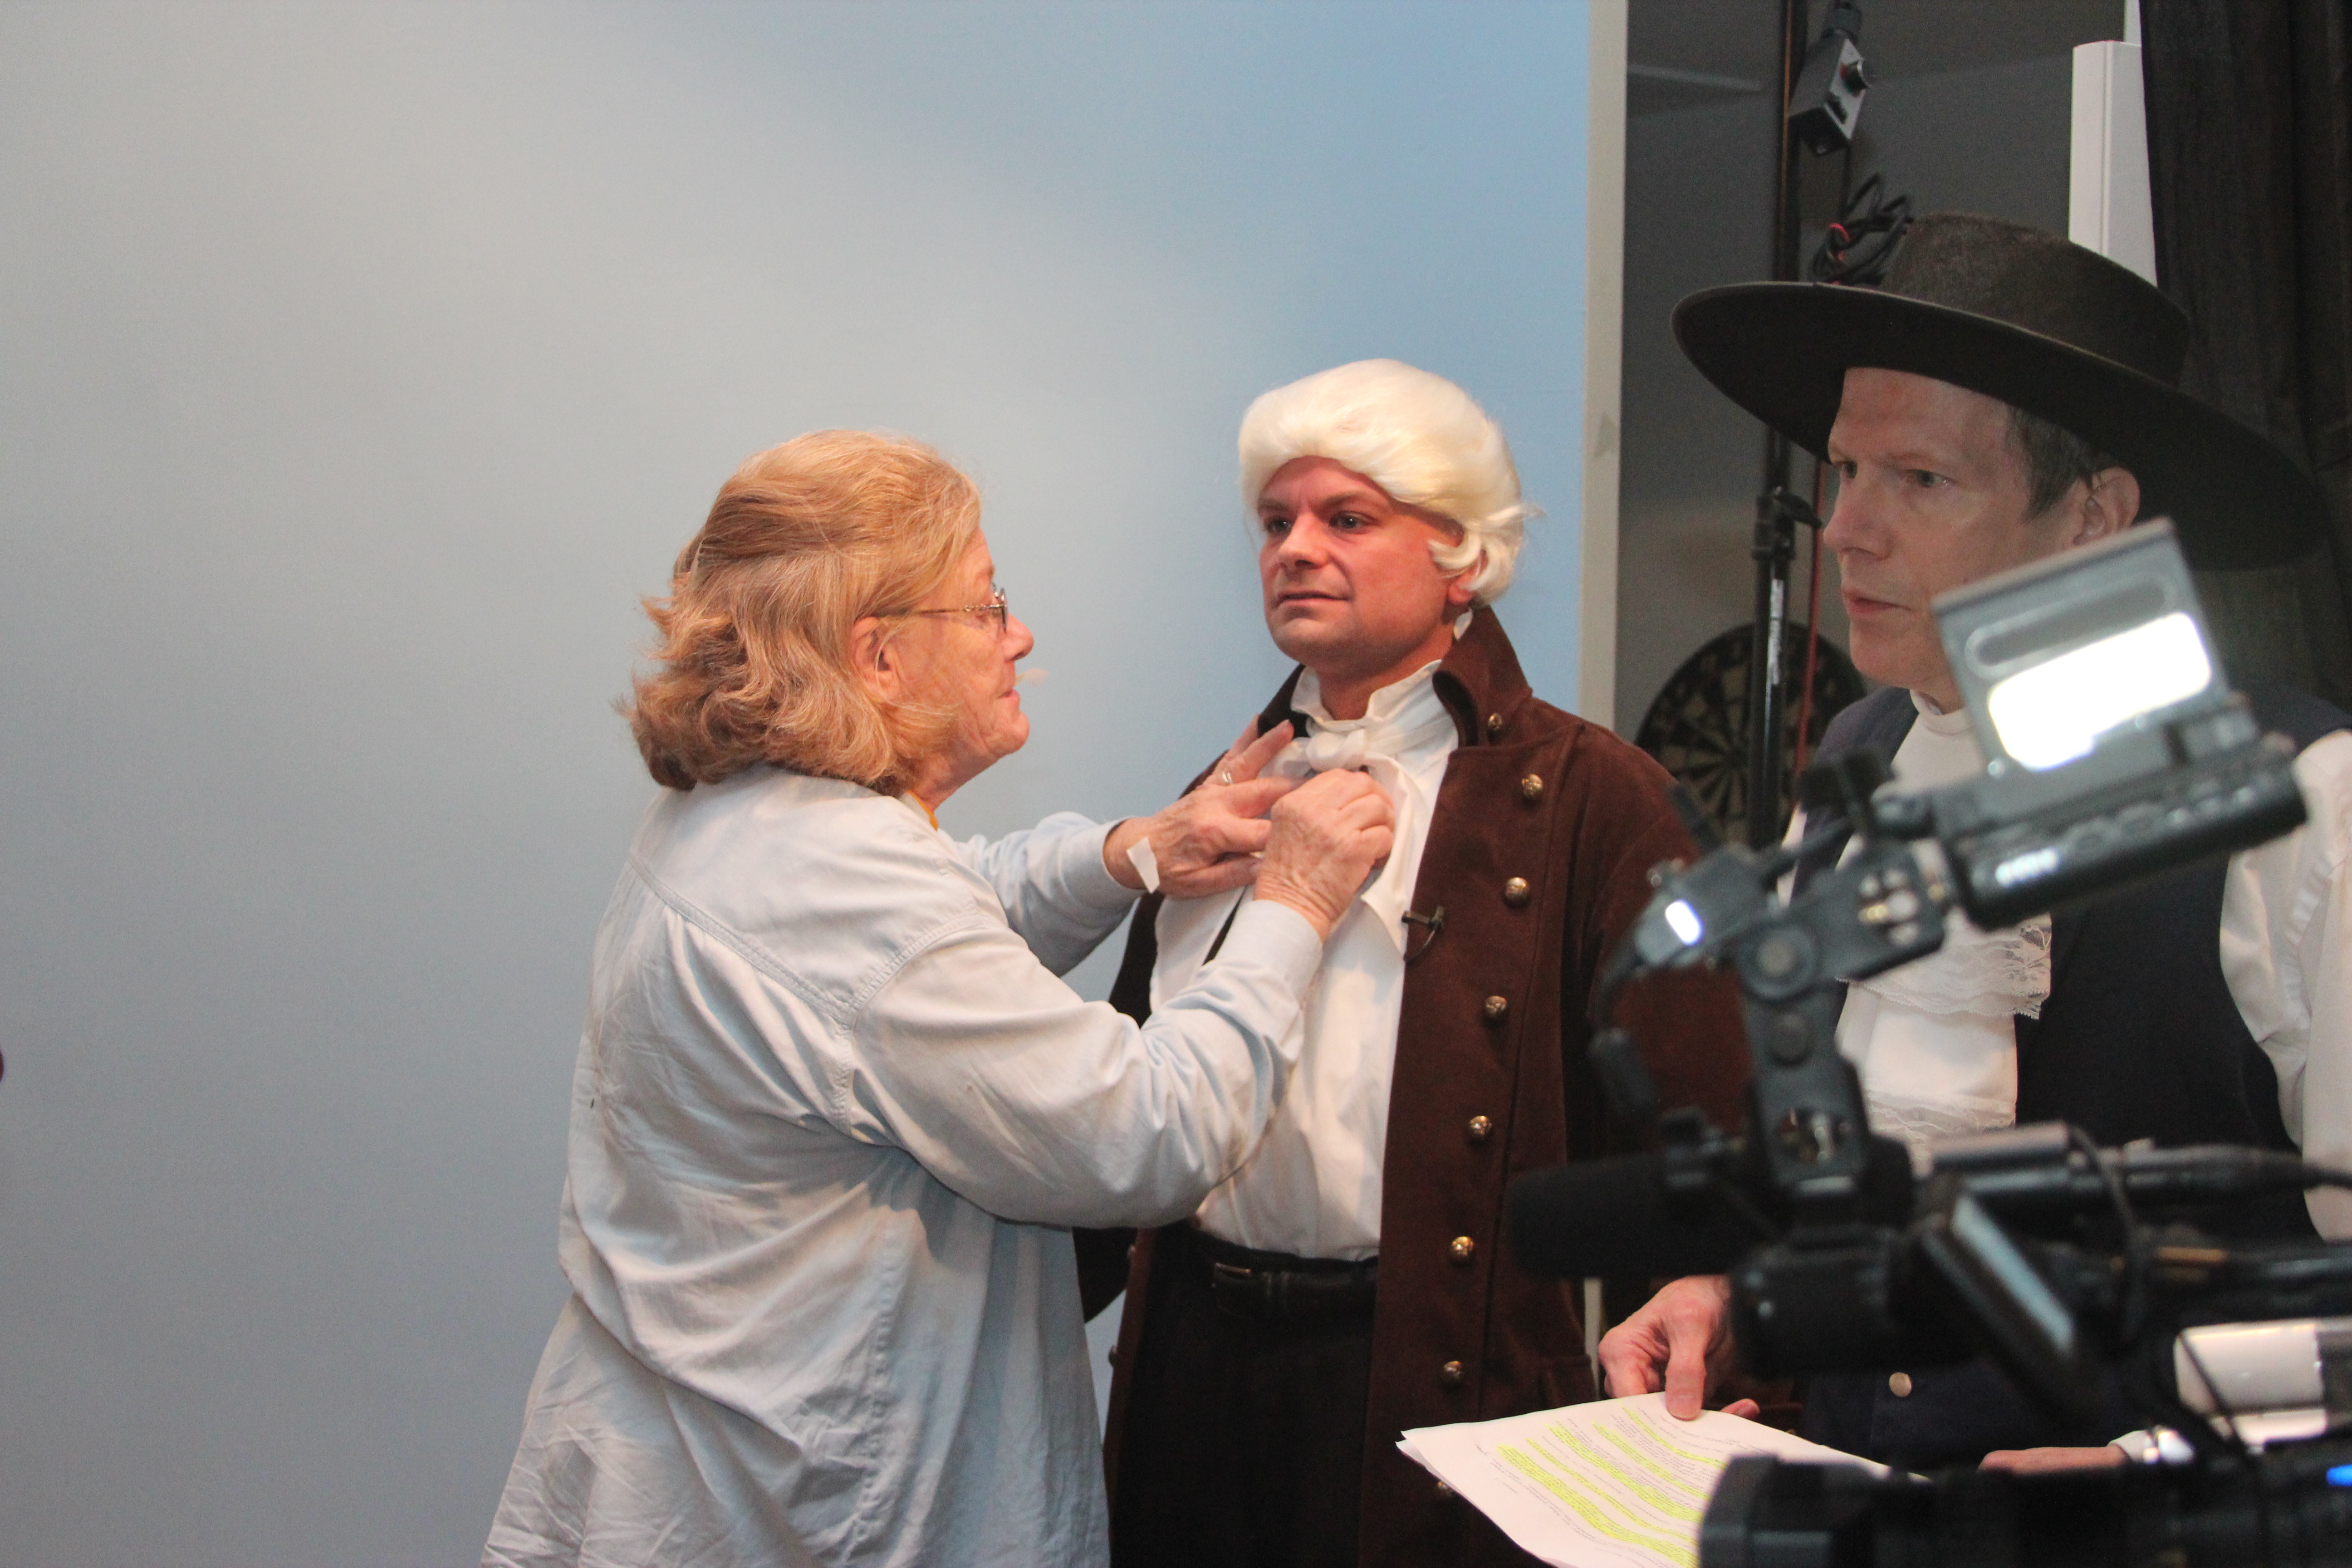
At St. Louis Photo Studio, we pride ourselves on our ability to capture the essence of every event, turning moments into lasting memories. As a full-service professional commercial photography and video production company, we have the right equipment and a creative, experienced crew to ensure successful image acquisition. Our studio and location video and photography services are complemented by editing, post-production, and licensed drone pilots, all designed to bring your vision to life.

Since 1982, we have worked with businesses, marketing firms, and agencies in the St. Louis area, providing top-quality photography and video services that help brands engage their audience. We specialize in customizing productions for diverse media requirements and are experts in repurposing photography and video branding to increase traction. Our private studio setup is perfect for small productions and interview scenes, and we can accommodate larger sets with props to enhance your shoot.

Whether you need a custom interview studio setup, sound and camera operators, or indoor drone capabilities, St. Louis Photo Studio is here to support every aspect of your production. Let us help you make your next event a visual success with images and videos that will continue to benefit your business for years to come.

Ready to elevate your next event’s photography and video coverage? Contact St. Louis Photo Studio today!

314-913-5626

Mike Haller
stlouisphotostudio@gmail.com

Best Practices for Photography Studio Production

Introduction

In the realm of professional photography and video production, the quality of your visual content is paramount. Whether you are a marketing firm, agency, or a business seeking to enhance your brand’s visual appeal, understanding the best practices for studio production can significantly impact the success of your projects. At St Louis Photo Studio, we pride ourselves on our expertise and comprehensive services, tailored to meet diverse media requirements. This guide delves into the essential best practices for studio production to ensure your projects are executed with precision and creativity.

Effective directing is key to capturing compelling visuals. Provide clear instructions to your subjects, whether they are models, actors, or interviewees.

Planning and Pre-Production

Define Your Objectives

Before any production begins, it’s crucial to have a clear understanding of your goals. Are you creating promotional videos, corporate headshots, product photography, or training materials? Defining your objectives will guide the entire production process, from planning to post-production.

Develop a Detailed Shot List

A shot list is an invaluable tool for ensuring you capture all necessary footage and images. It provides a clear roadmap for the shoot, helping to streamline the process and ensure no critical shots are missed. Include details such as camera angles, lighting setups, and any specific props or backdrops needed.

Scout and Prepare the Studio

Familiarize yourself with the studio space and its capabilities. At St Louis Photo Studio, our private studio lighting and visual setup are perfect for small productions and interview scenes. Ensure the studio is prepped with the necessary equipment, backdrops, and props to create the desired aesthetic.

Lighting Techniques

Utilize Studio Lighting

Proper lighting is fundamental to high-quality photography and video production. In a studio setting, artificial lighting provides consistent and controllable illumination. Use key lights, fill lights, and backlights to create depth and dimension in your images and videos. Experiment with different lighting setups to achieve the desired mood and effect.

Consider Natural Light

While studio lighting offers control, natural light can add a unique and appealing quality to your visuals. If your studio has windows, consider how natural light can be incorporated into your setup. Be mindful of the time of day and the direction of the light to maximize its impact.

Camera and Equipment

Choose the Right Camera

Selecting the appropriate camera is critical for capturing high-quality visuals. For professional studio production, invest in high-resolution cameras that offer advanced features such as interchangeable lenses, manual controls, and excellent low-light performance. At St Louis Photo Studio, we use top-of-the-line equipment to ensure the highest standards of image acquisition.

Utilize Specialized Equipment

In addition to cameras, a range of specialized equipment can enhance your production. This includes tripods, sliders, and gimbals for smooth and stable shots, as well as high-quality microphones for clear audio. Our studio is equipped with everything needed to create professional-grade content.

Drone Integration

For unique perspectives and dynamic shots, consider incorporating drone footage. Our licensed drone pilots at St Louis Photo Studio can fly specialized drones both indoors and outdoors, adding a creative element to your production.

Production Techniques

Directing and Posing

Effective directing is key to capturing compelling visuals. Provide clear instructions to your subjects, whether they are models, actors, or interviewees. Offer guidance on posing and movement to achieve the desired look and feel. Building a comfortable rapport with your subjects will help them relax and perform naturally.

Capture Multiple Takes

To ensure you have plenty of options during post-production, capture multiple takes of each shot. This is especially important for video production, where subtle differences in performance or camera angles can make a significant difference in the final edit.

Post-Production

Editing and Retouching

Post-production is where your project truly comes to life. Use professional editing software to enhance your visuals, correct colors, and refine audio. For photography, retouching is essential to achieve a polished and professional look. At St Louis Photo Studio, our skilled editors and retouchers are adept at bringing out the best in your content.

Repurposing Content

Maximize the value of your visual assets by repurposing them for different media requirements. This could involve creating shorter video clips for social media, converting still images into engaging graphics, or developing training materials from existing footage. Our team can help customize your productions to gain more traction across various platforms.

Conclusion

Professional studio production requires meticulous planning, skilled execution, and expert post-production. By following these best practices, you can ensure your projects meet the highest standards of quality and creativity. At St Louis Photo Studio, we offer a full-service approach to photography and video production, with the right equipment and experienced creative crew to bring your vision to life. Our capabilities include studio and location shoots, editing, post-production, and licensed drone operations. Whether you need a customized interview setup or a comprehensive corporate video, we have the expertise to make your next production perfect.

Partner with St Louis Photo Studio to elevate your visual content and achieve outstanding results for your business or organization. Contact us today to learn more about our services and how we can support your next project.

314-913-5626

stlouisphotostudio@gmail.com

Customizing Headshots for Social Media and Work

In today’s digital age, personal branding is more important than ever. Whether you’re a professional looking to enhance your online presence or an employer seeking to portray your team in the best light possible, headshots play a crucial role in shaping perceptions. Your headshot is often the first impression you make in the digital realm, and it can greatly influence how others perceive you, your business, or your brand.

The way light falls on your face can dramatically impact the final result.

As an experienced headshot photographer at St. Louis Photo Studio, I understand the significance of a well-crafted headshot and the impact it can have on your professional and social life. In this comprehensive guide, we will delve into the art and science of customizing headshots for social media and work. You’ll learn about the essential elements that make a headshot stand out, the differences between personal and professional headshots, and how to choose the right style for your needs.

Why Headshots Matter

Before we dive into the nitty-gritty of customizing headshots, let’s take a moment to understand why headshots are so important in today’s context.

1. First Impressions

Your headshot is often the first visual representation of yourself or your team that people encounter. Whether it’s on LinkedIn, your company’s website, or a social media profile, it’s the initial point of contact. First impressions are lasting, and a well-composed headshot can convey professionalism, confidence, and approachability.

2. Building Trust

In the digital world, trust is a precious commodity. A professional-looking headshot builds trust with your audience or potential clients. It signals that you take your work seriously and are willing to invest in your personal brand.

3. Personal Branding

Your headshot is a vital component of your personal branding strategy. It helps you convey your unique personality, values, and professionalism. Consistency in your headshots across various platforms reinforces your brand identity.

4. Connecting with Your Audience

In the age of remote work and virtual meetings, your headshot is often the face that people associate with your name. It helps create a sense of connection in the absence of in-person interactions.

Now that we’ve established the importance of headshots, let’s explore how to customize them for different purposes.

Personal vs. Professional Headshots

When it comes to headshots, there are primarily two categories: personal and professional. The choice between the two depends on your intended use and the image you want to convey.

Personal Headshots

Personal headshots are typically used for non-professional or social media purposes. They aim to capture your personality, style, and interests. Here are some key considerations for personal headshots:

  • Background: Personal headshots often feature more relaxed backgrounds. You might opt for natural settings, casual indoor spaces, or even use props that reflect your hobbies or interests.
  • Attire: Your clothing choice can be more casual and reflective of your personal style. The aim is to showcase your individuality.
  • Expression: Personal headshots often feature natural, unforced expressions that convey your personality. Genuine smiles and relaxed poses are encouraged.
  • Lighting: While good lighting is essential, personal headshots can experiment with different lighting styles to create a unique atmosphere.

Professional Headshots

Professional headshots, on the other hand, are tailored for business and career-related use. They are designed to project competence, reliability, and trustworthiness. Here are some factors to consider for professional headshots:

  • Background: Professional headshots typically feature plain or subtly textured backgrounds in neutral colors. This keeps the focus on you.
  • Attire: Dress code should be business-appropriate, reflecting the industry and your role. Neat and well-fitted clothing is a must.
  • Expression: Professional headshots often feature more serious or neutral expressions. The aim is to convey professionalism and confidence.
  • Lighting: Even and flattering lighting is crucial for professional headshots. It should highlight your features without creating distracting shadows.

Customizing Your Headshot

Now that you understand the differences between personal and professional headshots, let’s explore how to customize your headshot to make it truly unique and effective.

1. Selecting the Right Photographer

Choosing the right photographer is the first and perhaps the most crucial step in customizing your headshot. Look for a photographer with experience in headshot photography, as they will understand the nuances of lighting, posing, and composition that make a headshot exceptional. At St. Louis Photo Studio, we have been serving the St. Louis area since 1982 and have a team of experienced photographers ready to create the perfect headshot for you.

2. Understanding Your Brand or Style

Your headshot should align with your personal brand or the image you want to project. Are you in a creative industry where a slightly unconventional headshot might be appropriate? Or do you work in a more traditional field where a classic, professional headshot is ideal? Consider your industry, your role, and your personal style when customizing your headshot.

3. Choosing the Right Wardrobe

Your clothing choice can significantly impact the message your headshot conveys. For professional headshots, opt for attire that you would wear to an important business meeting or client presentation. Solid colors and timeless styles often work best. For personal headshots, feel free to let your personality shine through your clothing choices.

4. Perfecting the Pose

Posing is an art, and it plays a crucial role in the outcome of your headshot. Your photographer will guide you through different poses to find the ones that flatter your features and convey the desired message. Whether it’s a confident stance for a professional headshot or a relaxed, candid pose for a personal one, the right pose can make all the difference.

5. Mastering Lighting and Composition

Lighting and composition are the building blocks of a great headshot. A skilled photographer will use lighting to highlight your best features and create a flattering look. The composition should draw attention to your face and create a visually appealing frame.

Studio vs. Location Headshots

Another aspect to consider when customizing your headshot is whether to go for a studio or location shoot. Each option offers distinct advantages, and the choice depends on your preferences and the image you want to convey.

Studio Headshots

Studio headshots are shot in a controlled environment where the photographer has complete control over lighting and background. Here are some benefits of studio headshots:

  • Consistency: Studio setups provide consistent lighting and background, ensuring that all your headshots have the same professional look.
  • Privacy: Studios offer privacy and the ability to create a distraction-free environment, which can help you feel more at ease during the shoot.
  • Customization: Studio setups can be customized to achieve specific looks and styles, making them ideal for professional headshots.

Location Headshots

Location headshots are captured in real-world settings, such as your office, a park, or an urban landscape. Here’s why you might opt for location headshots:

  • Authenticity: Location headshots can convey a sense of authenticity and personality, which is valuable for personal branding.
  • Relevance: If your profession or business is tied to a specific location or industry, location headshots can highlight this connection.
  • Variety: Location headshots can provide a variety of backgrounds and settings, allowing for more diverse and creative headshot options.

At St. Louis Photo Studio, we offer both studio and location headshot sessions, giving you the flexibility to choose the style that best suits your needs.

The Role of Visual Elements

Visual elements, such as lighting and backdrop options, play a significant role in customizing headshots. Let’s explore these aspects in more detail:

Lighting

Lighting is one of the most critical elements in headshot photography. The way light falls on your face can dramatically impact the final result. Here are some common lighting setups:

  • Soft Lighting: Soft, diffused lighting minimizes harsh shadows and creates a flattering, even look. It’s commonly used for professional headshots.
  • Rembrandt Lighting: This technique creates a small triangle of light on one side of the face, adding dimension and depth to the portrait.
  • Split Lighting: Split lighting divides the face into equal halves, with one side in shadow and the other in light. It can create a dramatic and confident look.
  • Natural Lighting: For location headshots, natural light can provide a warm and authentic feel. The golden hour (early morning or late afternoon) often offers the best natural lighting conditions.

Backdrop Options

The backdrop you choose can set the tone for your headshot. Here are some backdrop options to consider:

  • Plain Background: A plain, solid-color background (usually white, gray, or black) keeps the focus on you and is a staple for professional headshots.
  • Textured Background: Textured backdrops can add visual interest without being distracting. They can be used for both personal and professional headshots.
  • Environmental Background: If you opt for location headshots, the environment itself becomes the backdrop. Consider locations that align with your brand or message.
  • Custom Backdrops: For a unique look, custom backdrops can be designed to match your brand colors or personal style.

Post-Processing and Retouching

After the photoshoot, the post-processing stage is where the magic happens. Professional photographers use various tools and techniques to enhance your headshot. Here are some common post-processing steps:

  • Color Correction: Adjusting colors to ensure accurate skin tones and overall consistency.
  • Skin Retouching: Removing blemishes, wrinkles, and imperfections while maintaining a natural look.
  • Contrast and Exposure: Fine-tuning the contrast and exposure to highlight your features.
  • Background Enhancements: Cleaning up and enhancing the backdrop as needed.
  • Cropping and Composition: Refining the composition and cropping the image for the desired framing.
  • Final Touches: Adding any final adjustments to achieve the desired look.

Why Choose St. Louis Photo Studio?

As a full-service photography and video company, St. Louis Photo Studio has extensive experience in creating custom headshots for both personal and professional use. Our team of skilled photographers understands the nuances of lighting, posing, and composition to capture your best angle. Whether you prefer studio or location headshots, we have the expertise to deliver outstanding results.

Founded in St. Louis in 1982, we have a long-standing reputation for excellence in photography and videography. Our extensive visual lighting and backdrop options allow us to cater to a wide range of preferences and styles. We take pride in customizing headshots that align with your brand, values, and goals.

In addition to headshots, we offer a comprehensive range of photography and video services to meet all your communication needs. Whether it’s internal corporate communications, marketing campaigns, or social media content, our team can provide the visual assets you need to make a lasting impact.

As a full-service photography and video company, St. Louis Photo Studio has worked with businesses of all sizes in the St. Louis area. We are experts at shooting headshots and portraits for your next project. Contact us today to discuss your photography needs and let us help you create headshots that leave a lasting impression.

Don’t miss the opportunity to make a powerful first impression. Contact St. Louis Photo Studio and let us customize headshots that represent you or your team in the best light possible.

In conclusion, the importance of headshots in today’s digital landscape cannot be overstated. Whether you’re looking to enhance your professional image or express your personality on social media, a well-customized headshot can make all the difference. By understanding the differences between personal and professional headshots, choosing the right photographer, and considering factors like lighting and backdrop options, you can ensure that your headshot effectively communicates your message and leaves a lasting impression.

314-913-5626

stlouisphotostudio@gmail.com

Portrait Photography Cheat Sheets For Clients

Portrait photography is a captivating art form that beautifully captures the essence of individuals, businesses, and moments in time. Whether you’re a seasoned professional or new to the world of portrait photography, this comprehensive guide will provide you with invaluable insights and cheat sheets to ensure that your clients have an exceptional photography experience.

It’s about more than just taking pictures; it’s about telling a story through visual representation.

At St Louis Photo Studio, based in St. Louis, we understand the importance of delivering outstanding portrait photography services. With our extensive experience, we are dedicated to helping you achieve your desired results. We specialize in all aspects of photography, from personal portraits to corporate branding and business marketing. Let’s dive into the world of portrait photography and uncover some essential tips and tricks to ensure your clients look their best.

1. Understanding Portrait Photography

1.1. Portrait Photography Defined

Portrait photography is a genre of photography that focuses on capturing the likeness, personality, and character of an individual or a group. It’s about more than just taking pictures; it’s about telling a story through visual representation.

1.2. Types of Portrait Photography

  • Studio Portraits: Shot in a controlled studio environment, these portraits provide consistency in lighting and background.
  • Environmental Portraits: These showcase subjects in their natural surroundings, adding depth and context to the images.
  • Candid Portraits: Capturing spontaneous moments and genuine emotions, candid portraits offer authenticity and spontaneity.

1.3. Portrait Photography Gear

Investing in the right gear is crucial for achieving professional results:

  • Camera: High-resolution DSLRs or mirrorless cameras are ideal for portrait photography.
  • Lenses: Prime lenses (e.g., 50mm or 85mm) are popular for their sharpness and ability to create a pleasing background blur (bokeh).
  • Lighting: Studio photographers often use strobe or continuous lighting, while natural light is preferred for environmental and candid portraits.

2. Preparing for the Portrait Session

2.1. Communication with Clients

Effective communication with your clients is key to a successful portrait session. Discuss their expectations, preferences, and any specific ideas they have in mind. Ensure they feel comfortable and confident during the shoot.

2.2. Location and Lighting

Choose a location that suits the type of portrait you’re aiming for. For studio portraits, control the lighting with studio equipment. For outdoor portraits, consider the time of day to achieve the best natural lighting conditions.

2.3. Wardrobe and Styling

Advise your clients on wardrobe choices that complement the overall look and feel of the portraits. Encourage them to bring multiple outfits for variety. Pay attention to details like hair, makeup, and accessories.

3. During the Portrait Session

3.1. Posing Techniques

Guiding your subjects with effective posing techniques is essential. Here are some tips:

  • Maintain good posture.
  • Use angles to flatter the subject.
  • Encourage natural and relaxed expressions.

3.2. Engaging with Your Subject

Establish a connection with your subject to create a relaxed and comfortable atmosphere. This helps in capturing genuine and expressive moments. Use humor or conversation to ease any tension.

3.3. Capturing Authentic Expressions

The key to a successful portrait is capturing the subject’s true personality. Encourage natural smiles and expressions by creating a fun and enjoyable environment. Be patient and take multiple shots to catch those fleeting moments.

4. Post-Processing and Retouching

4.1. Editing Software

Use professional photo editing software like Adobe Lightroom or Photoshop to enhance your images. These tools offer a wide range of editing options to improve color, exposure, and sharpness.

4.2. Color Correction

Maintain consistency in color throughout your portrait series. Correct any color imbalances and ensure the skin tones look natural.

4.3. Skin Retouching

Subtle skin retouching can enhance the final portrait without making it look overly edited. Remove blemishes and imperfections while preserving the subject’s natural appearance.

5. Delivering the Final Product

5.1. Image Selection

Carefully curate and select the best images from the session. Quality is more important than quantity. Present a variety of shots that showcase different aspects of your subject.

5.2. Print vs. Digital

Discuss with your client whether they prefer digital files or printed portraits. High-quality prints can add a tactile and personal touch to the final product.

5.3. Presentation and Packaging

Consider the presentation of your final product. Elegant packaging can enhance the overall experience for your clients, making it memorable.

6. Corporate Branding and Business Marketing

6.1. How Portrait Photography Enhances Branding

Portrait photography plays a significant role in corporate branding and business marketing. It helps establish a human connection, adding a personal touch to your brand. Professional headshots and team photos convey trustworthiness and professionalism.

6.2. Using Portraits in Marketing

Utilize portraits in various marketing materials, including websites, social media profiles, brochures, and business cards. Consistent and well-crafted portraits reinforce your brand identity and create a lasting impression.

6.3. St Louis Photo Studio: Your Full-Service Partner

At St Louis Photo Studio, we are your trusted partner for all your portrait and commercial photography needs. With years of experience, we excel in creating stunning portraits that capture the essence of individuals and businesses. Whether you require personal portraits, team photos, or marketing materials, we’ve got you covered.

As a professional photo studio, St Louis Photo Studio has produced hundreds of personal and business portraits for all types of wonderful folks and businesses in the St. Louis area. Our commitment to quality and attention to detail ensures that your portrait photography experience is exceptional.

Contact us today to discuss your portrait photography needs, and let us help you enhance your corporate branding and business marketing through the power of captivating portraits. Trust the experts at St Louis Photo Studio to bring your vision to life.

314-913-5626

stlouisphotostudio@gmail.com